This blog is currently playing catch-up with life by several years, and the last time we were here I was trying to restore an old Commodore 64 I’d bought online which had living in someone’s loft for at least a decade or two.
If you haven’t read the previous instalments in this epic, they’re here:
To summarise things to date, my meagre attempts thus far to restore it had resulted in static, so it was time to get serious and look at the various options I had available to try and bring it back to life in some fashion. Thanks to a thriving retro community, there were a lot of options to explore.
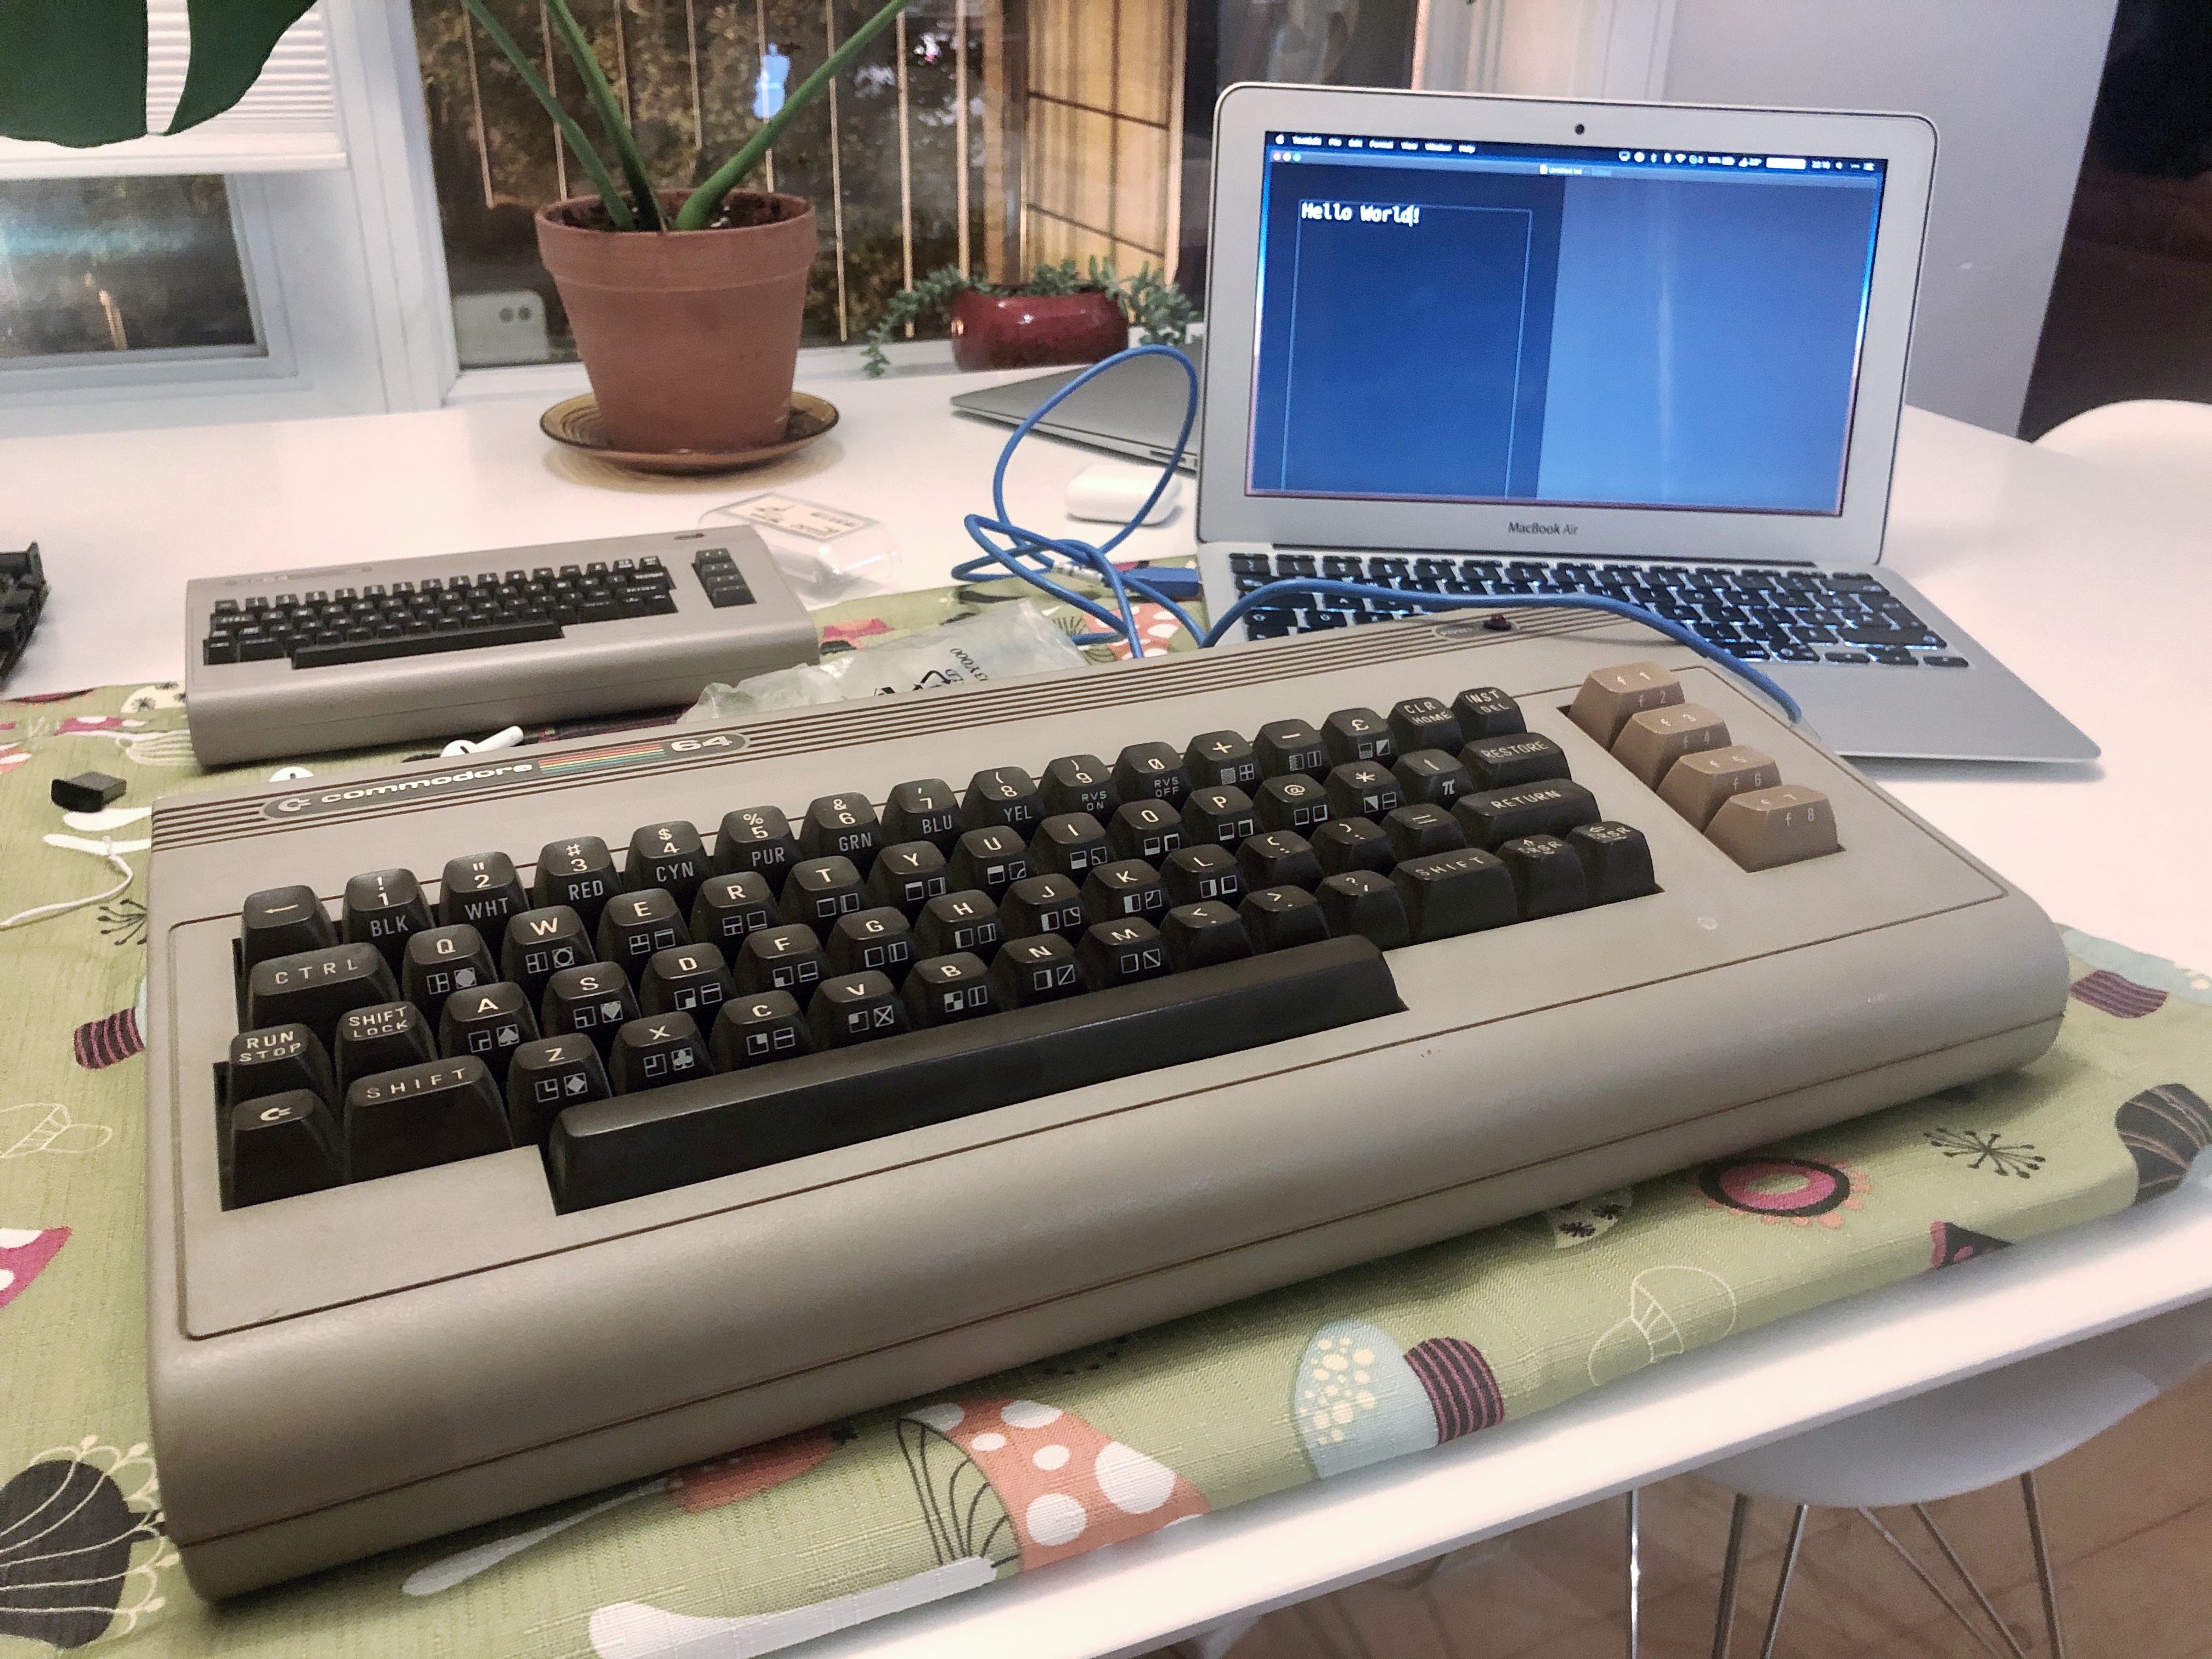
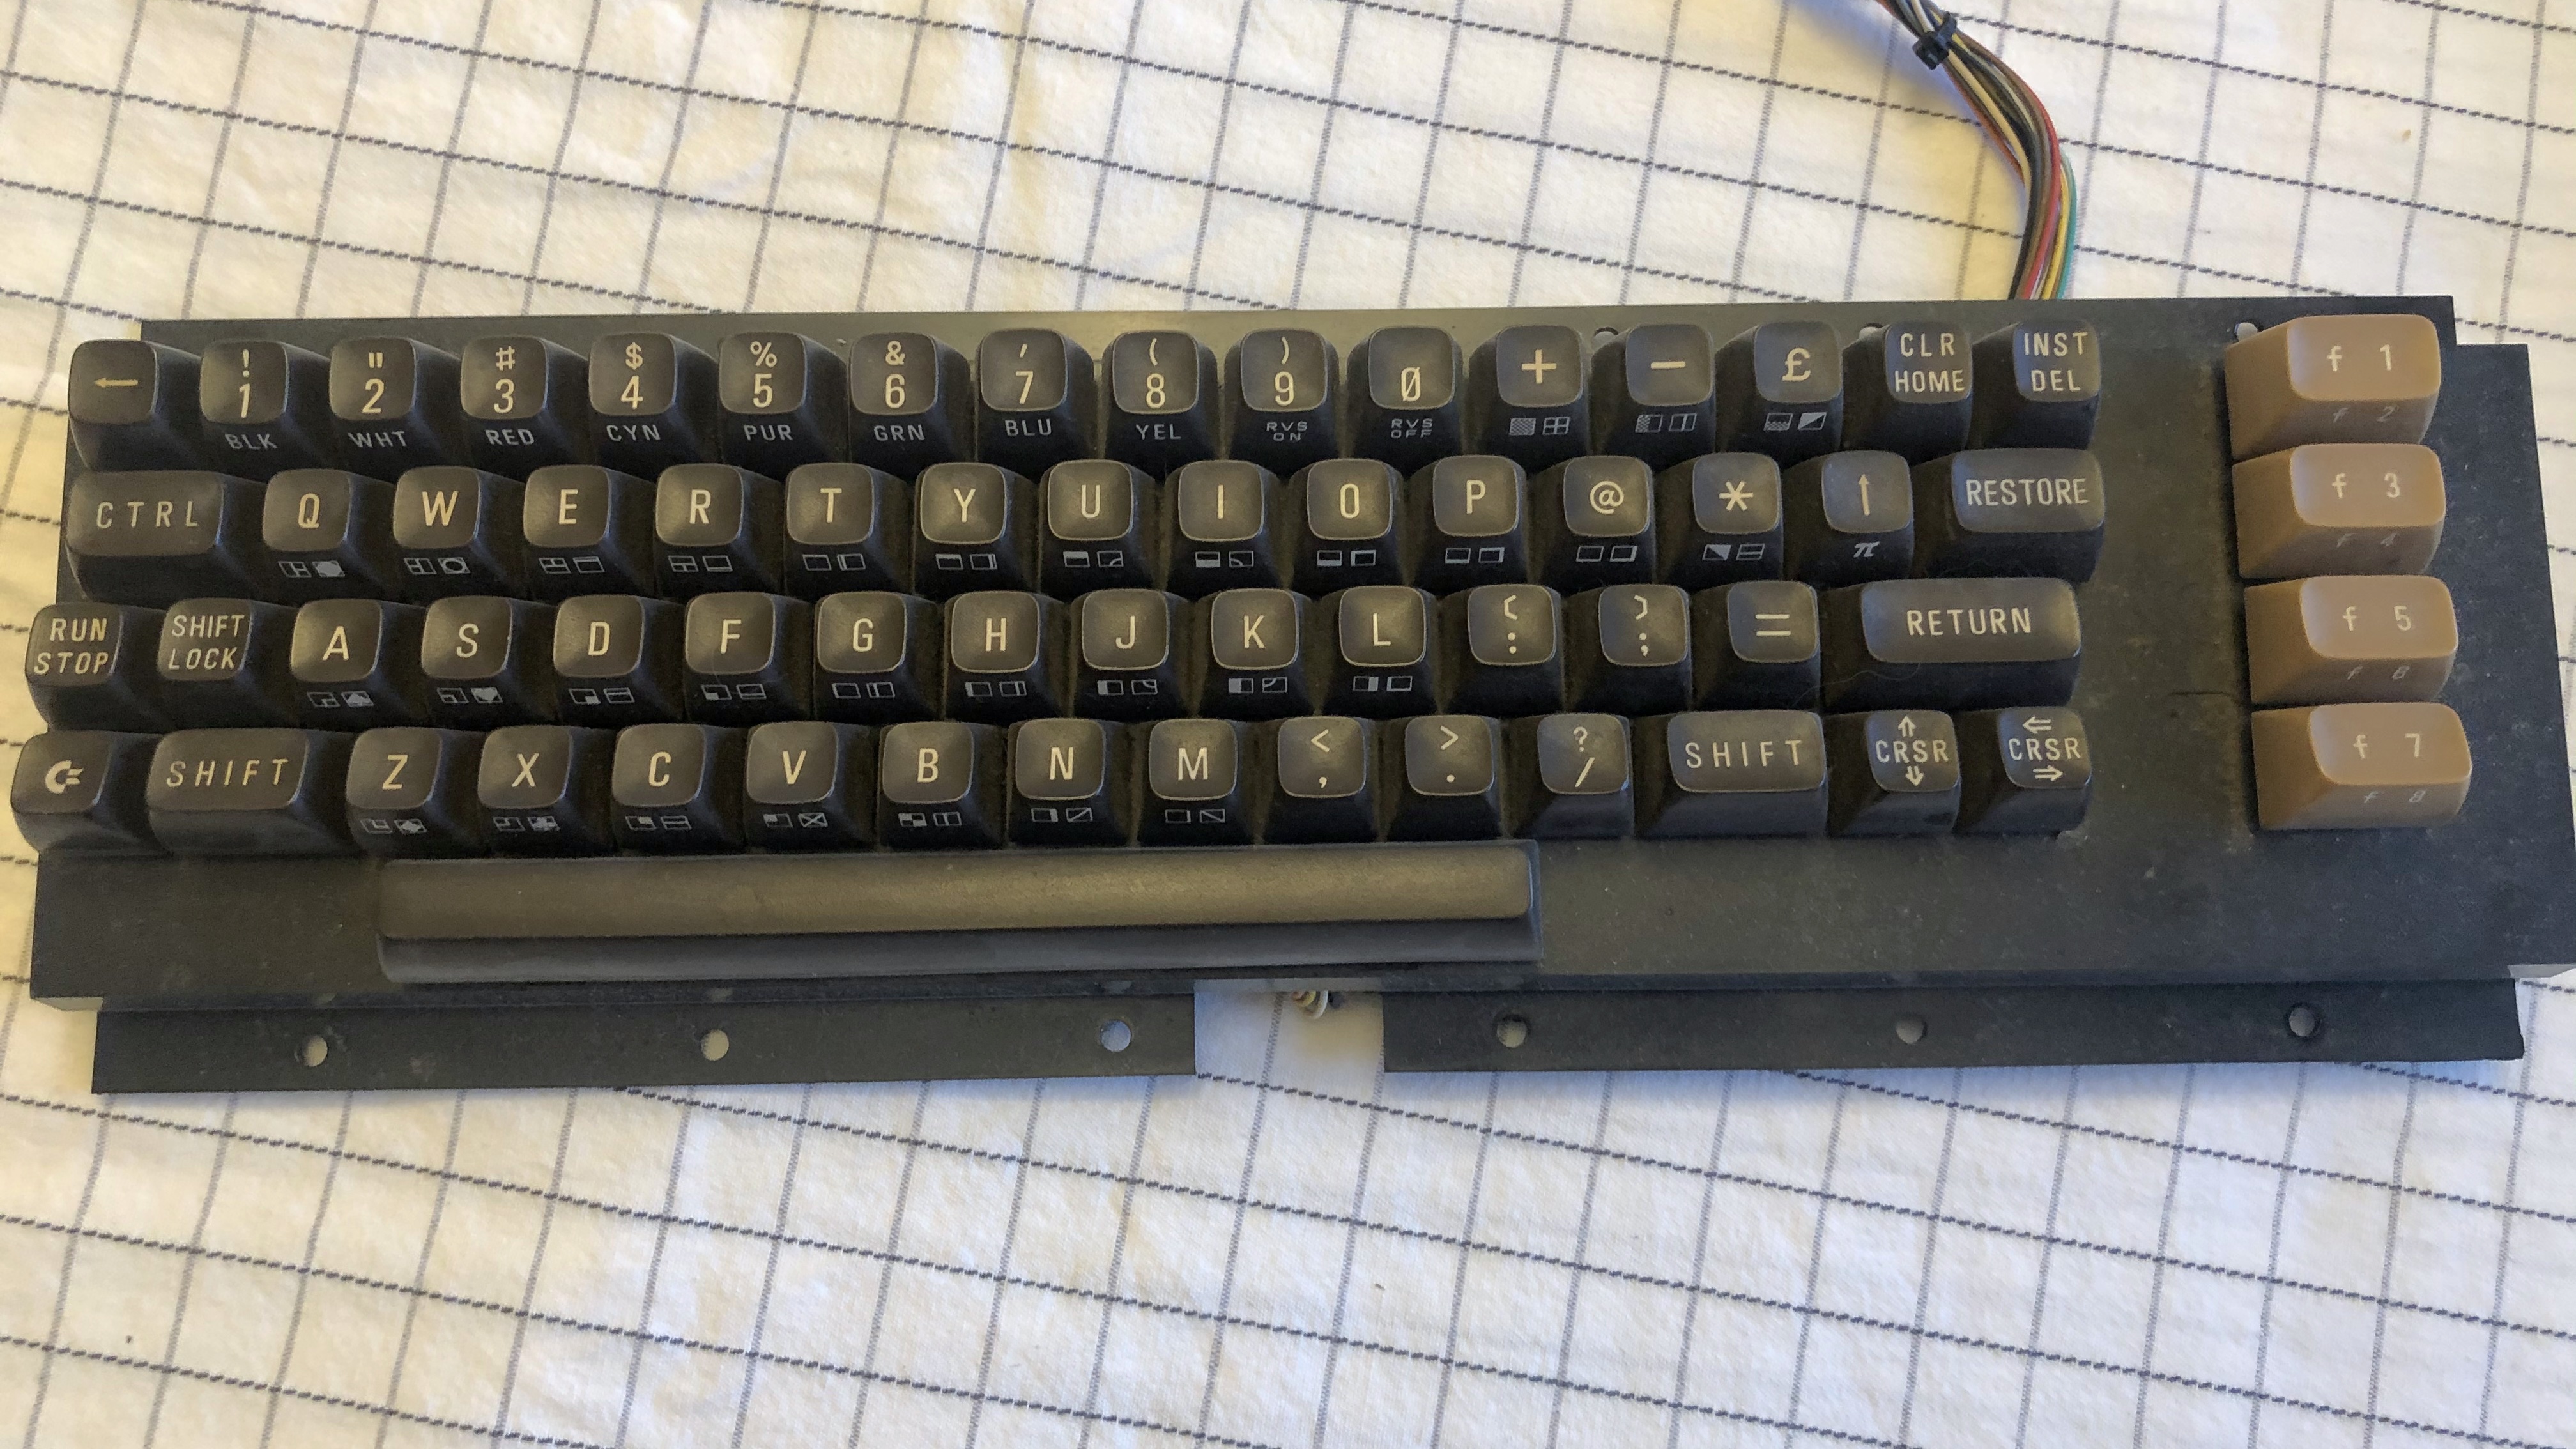
Knowing the motherboard wasn’t in a working state, I decided to see if I could repurpose the chassis and the keyboard. My thinking was that if I could get it working as a basic USB keyboard, I could then look at replacing the innards with something more modern whilst retaining an authentic retro experience as close to the real thing as possible.
Was USB an 80’s Invention?
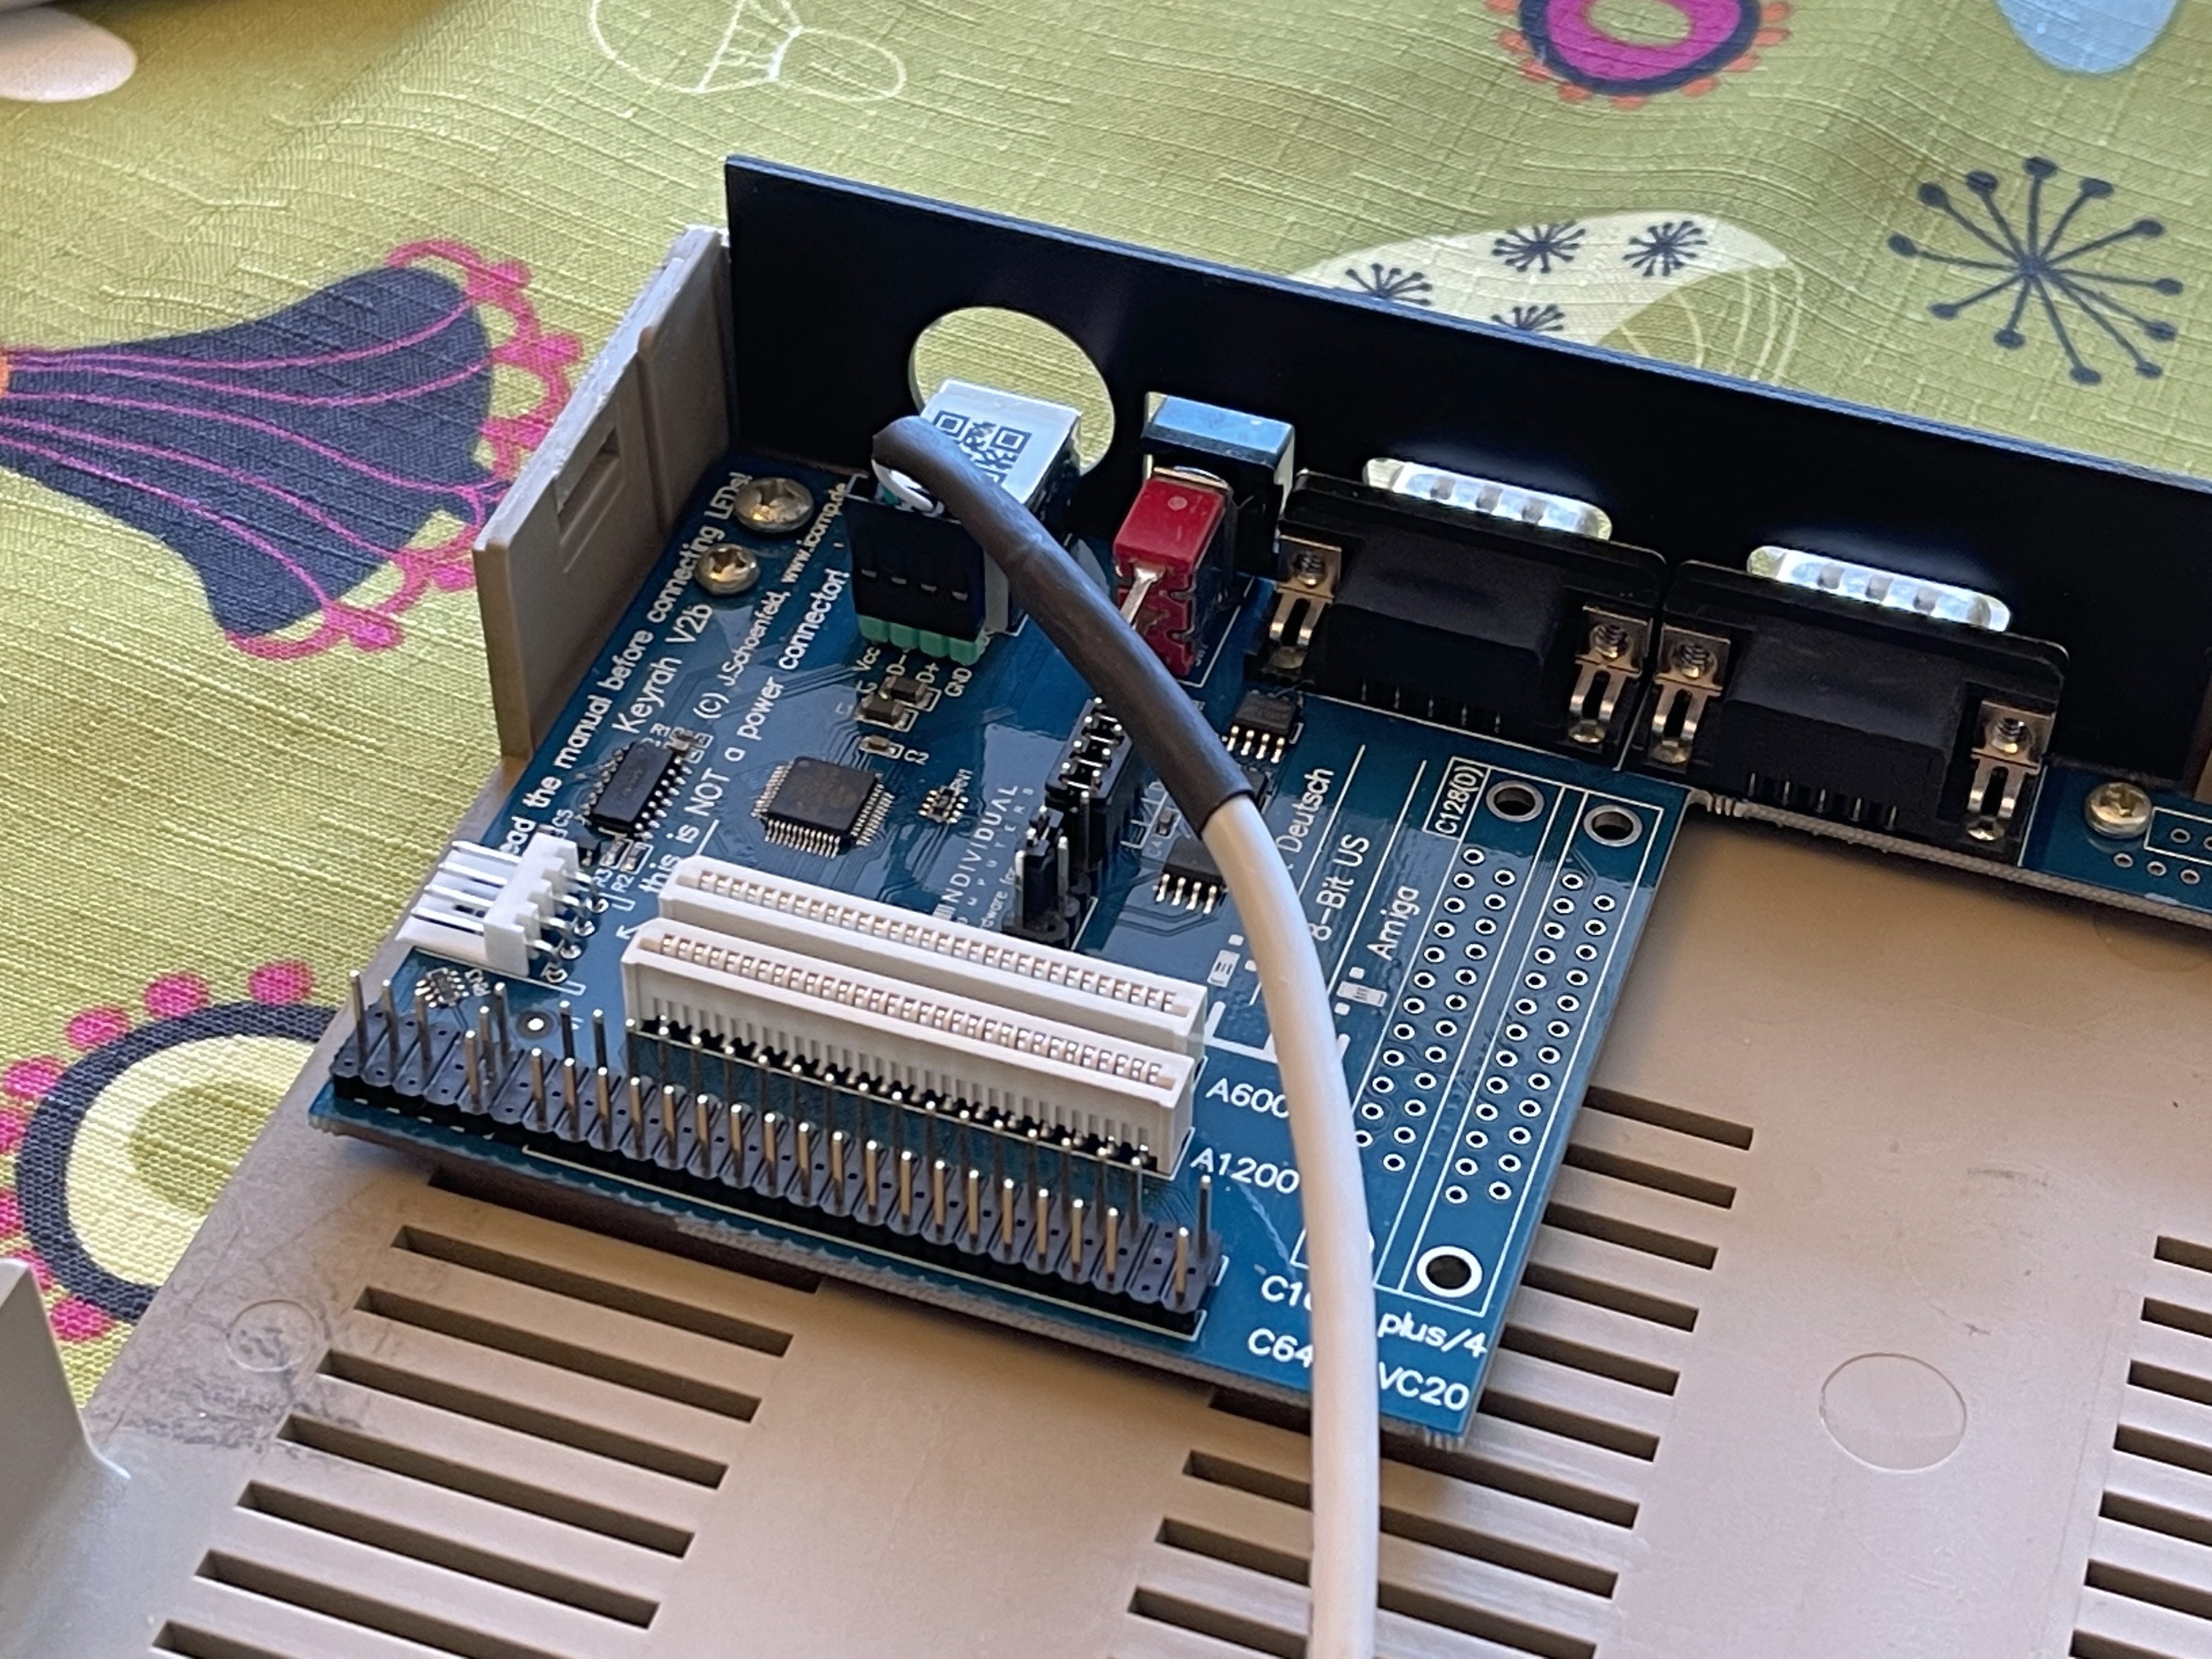
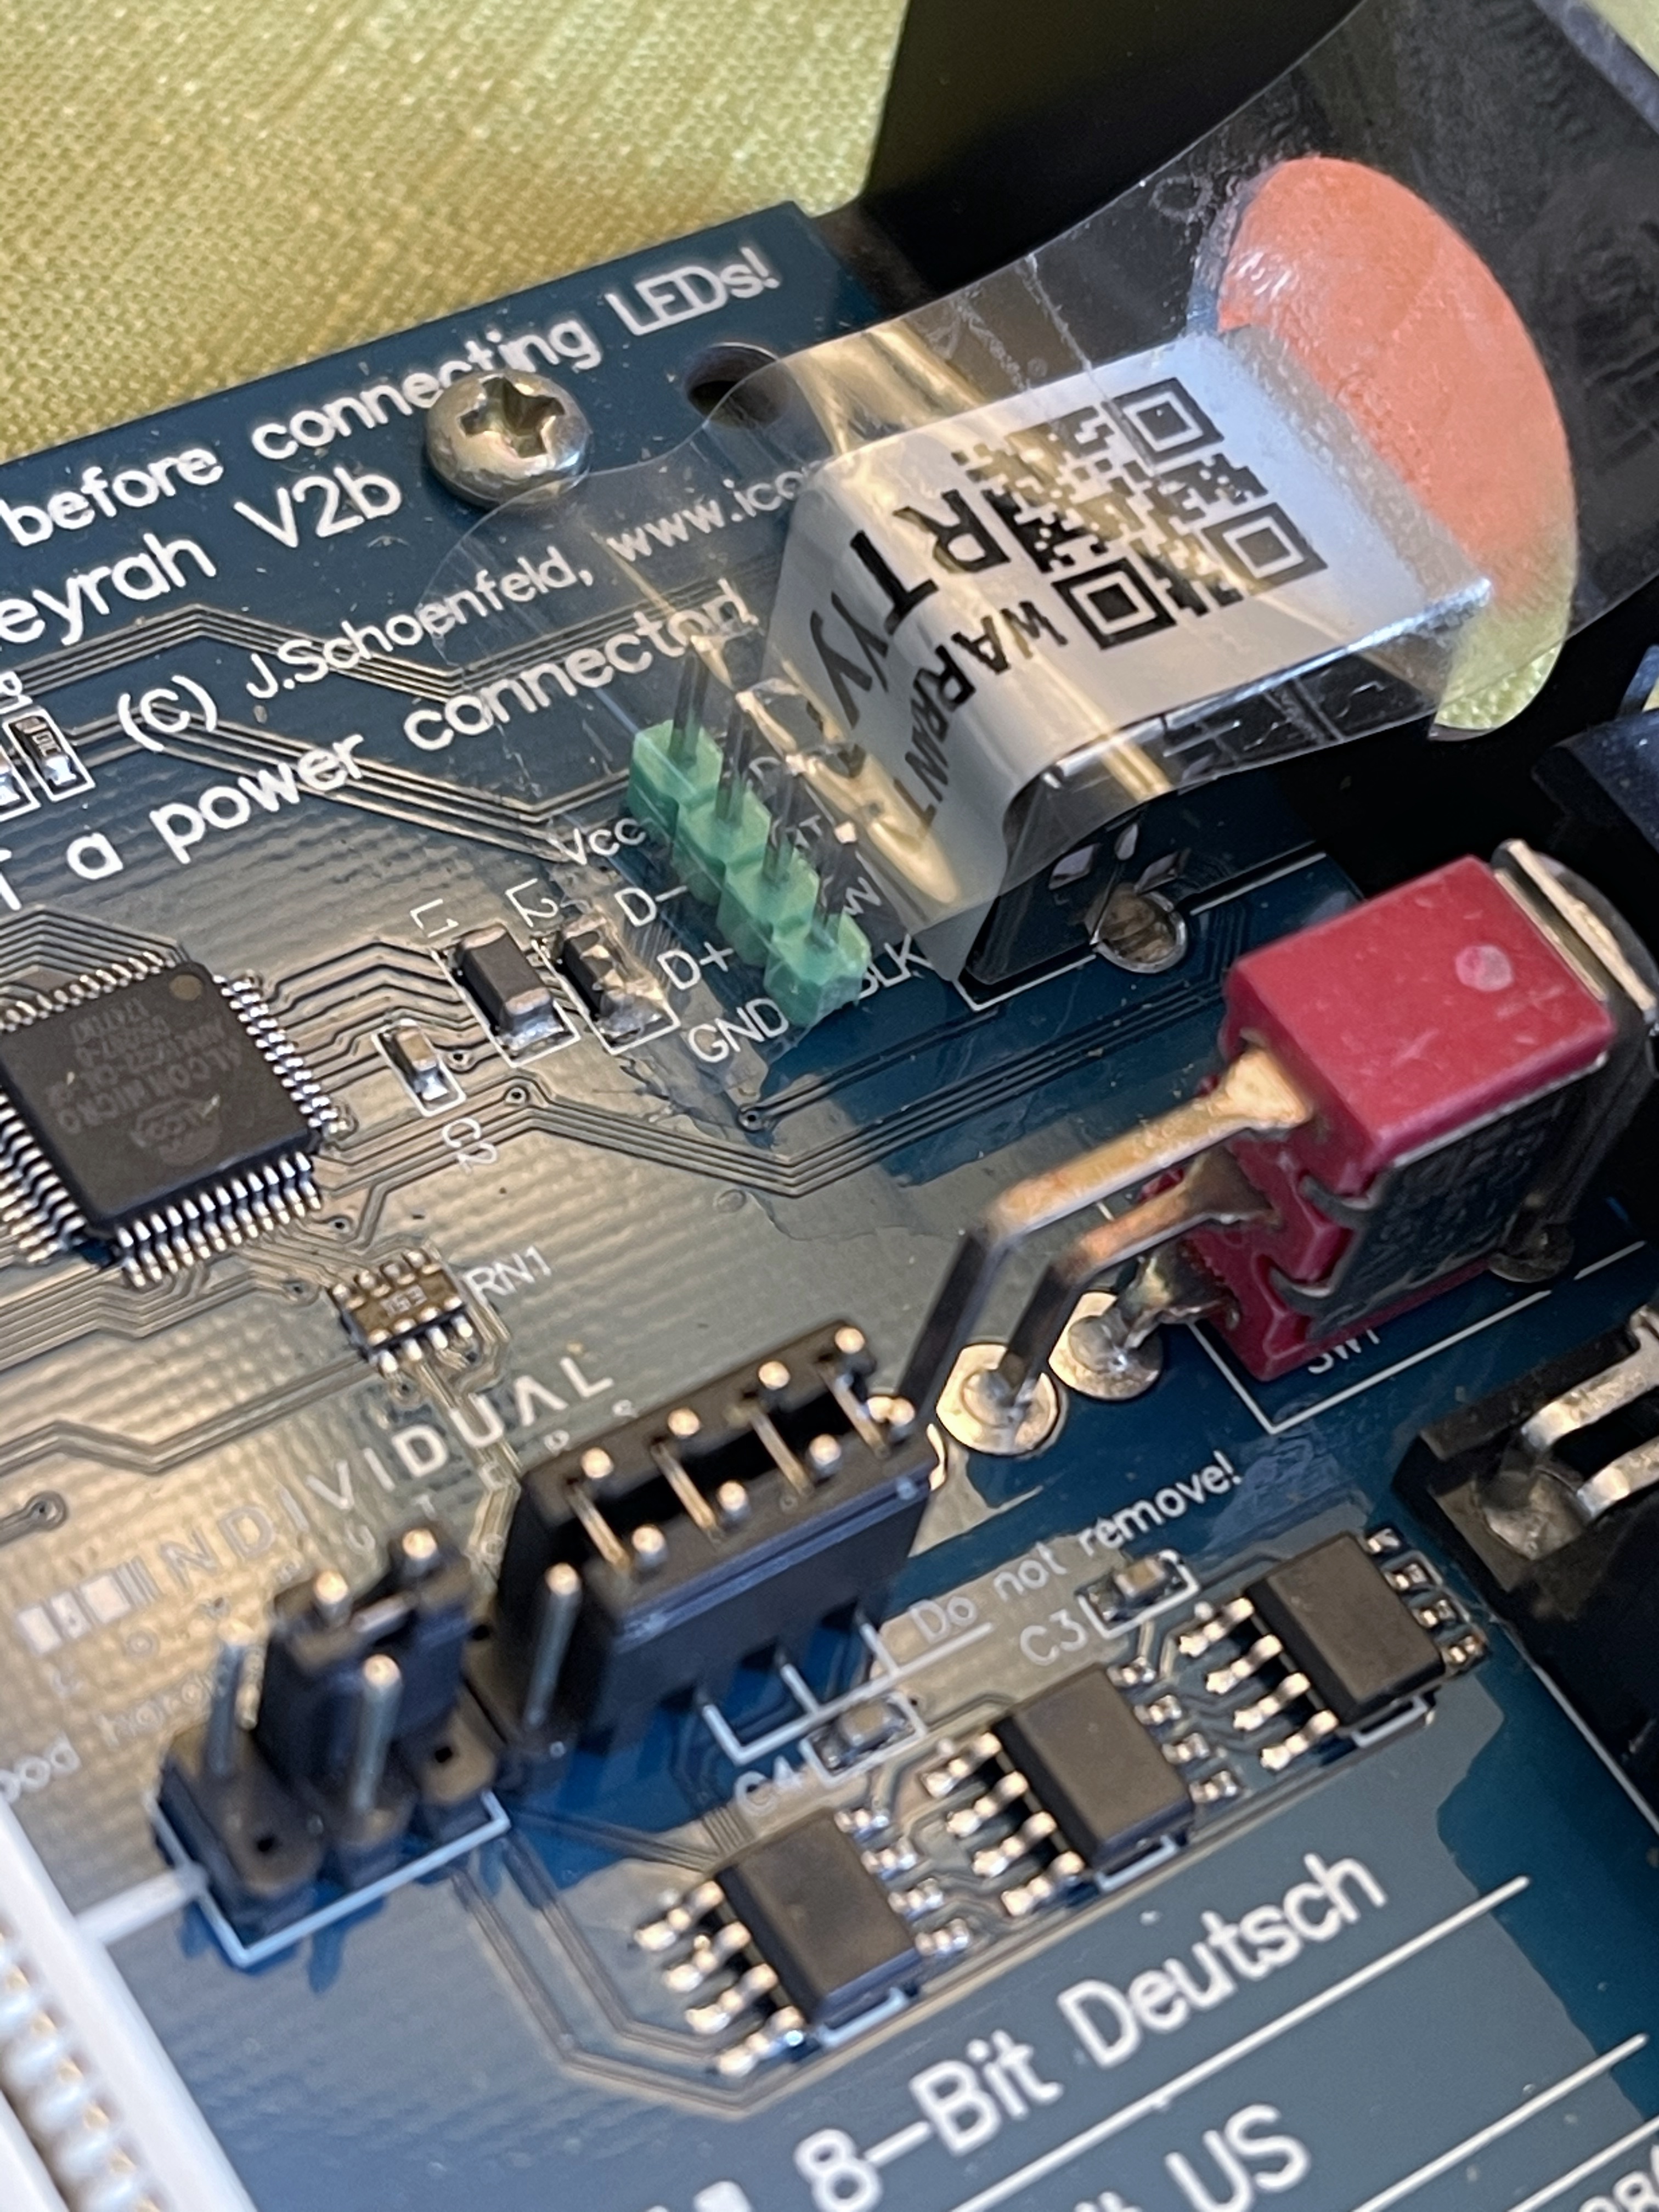
To the end of turning my C64 into a USB keyboard, I decided to try the Keyrah V2. This small PCB (Printed Circuit Board) essentially replaces the original motherboard and provides a USB interface to the Commodore 64’s keyboard.
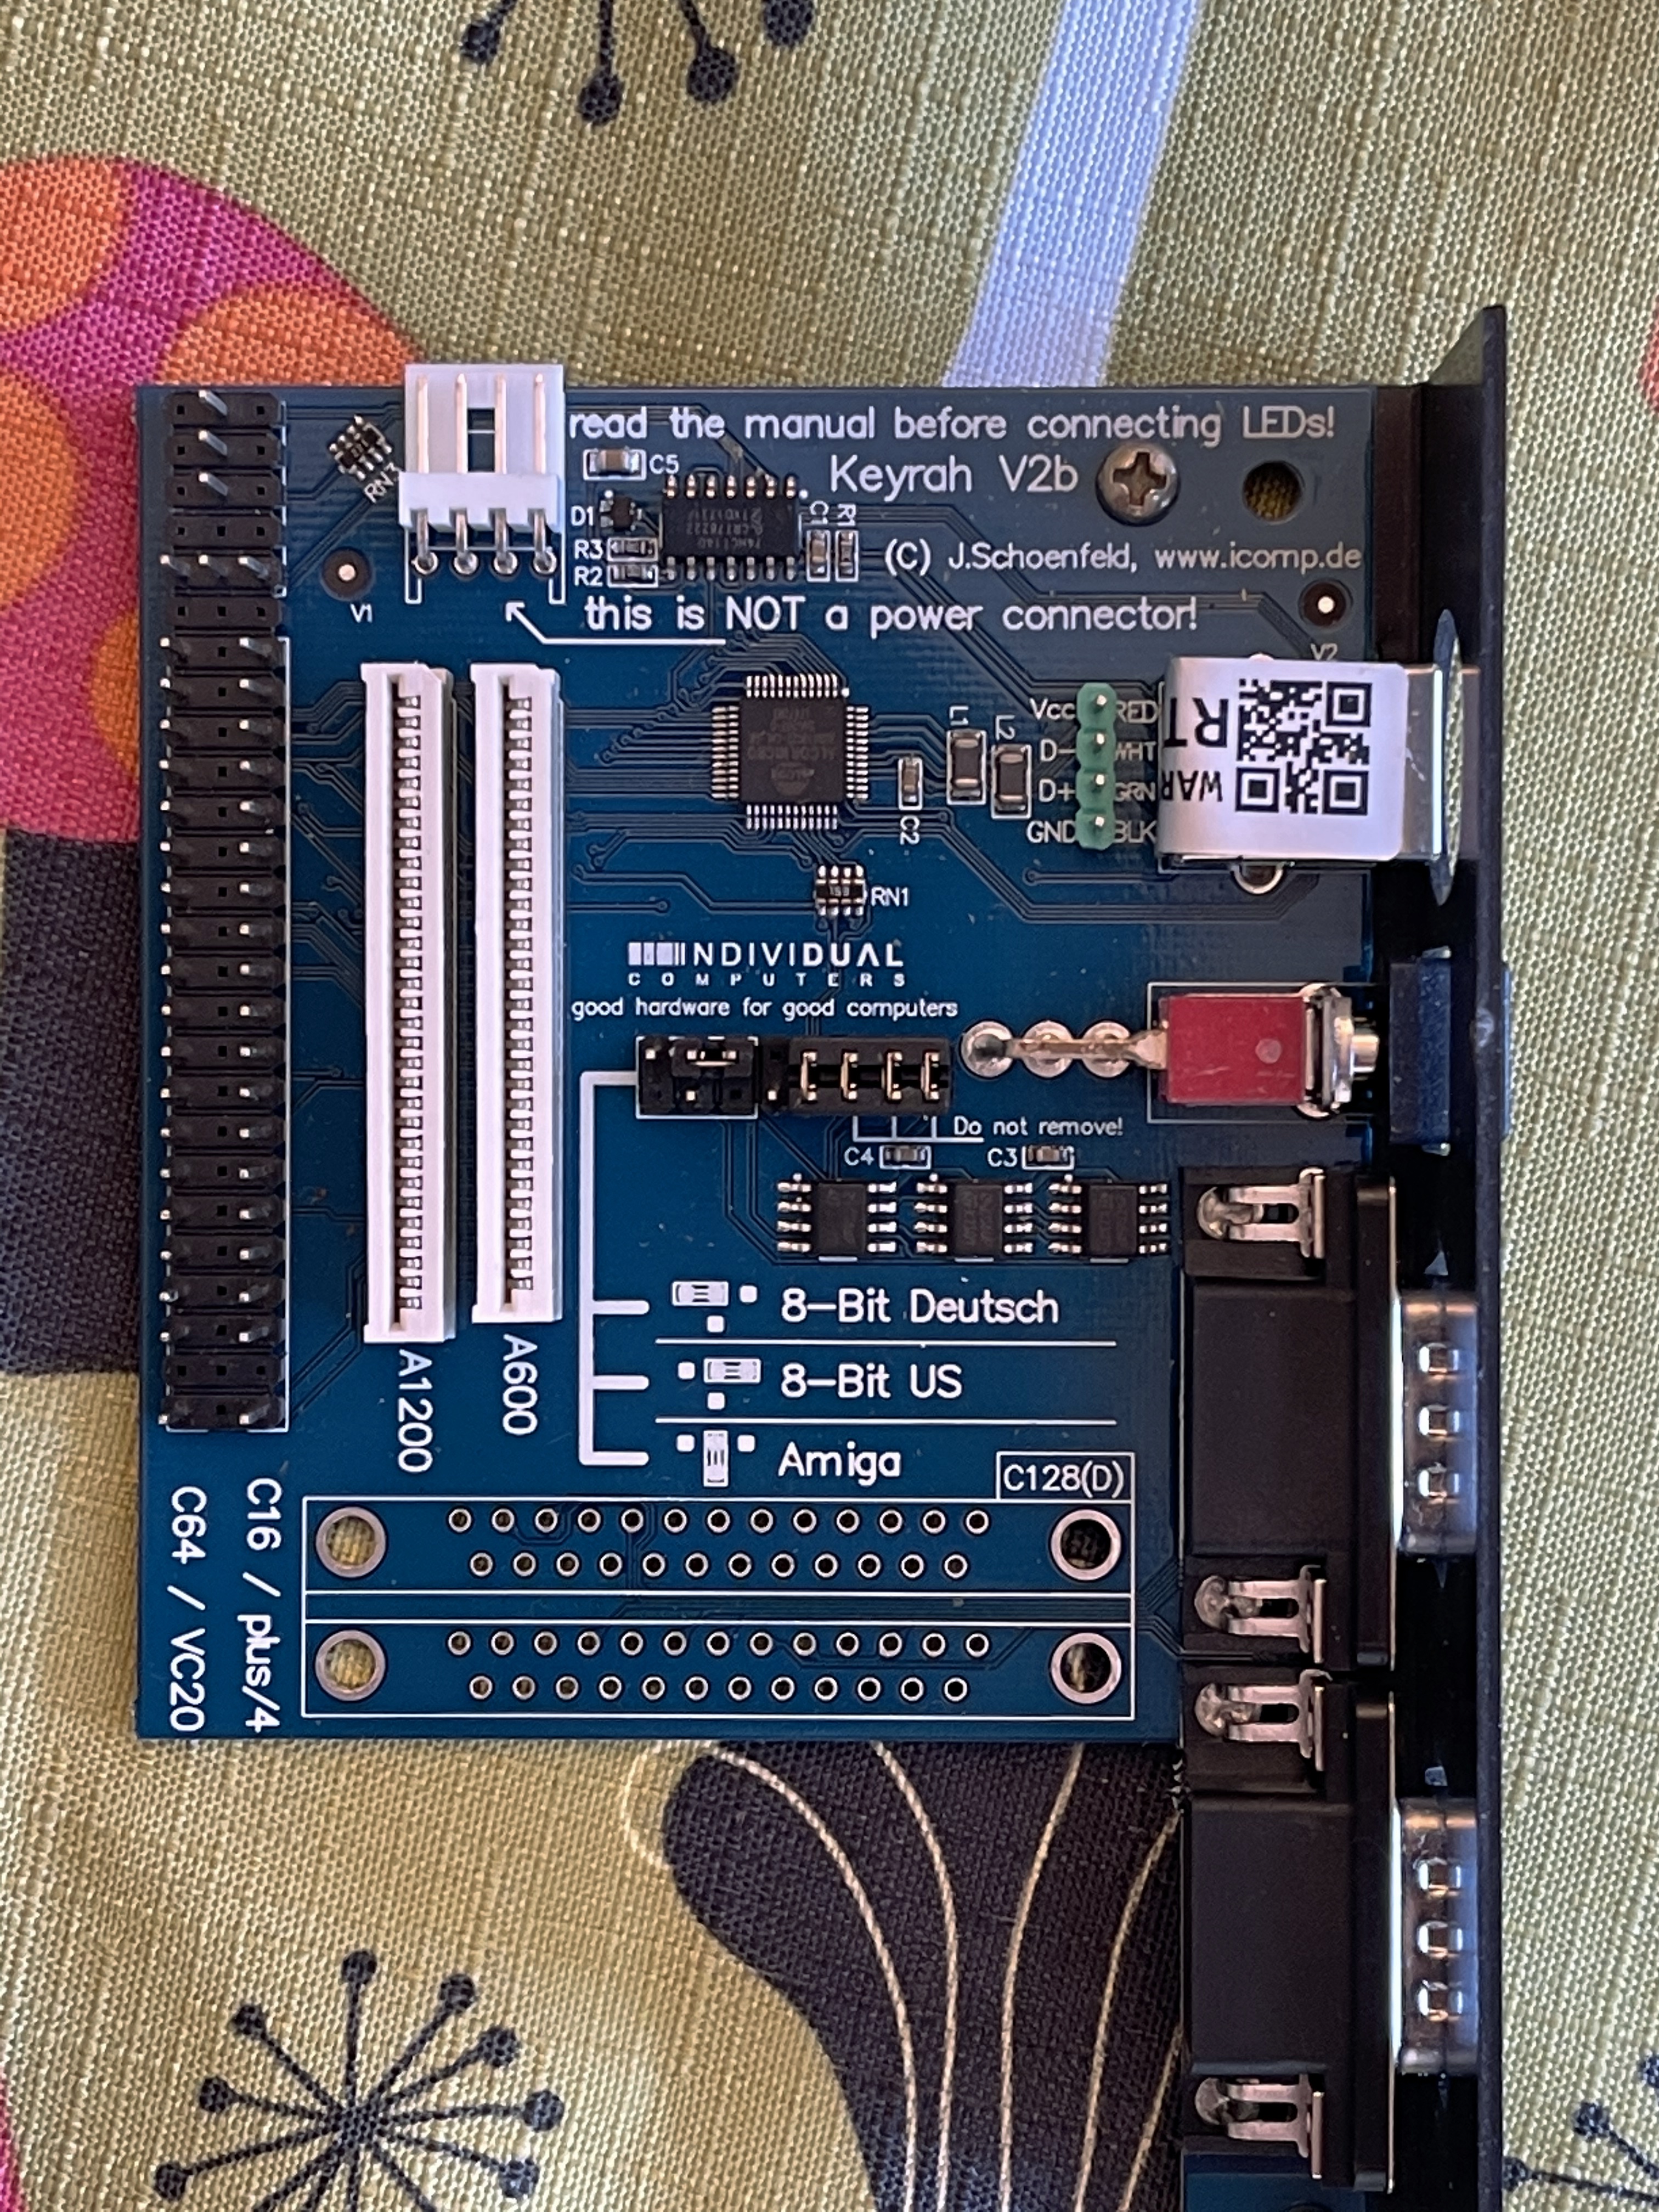
Installing the Keyrah is reasonably straight forward once you’ve removed the original motherboard. It lines up with the existing port holes on the right of the deice and provides a USB socket to for sending the C64 keyboard output to an external device. It also has two joystick ports to substitute for the ones lost by removing the original motherboard.
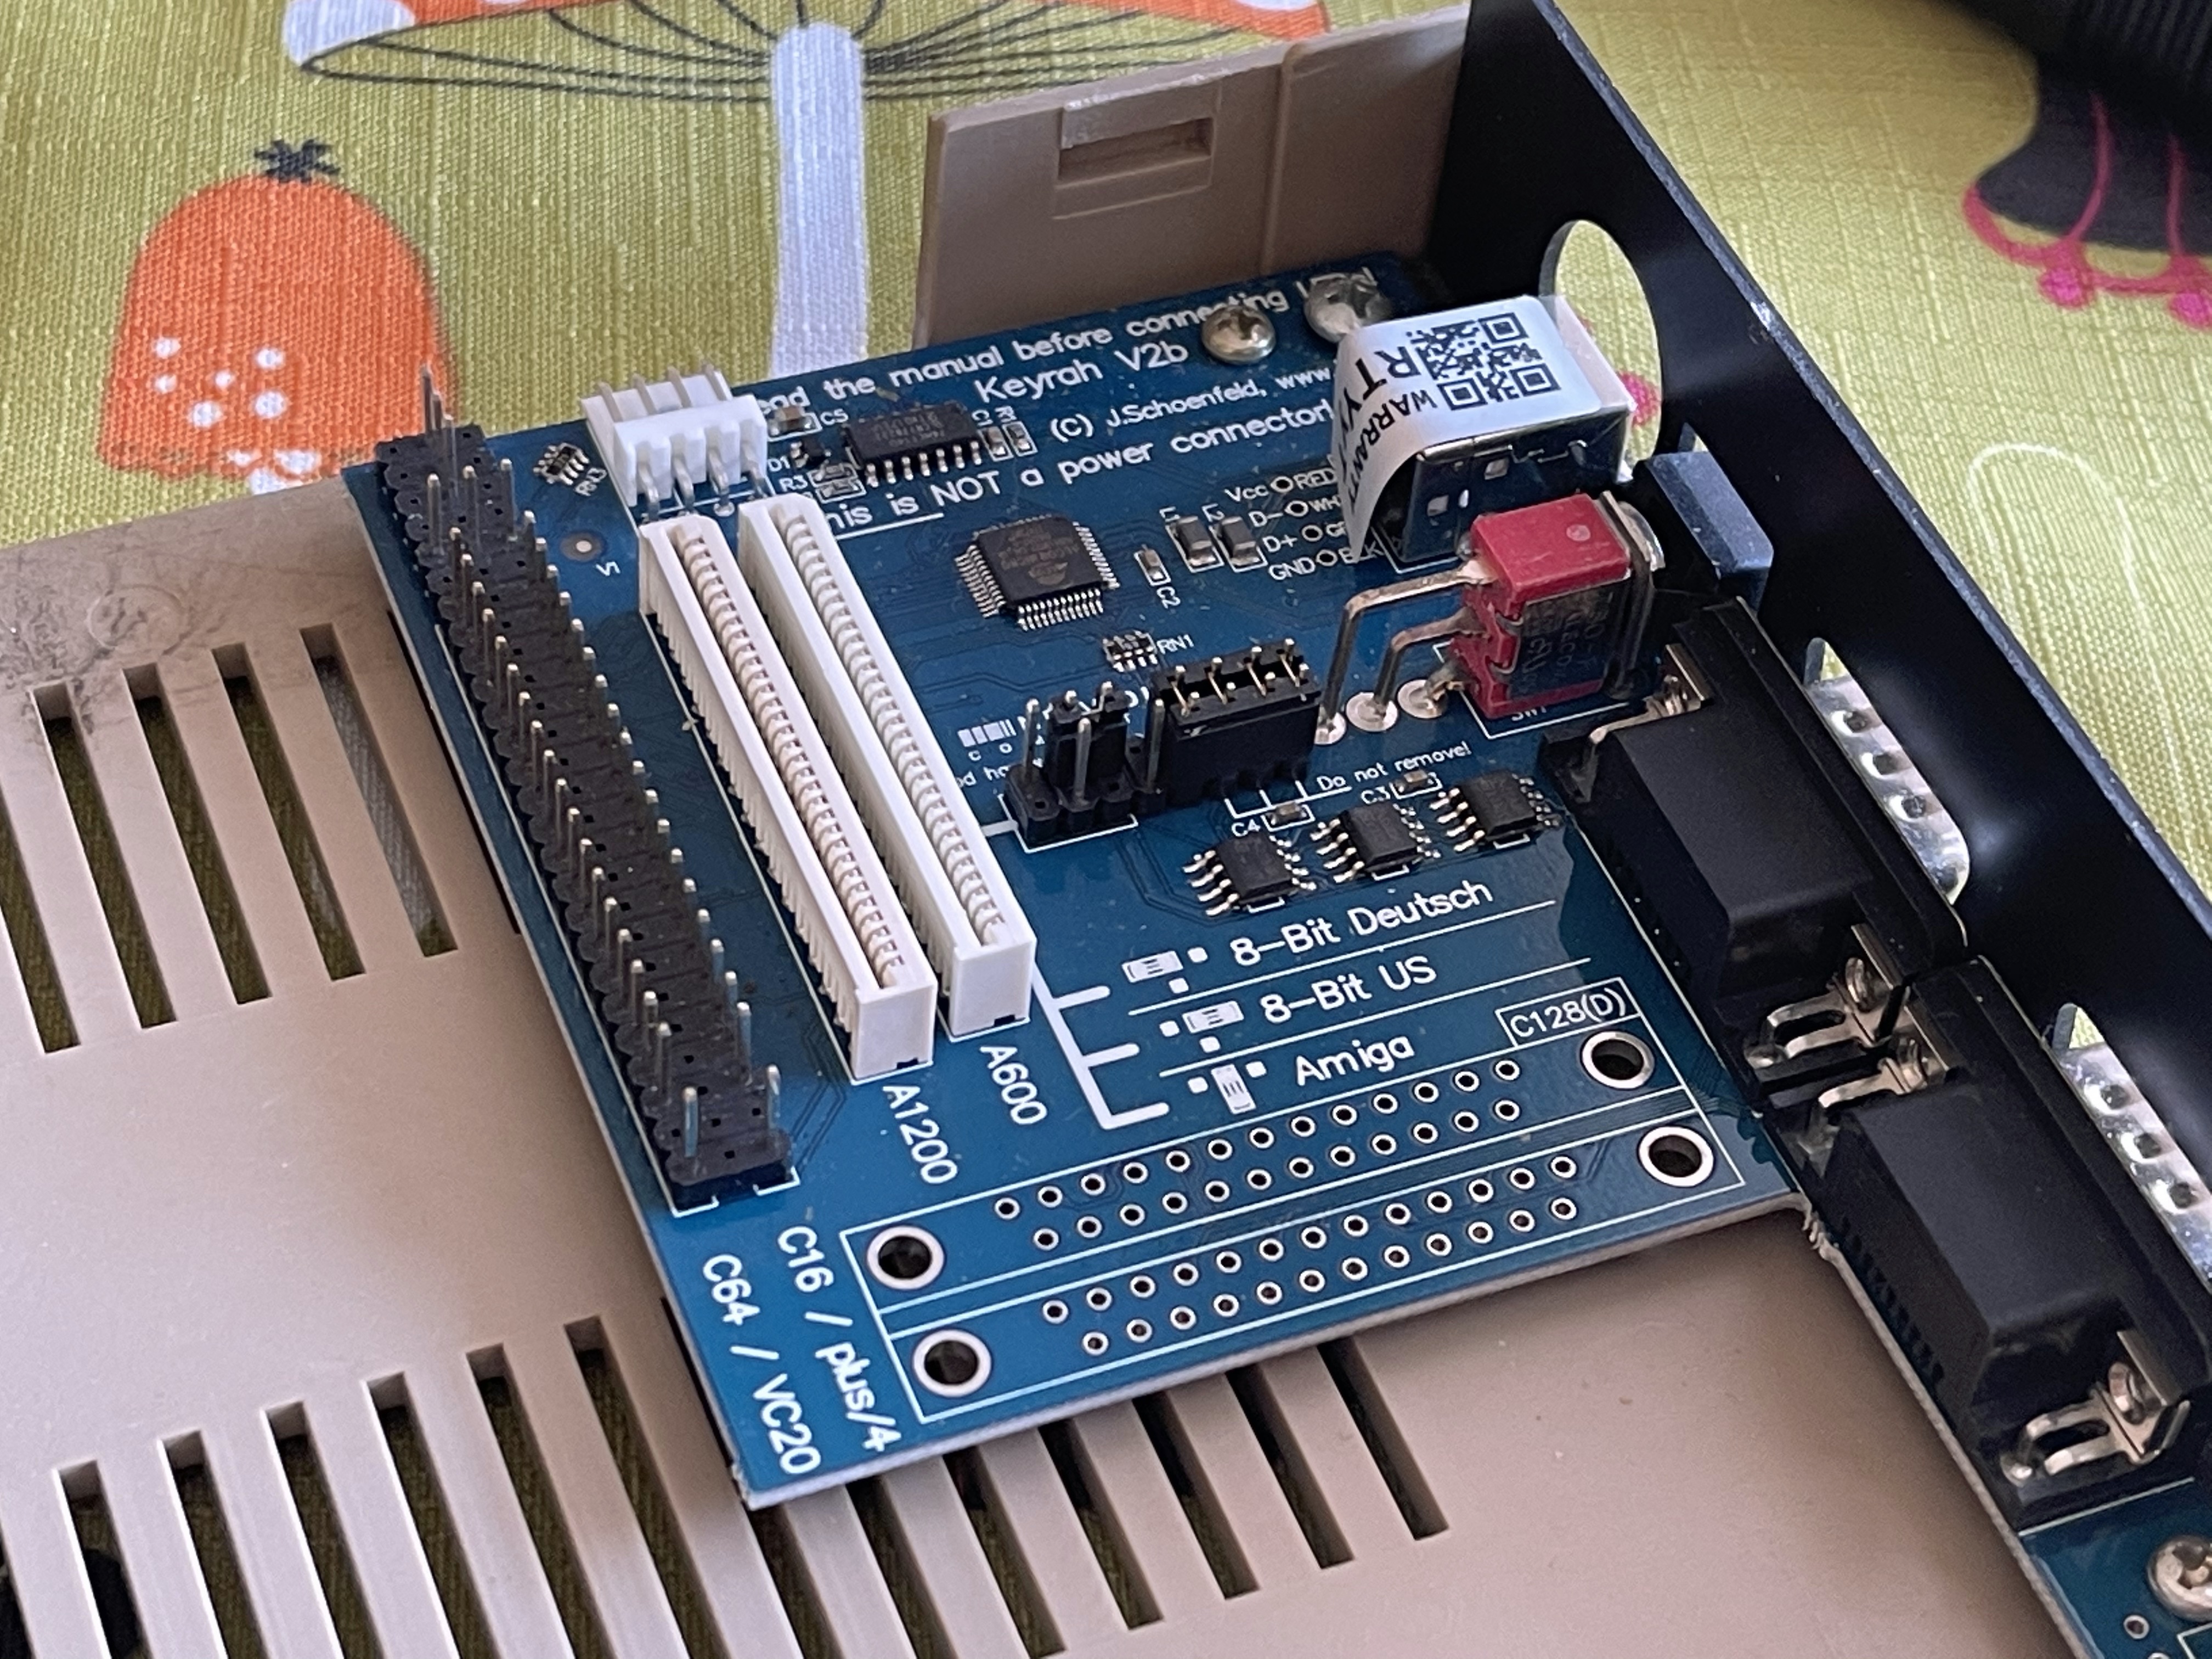
The cable from the keyboard itself can be unplugged from the Commodore 64 motherboard and instead inserted into the Keyrah using a dedicated socket. This board will also work in other Commodore devices too, such as the VIC-20, C16, Plus 4 and Amigas A600 and A1200. It’s quite a versatile little PCB.
Once installed and working, you can essentially use it like any other USB keyboard. For example, connecting it to your PC to use VICE, hooking it up to The C64 Mini or even as a daily driver if you’re so inclined.
More ambitious options could include putting a Raspberry Pi inside to emulate the C64 hardware or even a MiSTer, but one step at a time; We have to test whether the keyboard still works properly after several decades!
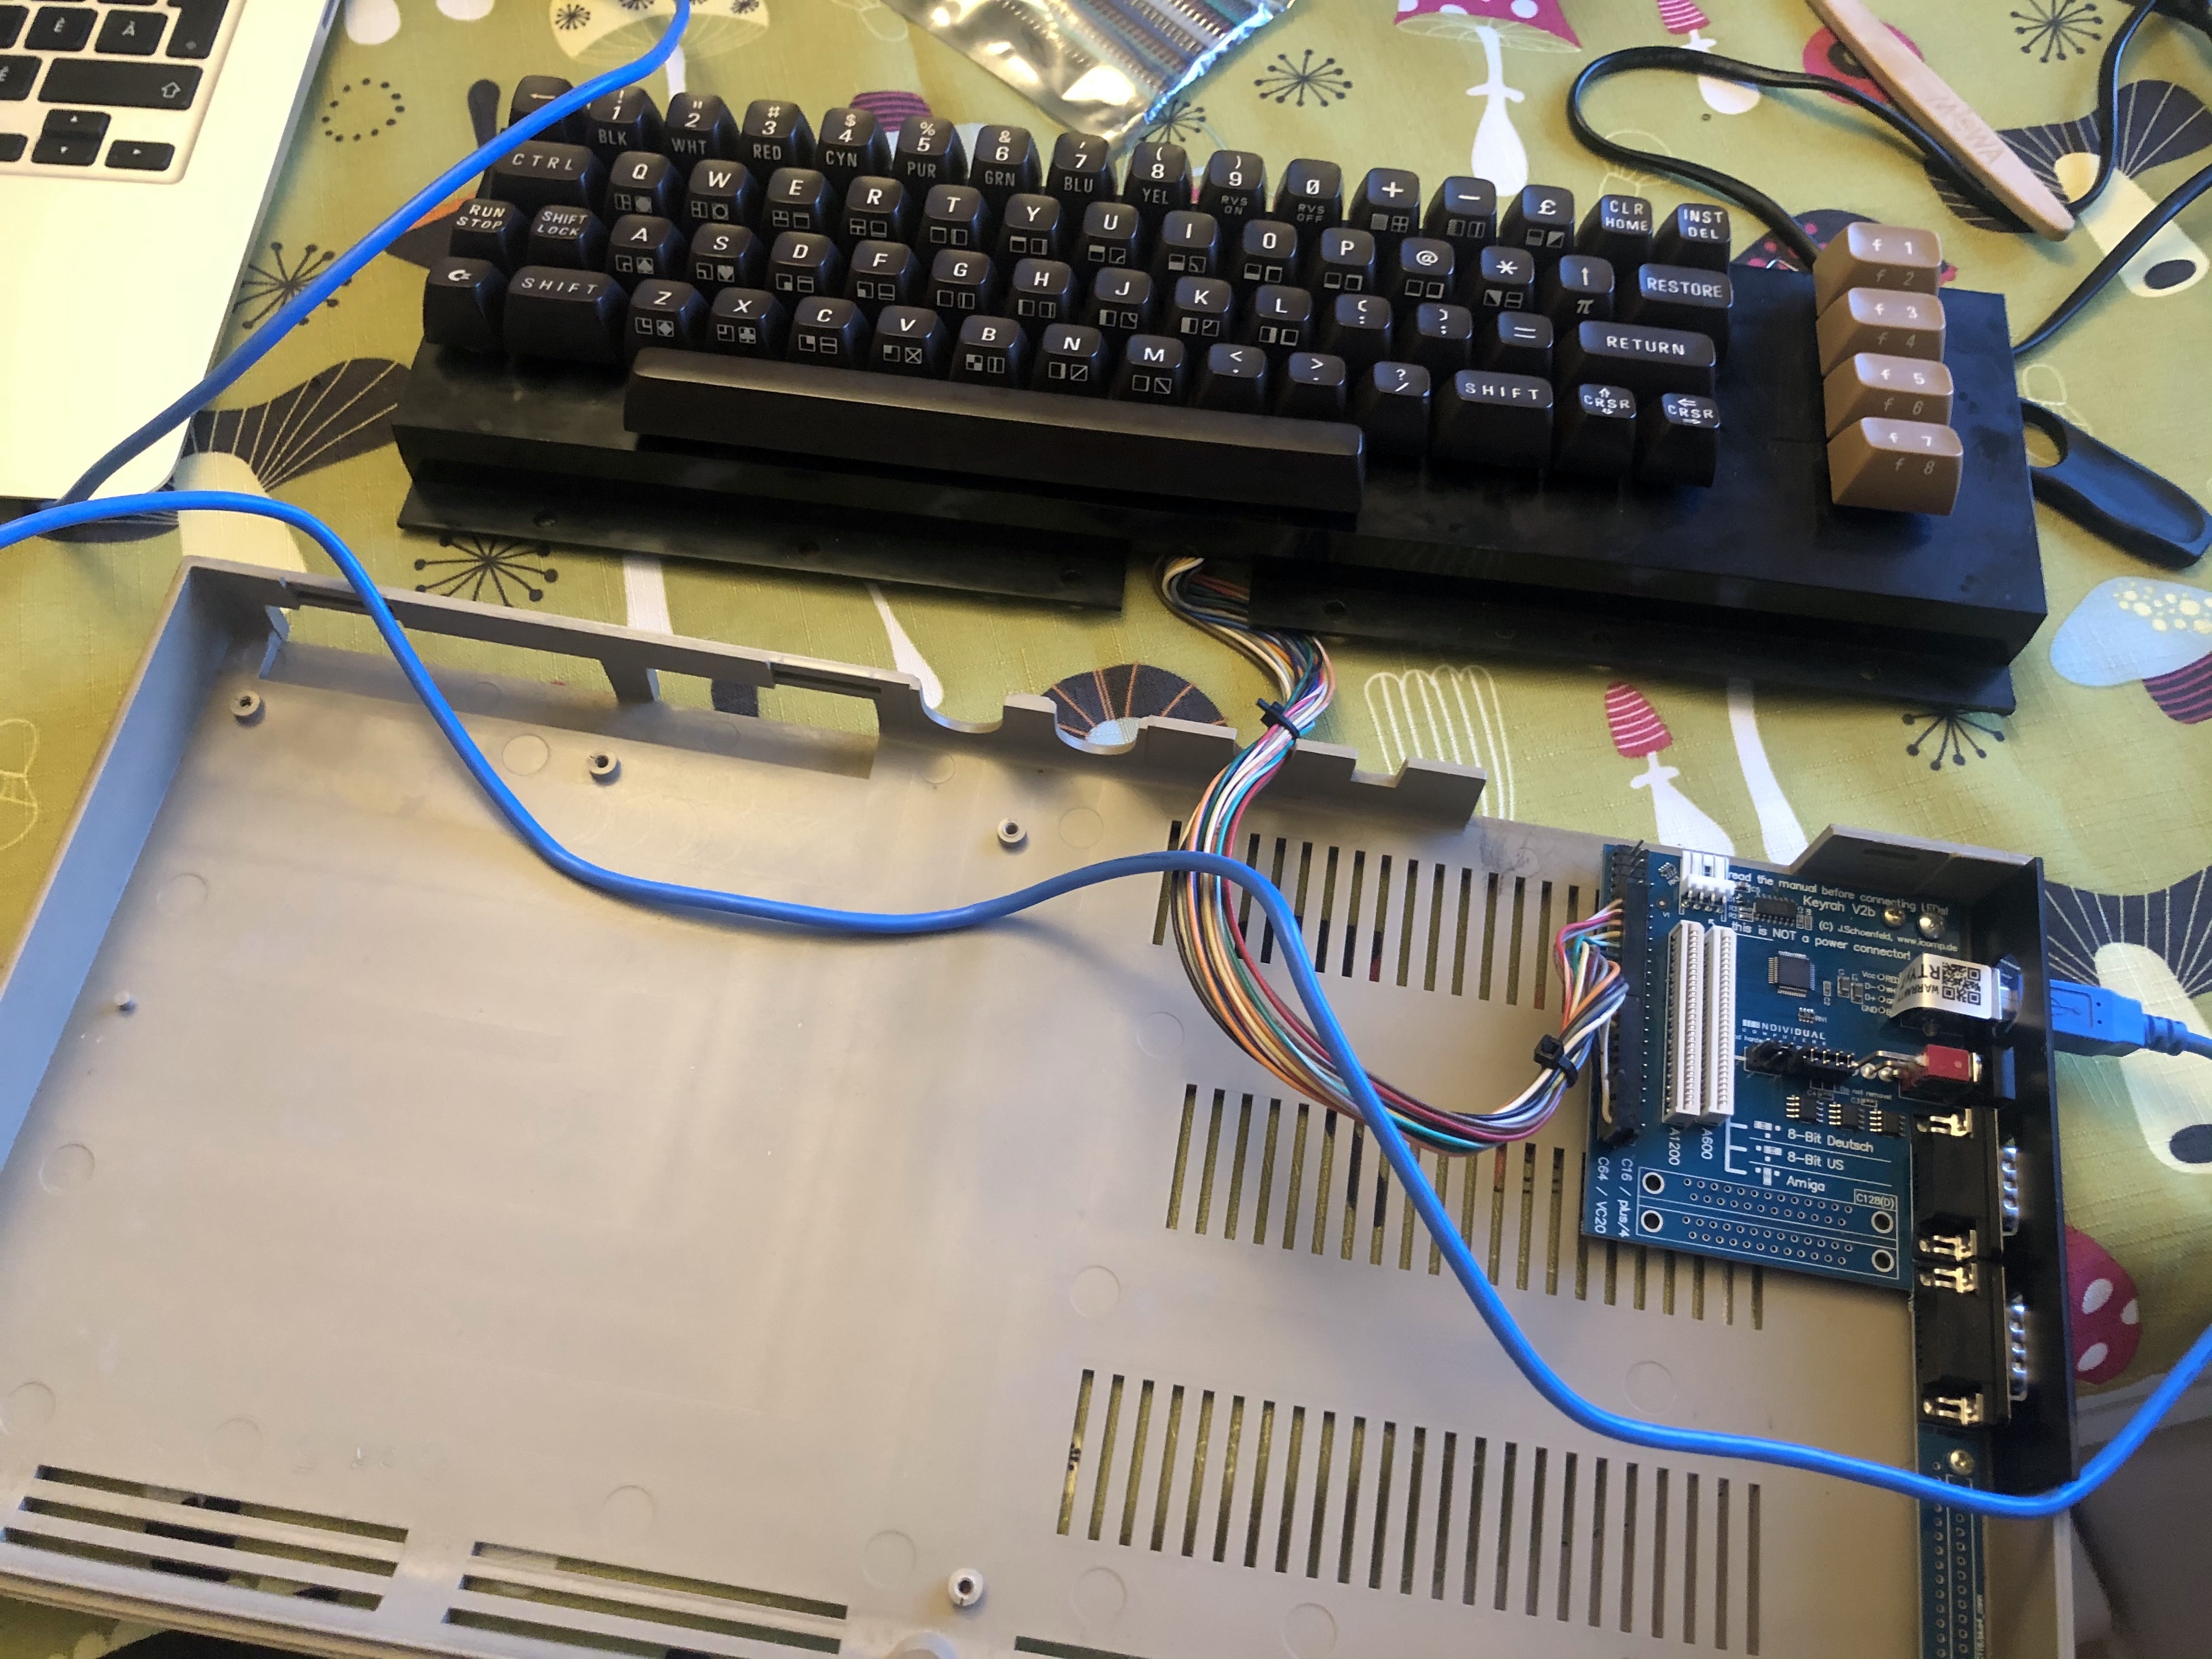
After reassembling the chassis, I hooked it up to my MacBook to test it. The good news was I was just about to able to type, proving the Keyrah card was working as intended. But, most keys barely worked requiring a serious amount of force to get a character to display on screen, or worse still a few keys just didn’t work at all.
It was time to take apart the keyboard, and that would require learning some new skills.
Soldering Time
At this point in the story I’d never soldered in my life, and it was becoming clear to move this project forward I’d at least have to do some soldering, even if it were just a minimal amount.
Soldering tech has a long and fascinating history, and being new to the hardware side of retro-computing I thought the best option would be to splash out on a budget soldering kit. I settled on the Epton Soldering Iron Kit.
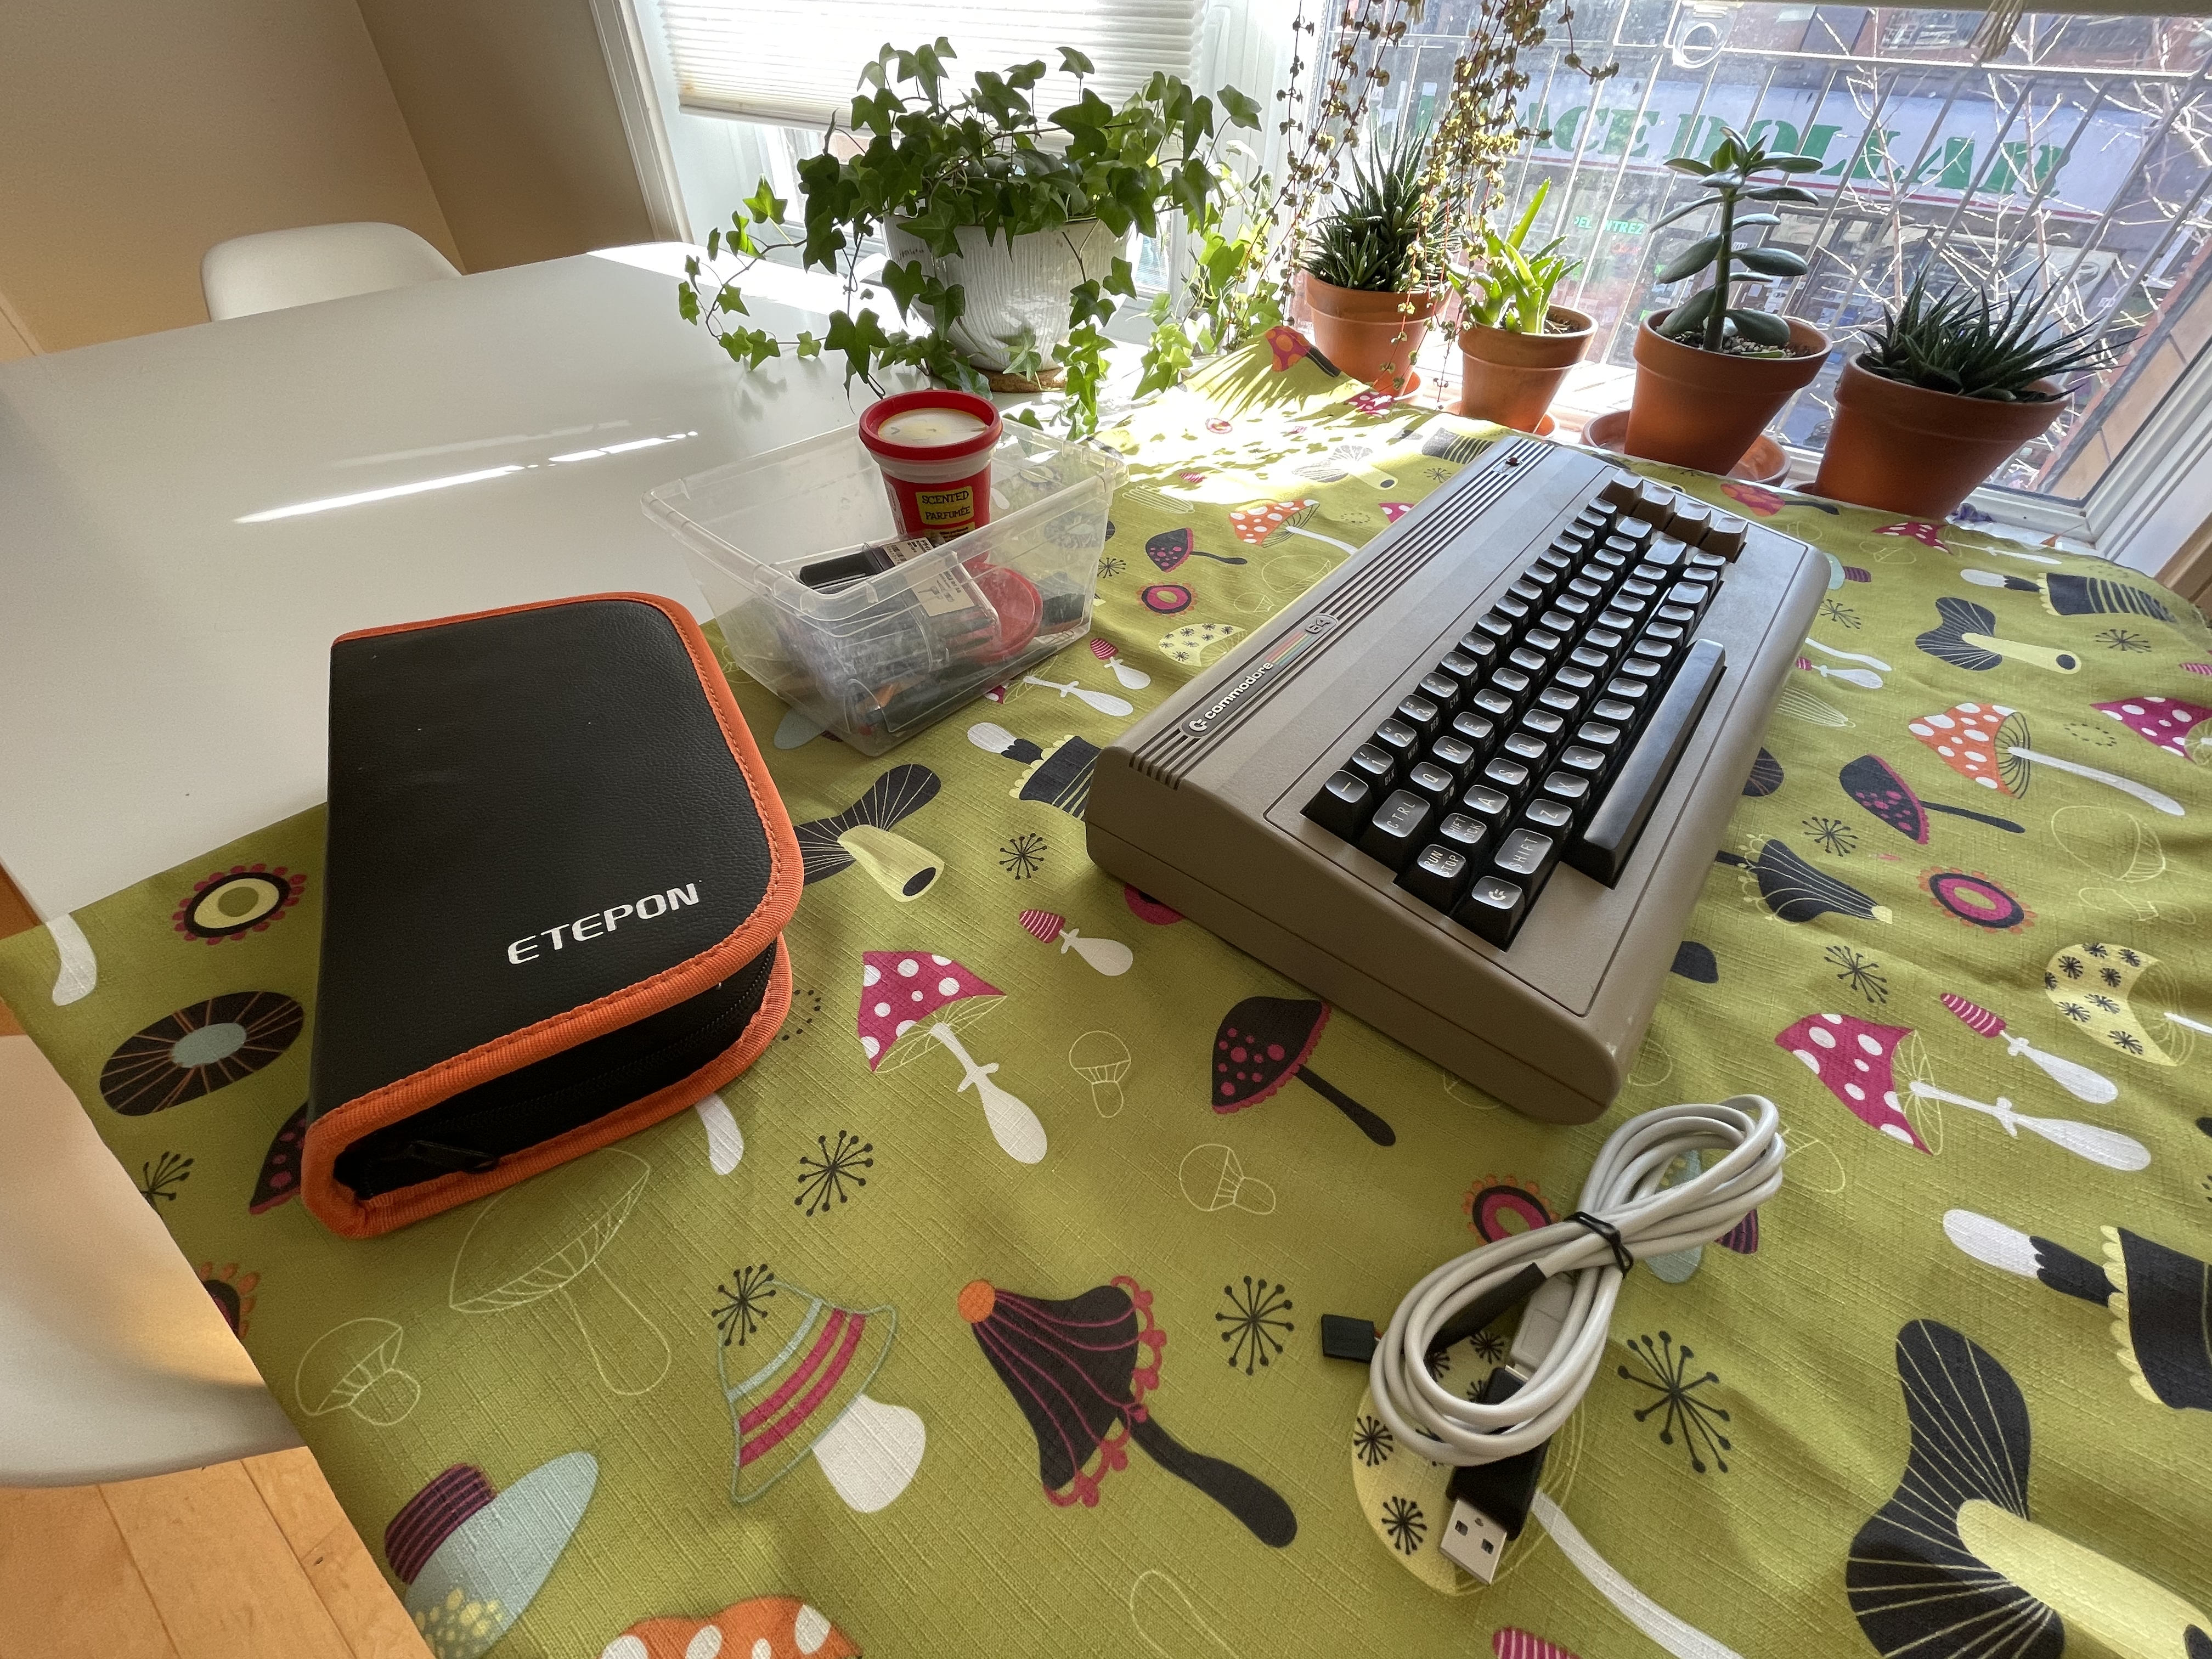
It quite honestly contained anything I could think of which would be needed for this project. I’d definitely recommend it as a starter kit, or as something to have available if you need to do the very occasional bit of electronics.
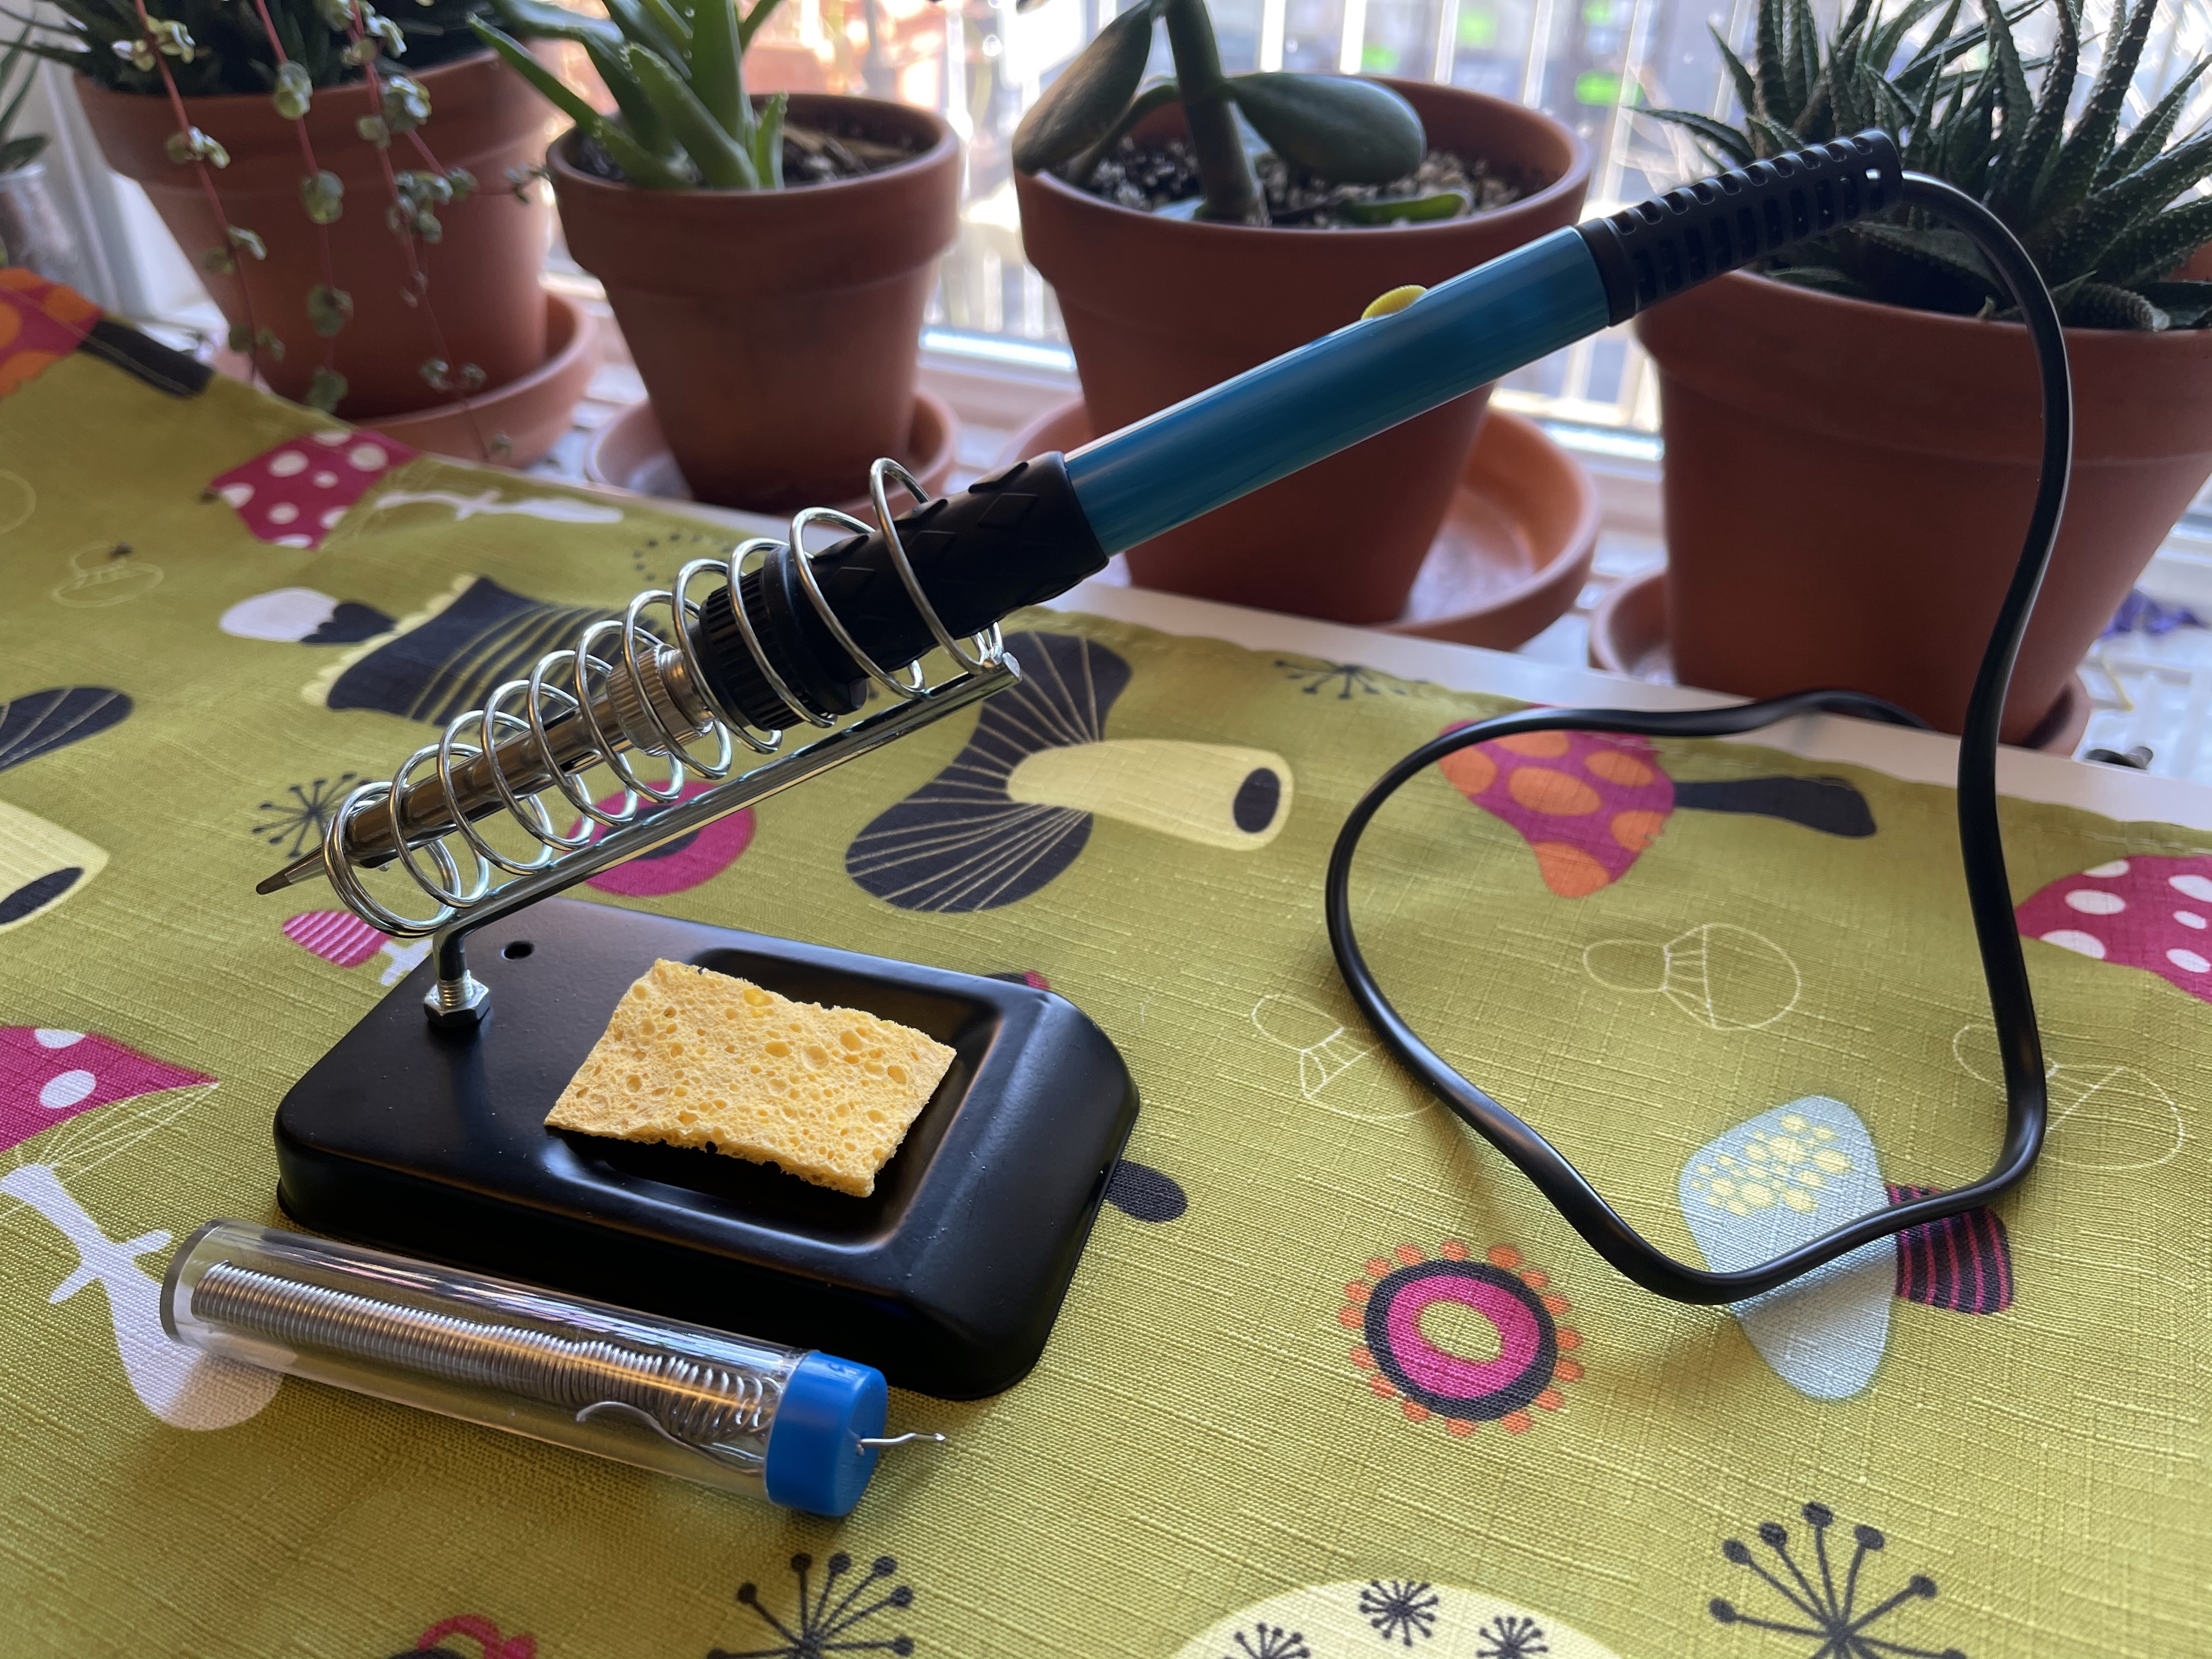
My main gripe is the flimsy nature of the soldering iron stand, which tended to fall over with the weight of the iron. This is obviously not ideal for a device which heats up to 450°C, and when I had the iron docked in it the slightest touch on the wire would make it want to tip over.
I’d definitely say that anyone planning on soldering more than a few times per year would be quickly driven mad, and would therefore be better advised to invest in a higher quality kit. But for my own purposes, and in-spite of the annoyances, it did a solid job.
It was also nice to have in the kit extras such as a mini screwdriver, wire-strip cutter and a solder pump along with many other useful items. In an electronics emergency, you’d pretty much have anything you could need.
Keyboard De(con)struction
Having watched lots and lots of YouTube videos on restoring 8-bit machines and finding myself becoming more and more intimidated, I settled on this one from Jan Beta’s channel. Although the video shows the cleaning of a latter incatnation of the device (the Commodore 64 C), the innards are basically the same, as is the cleaning process.
There are some guides which recommend putting the keyboard in a dish washer, but that feels a little daring for my tastes, so I decided to go with the more manual process.
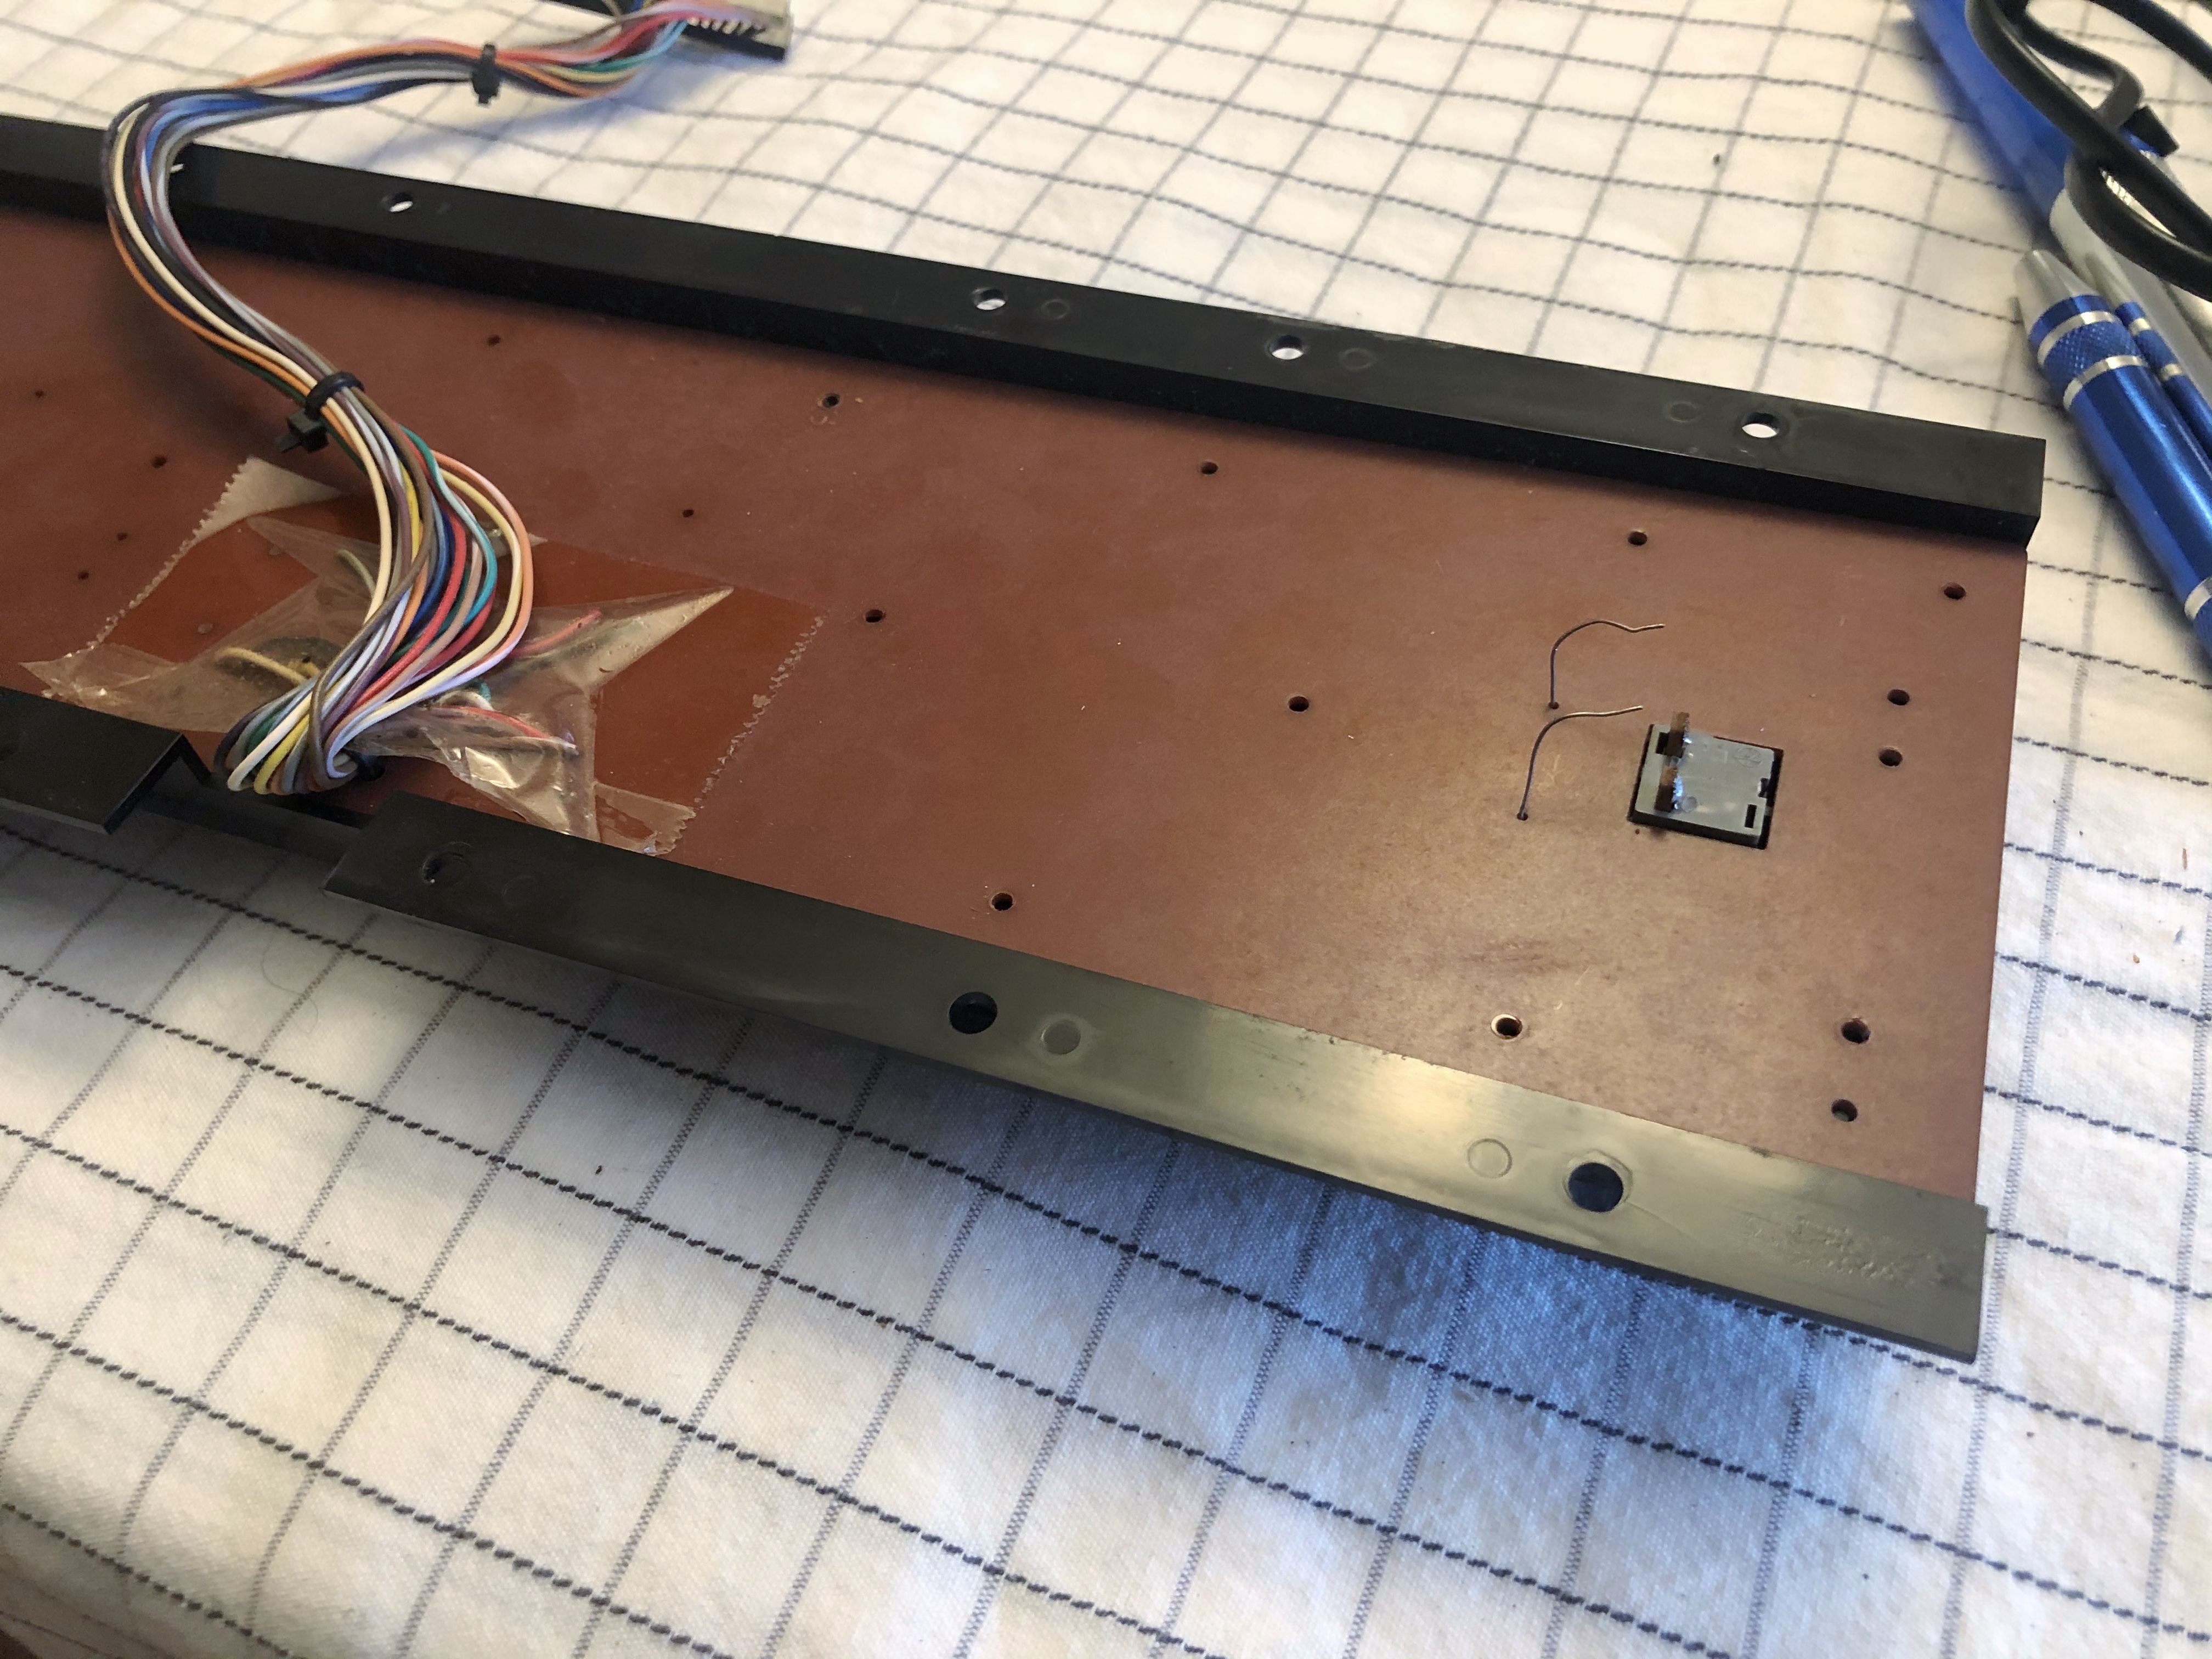
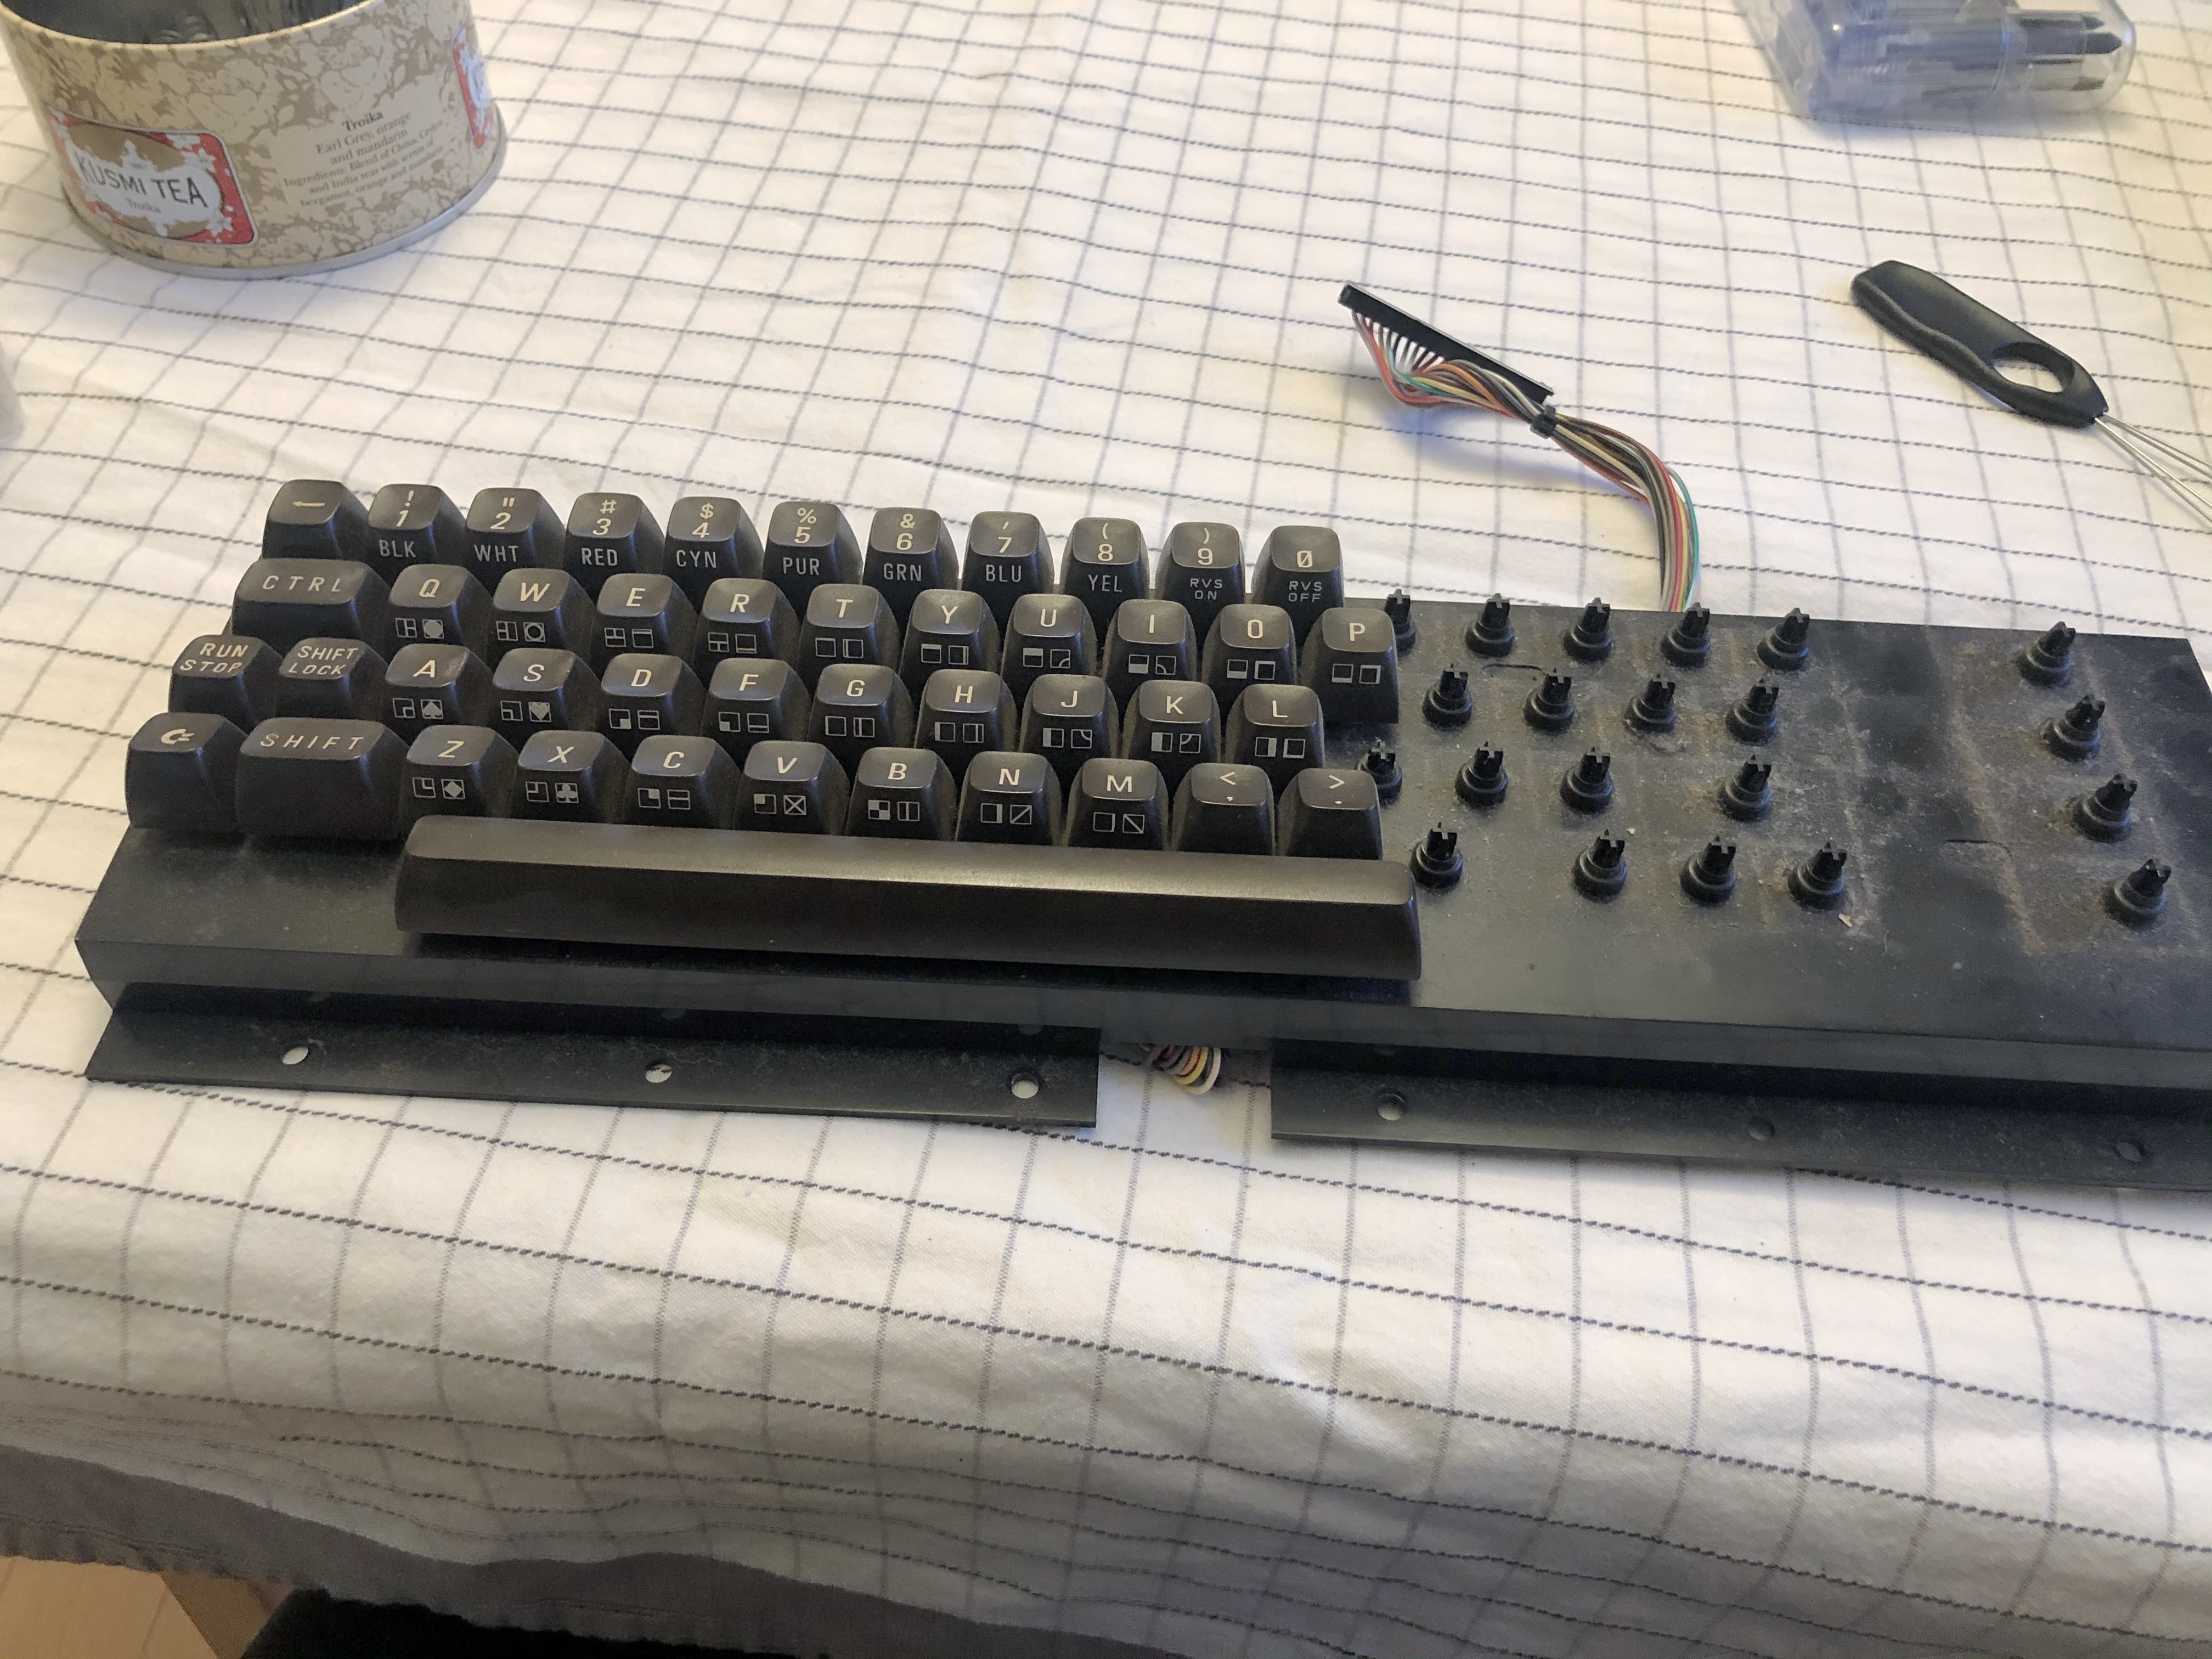
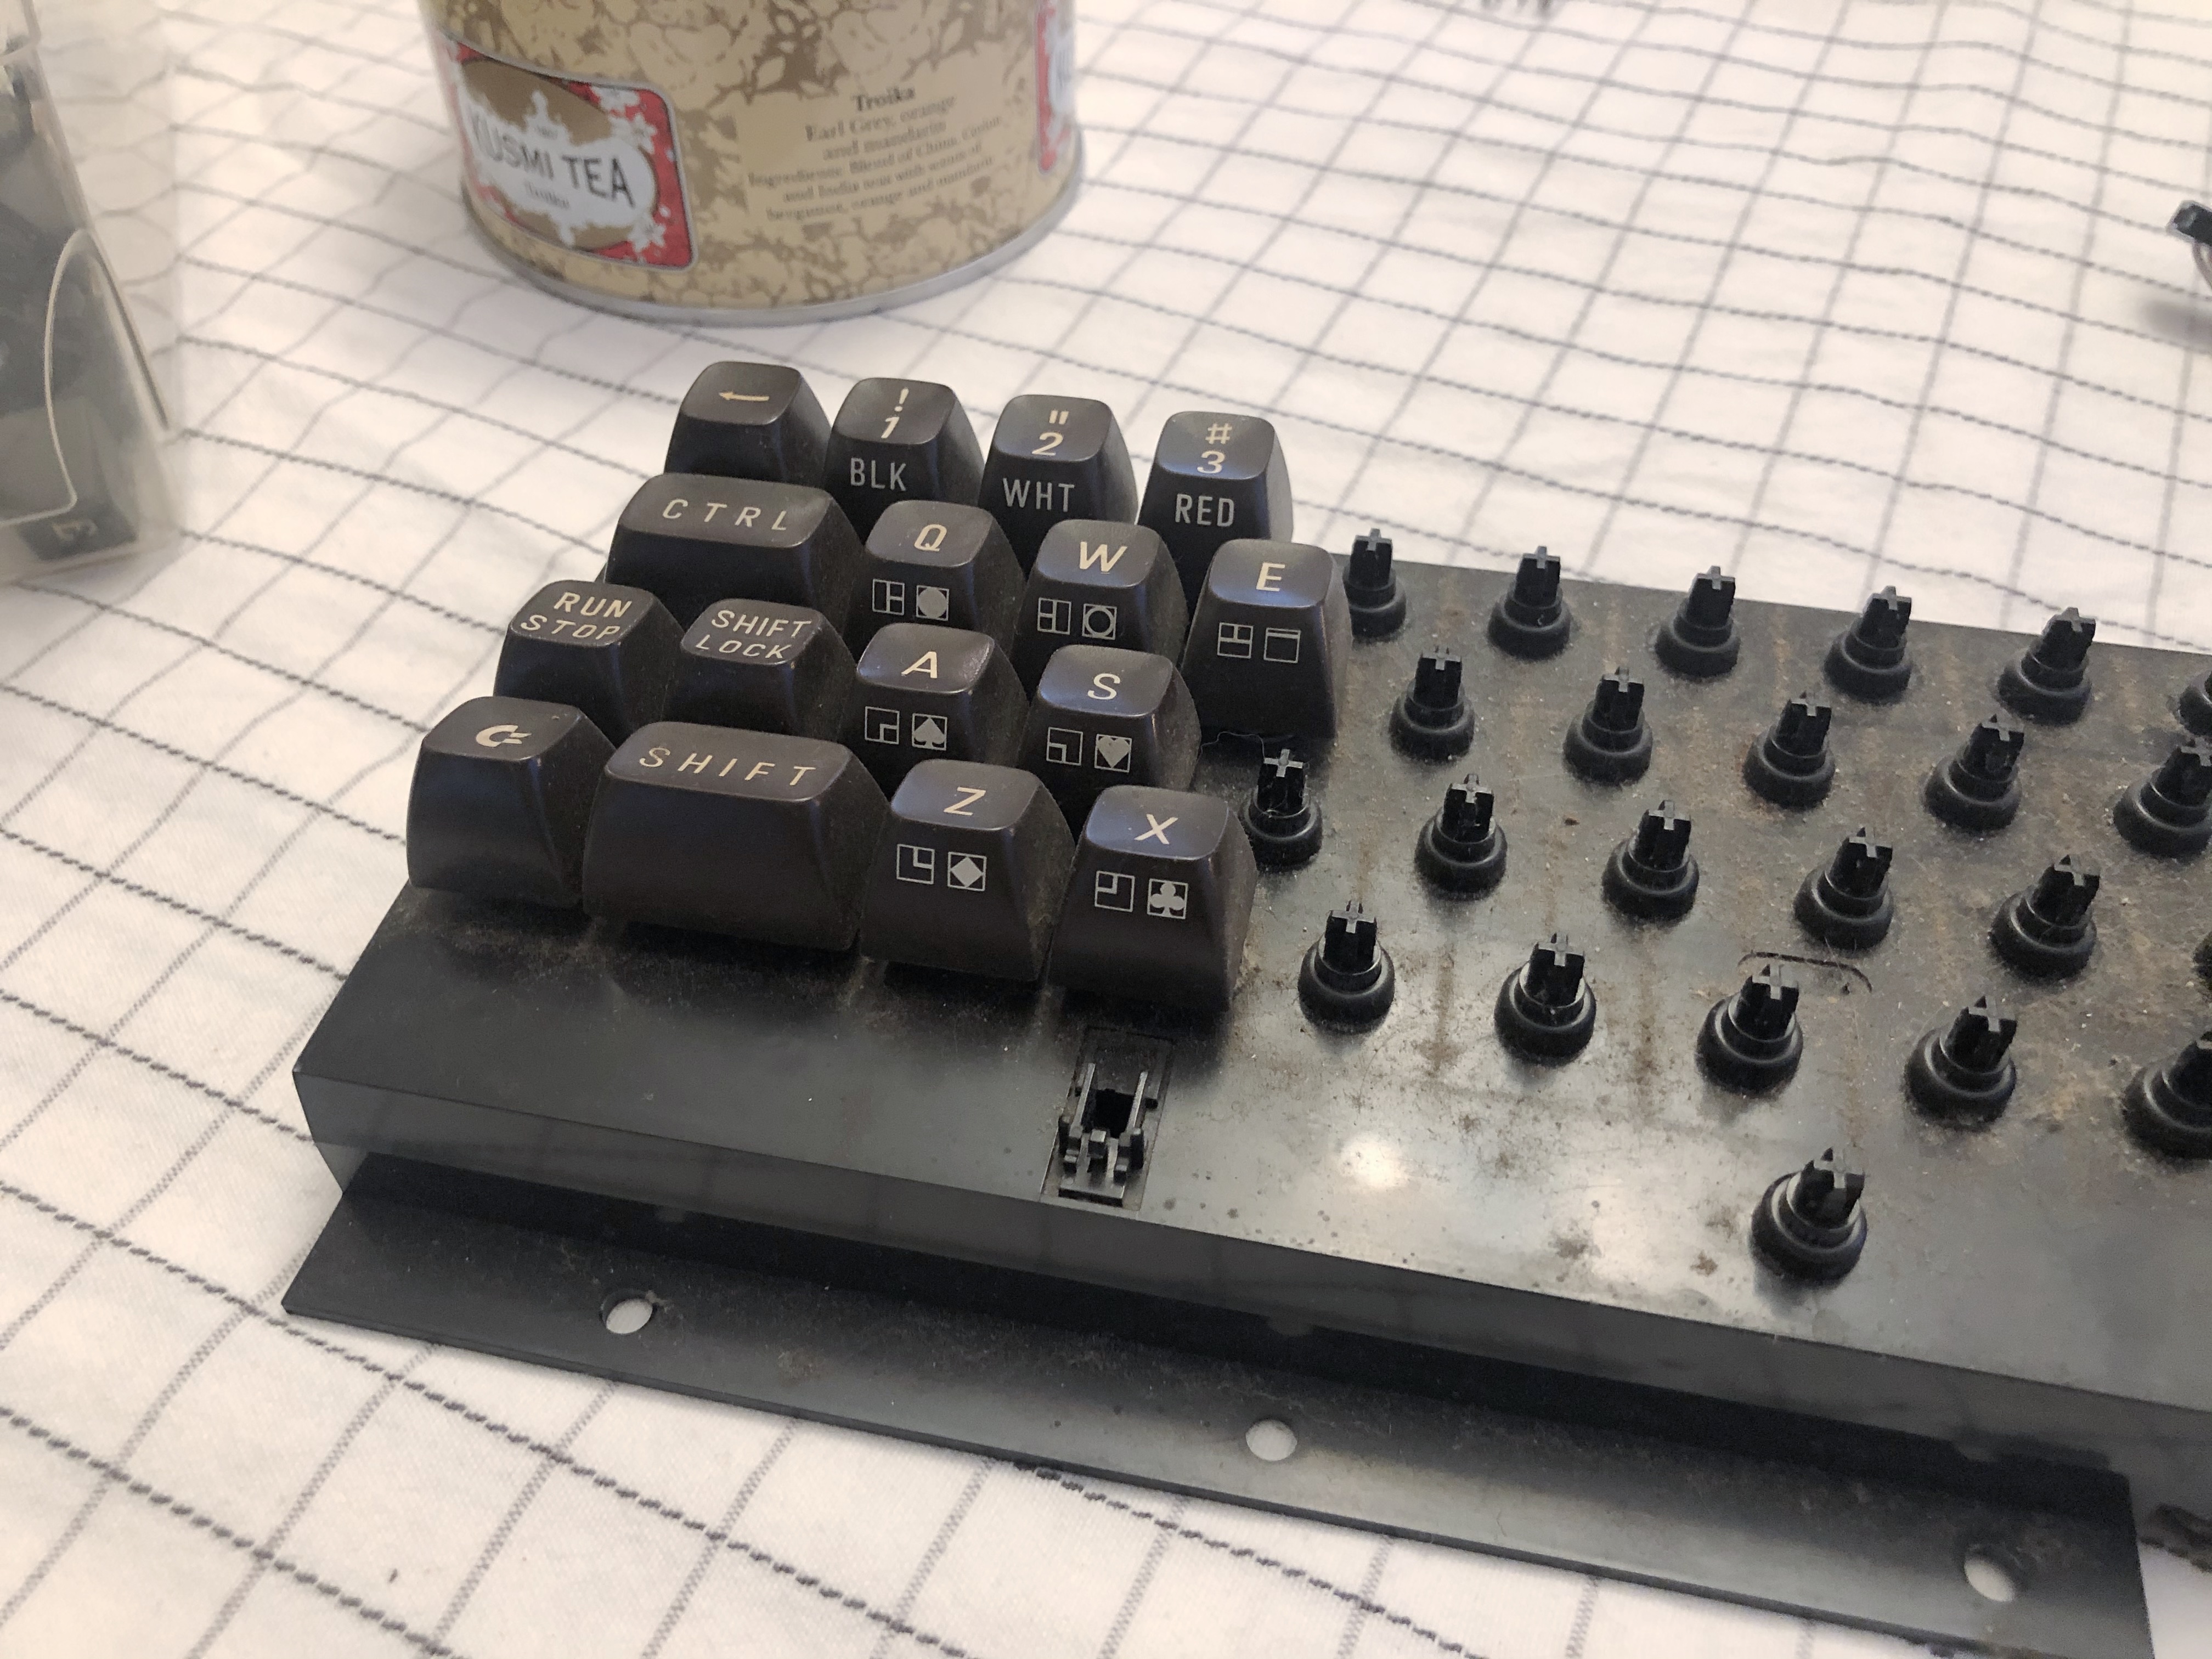
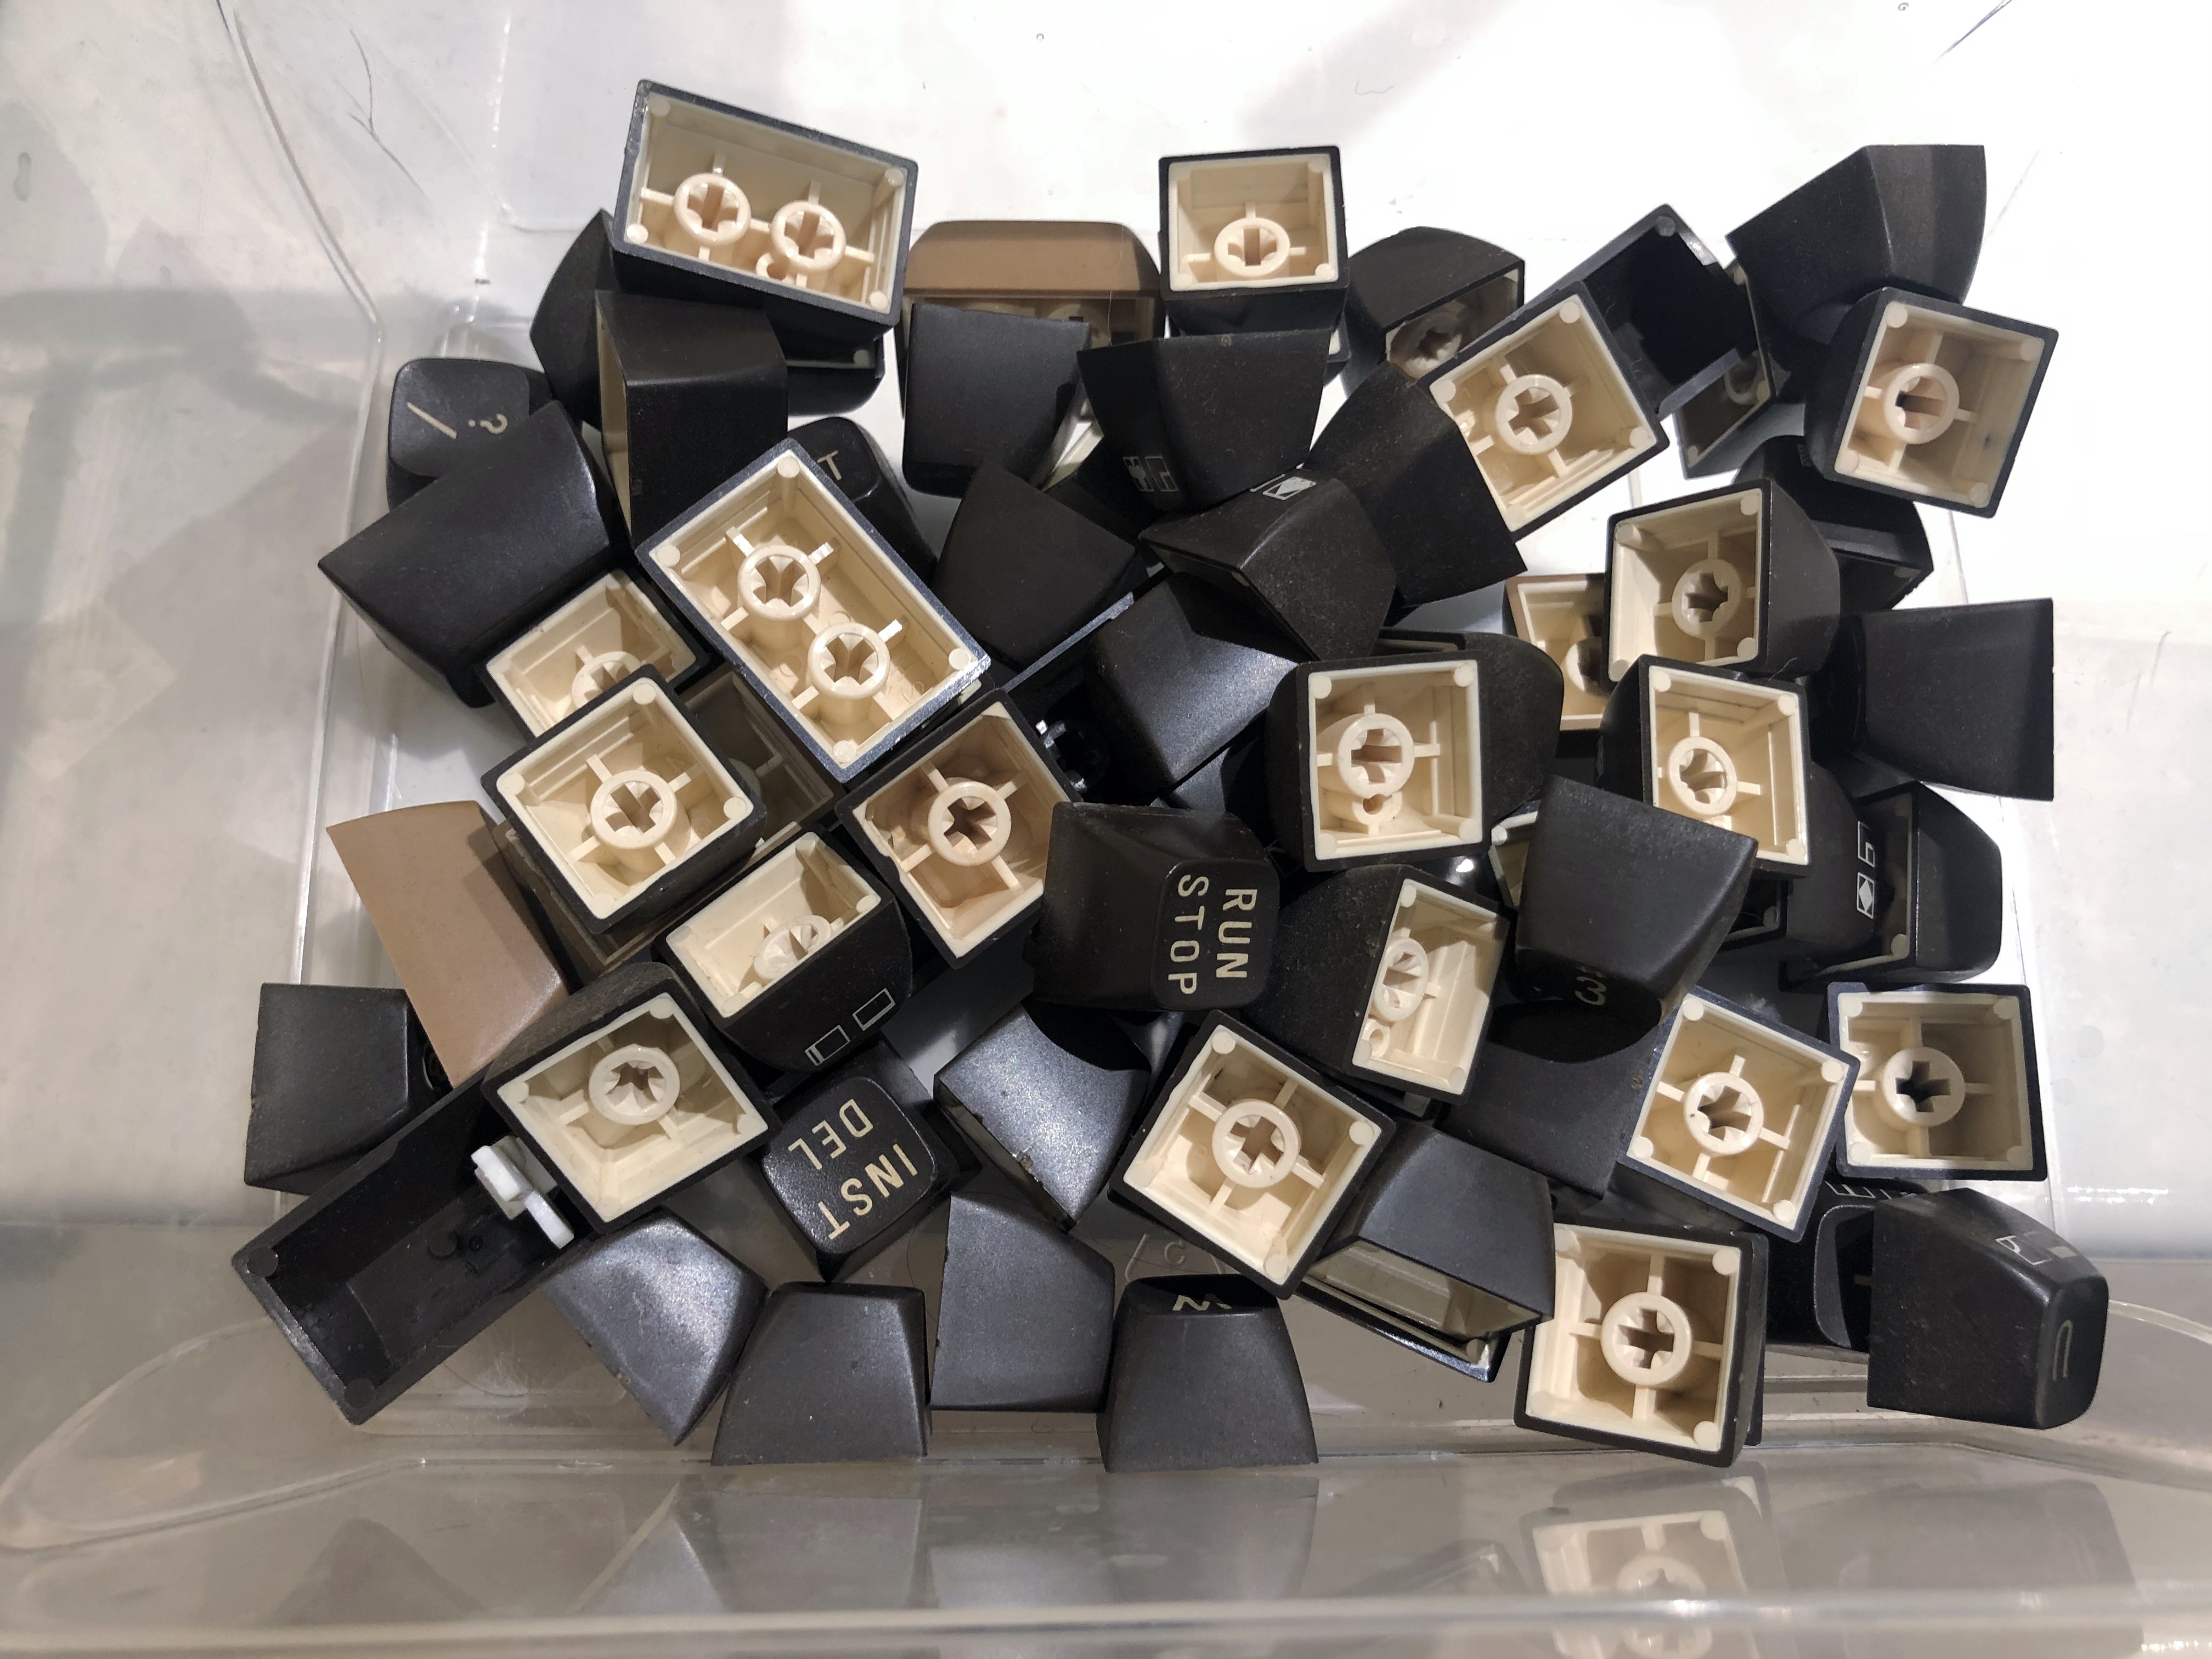
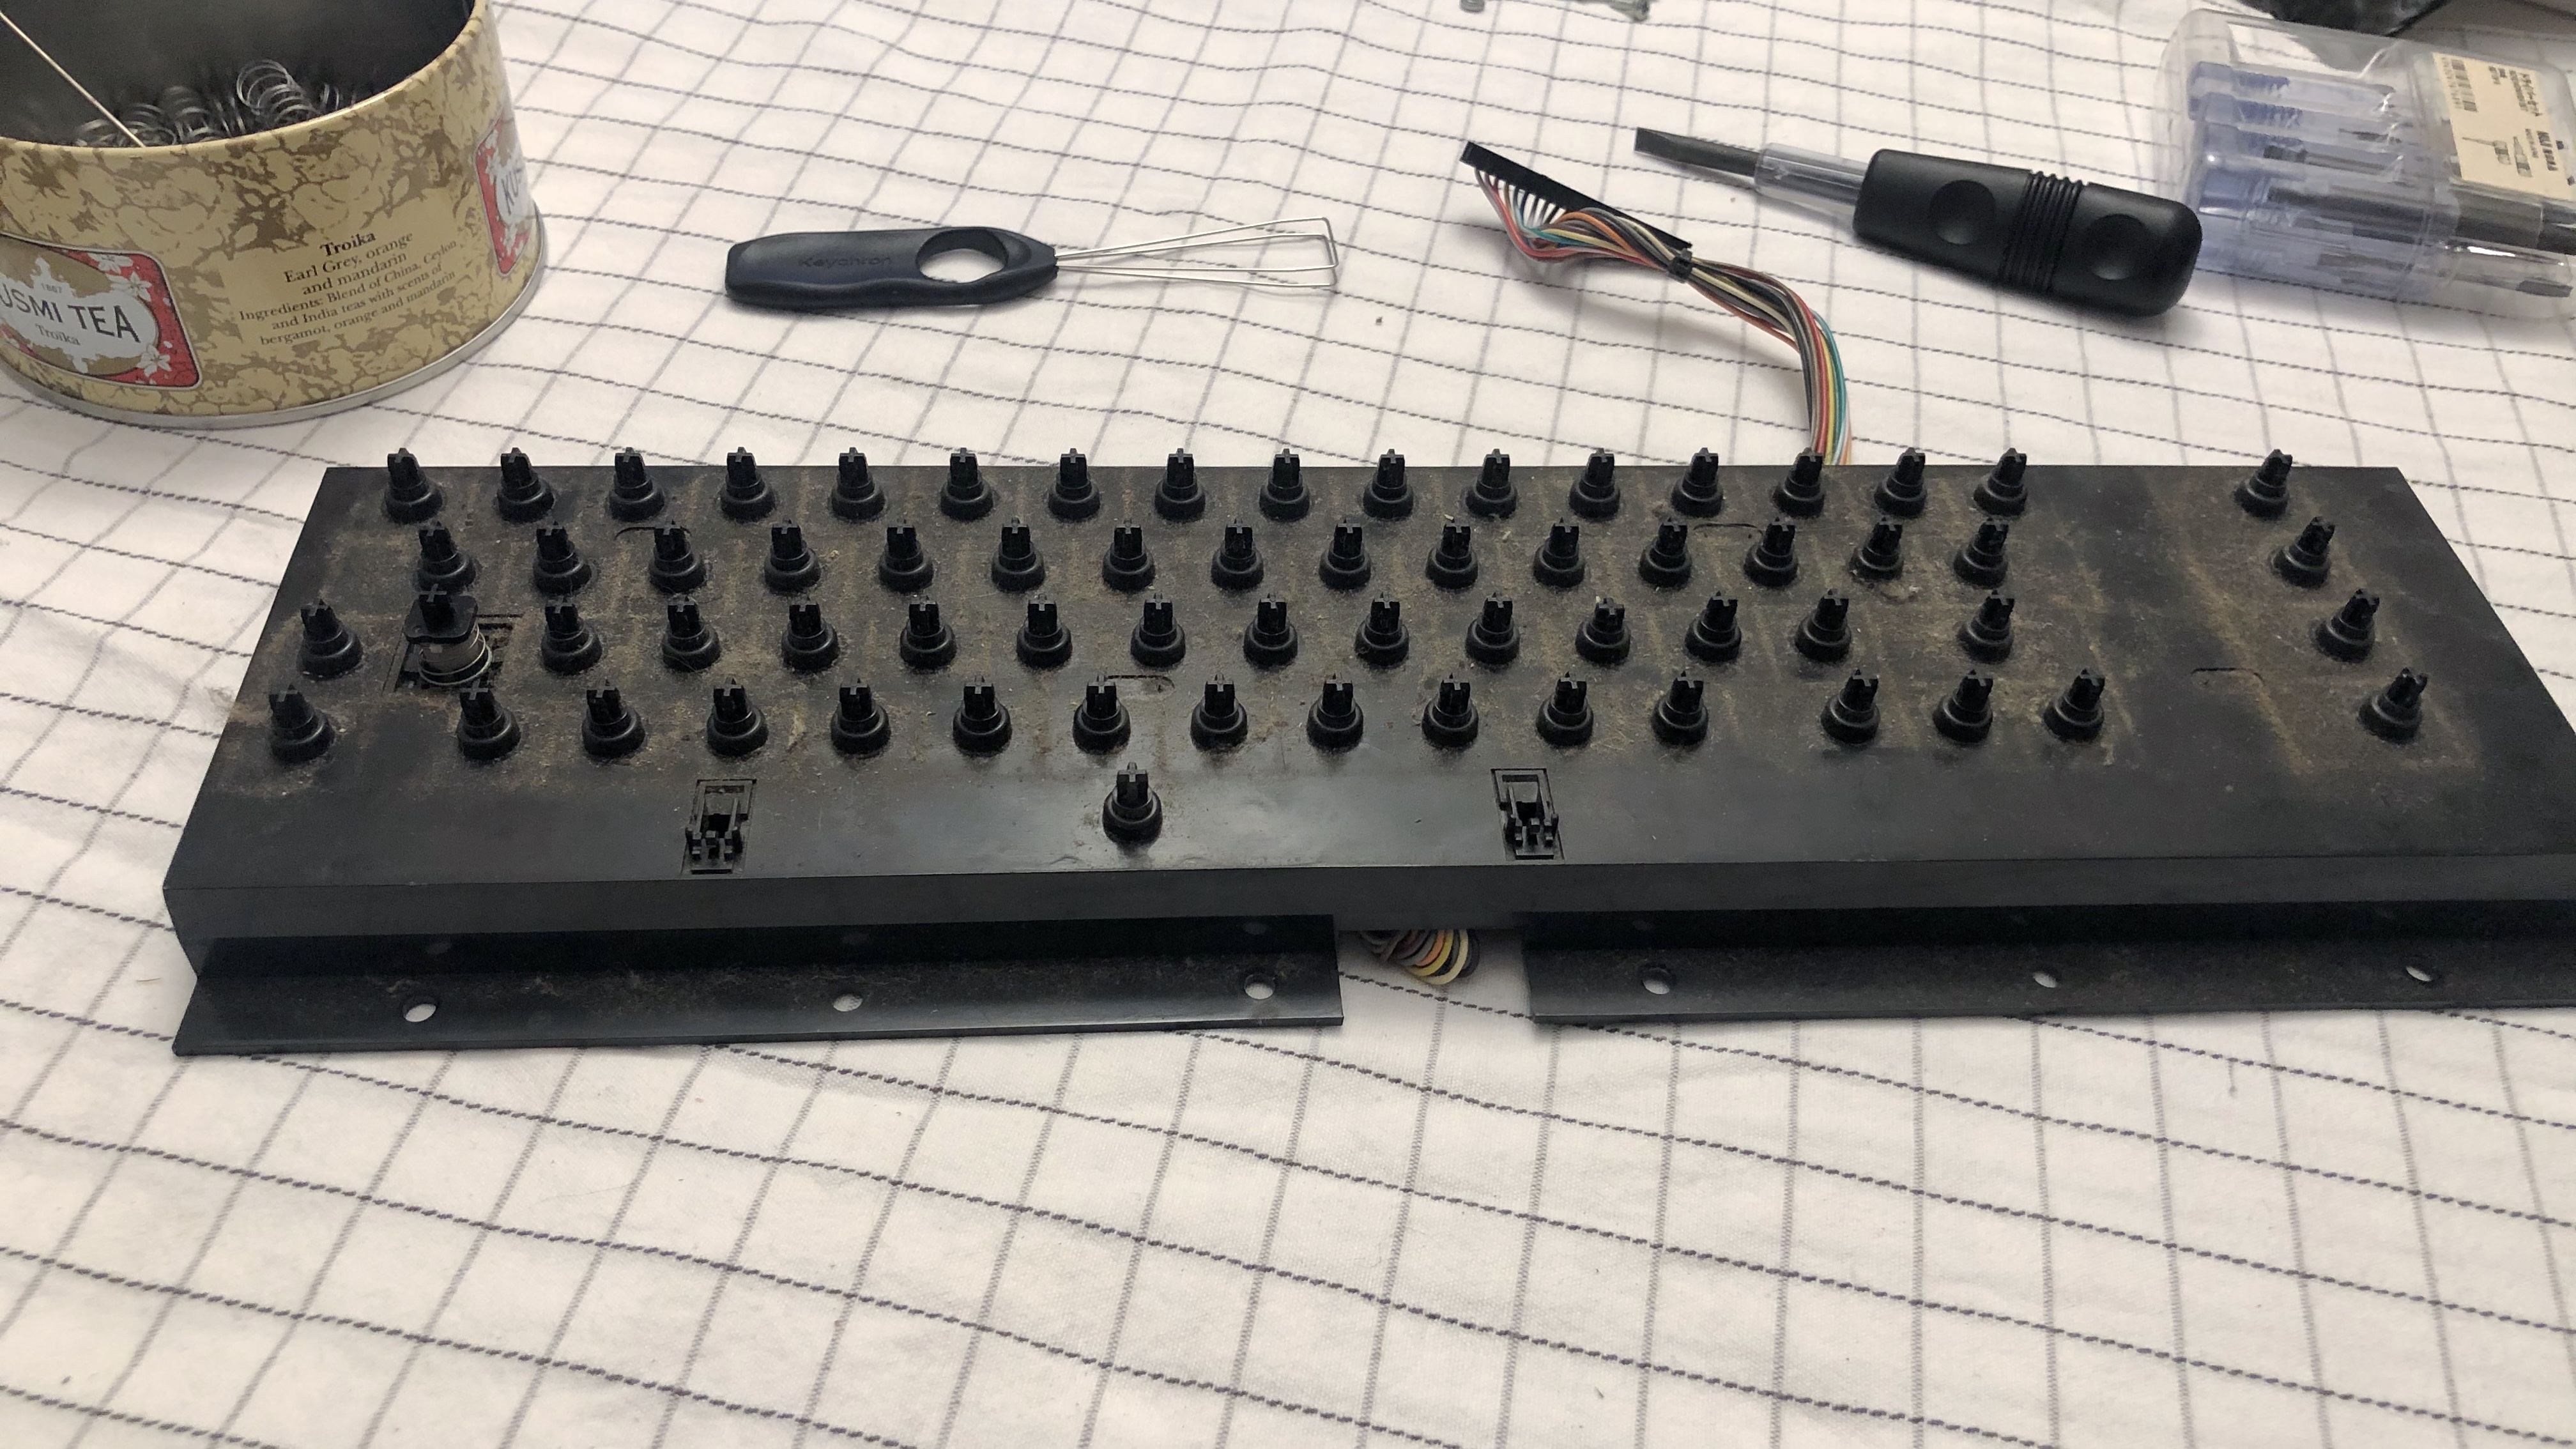
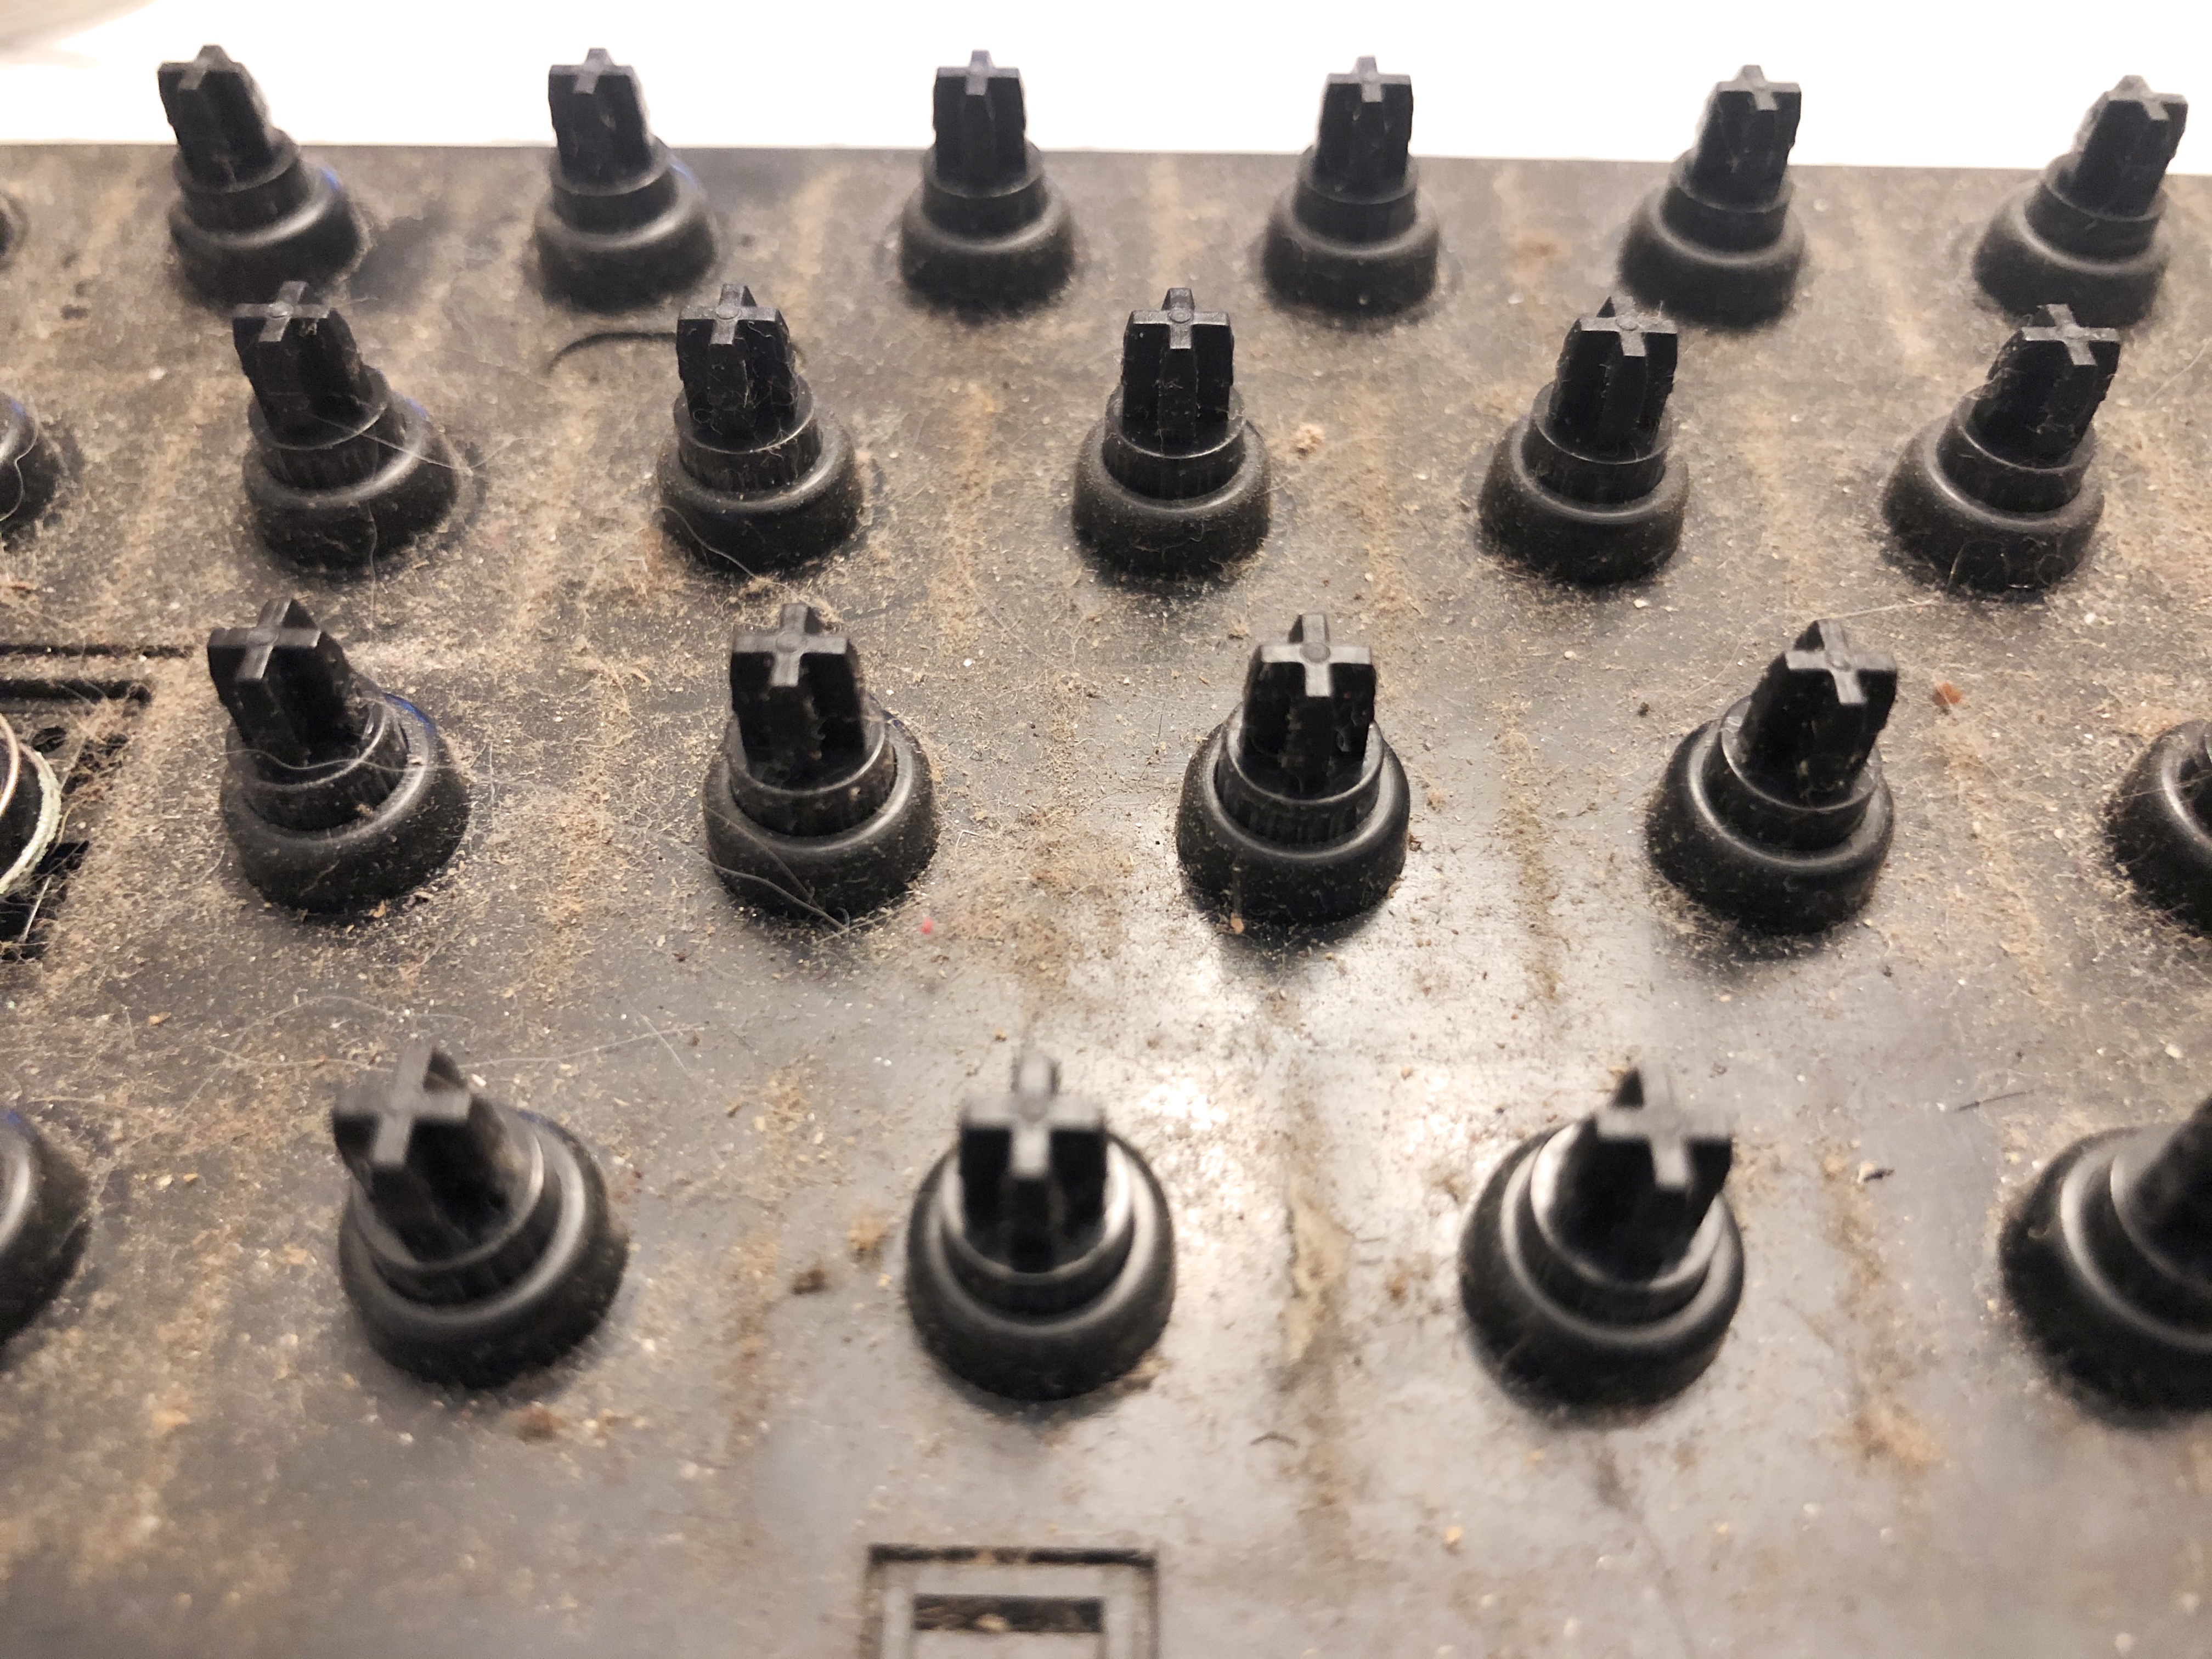
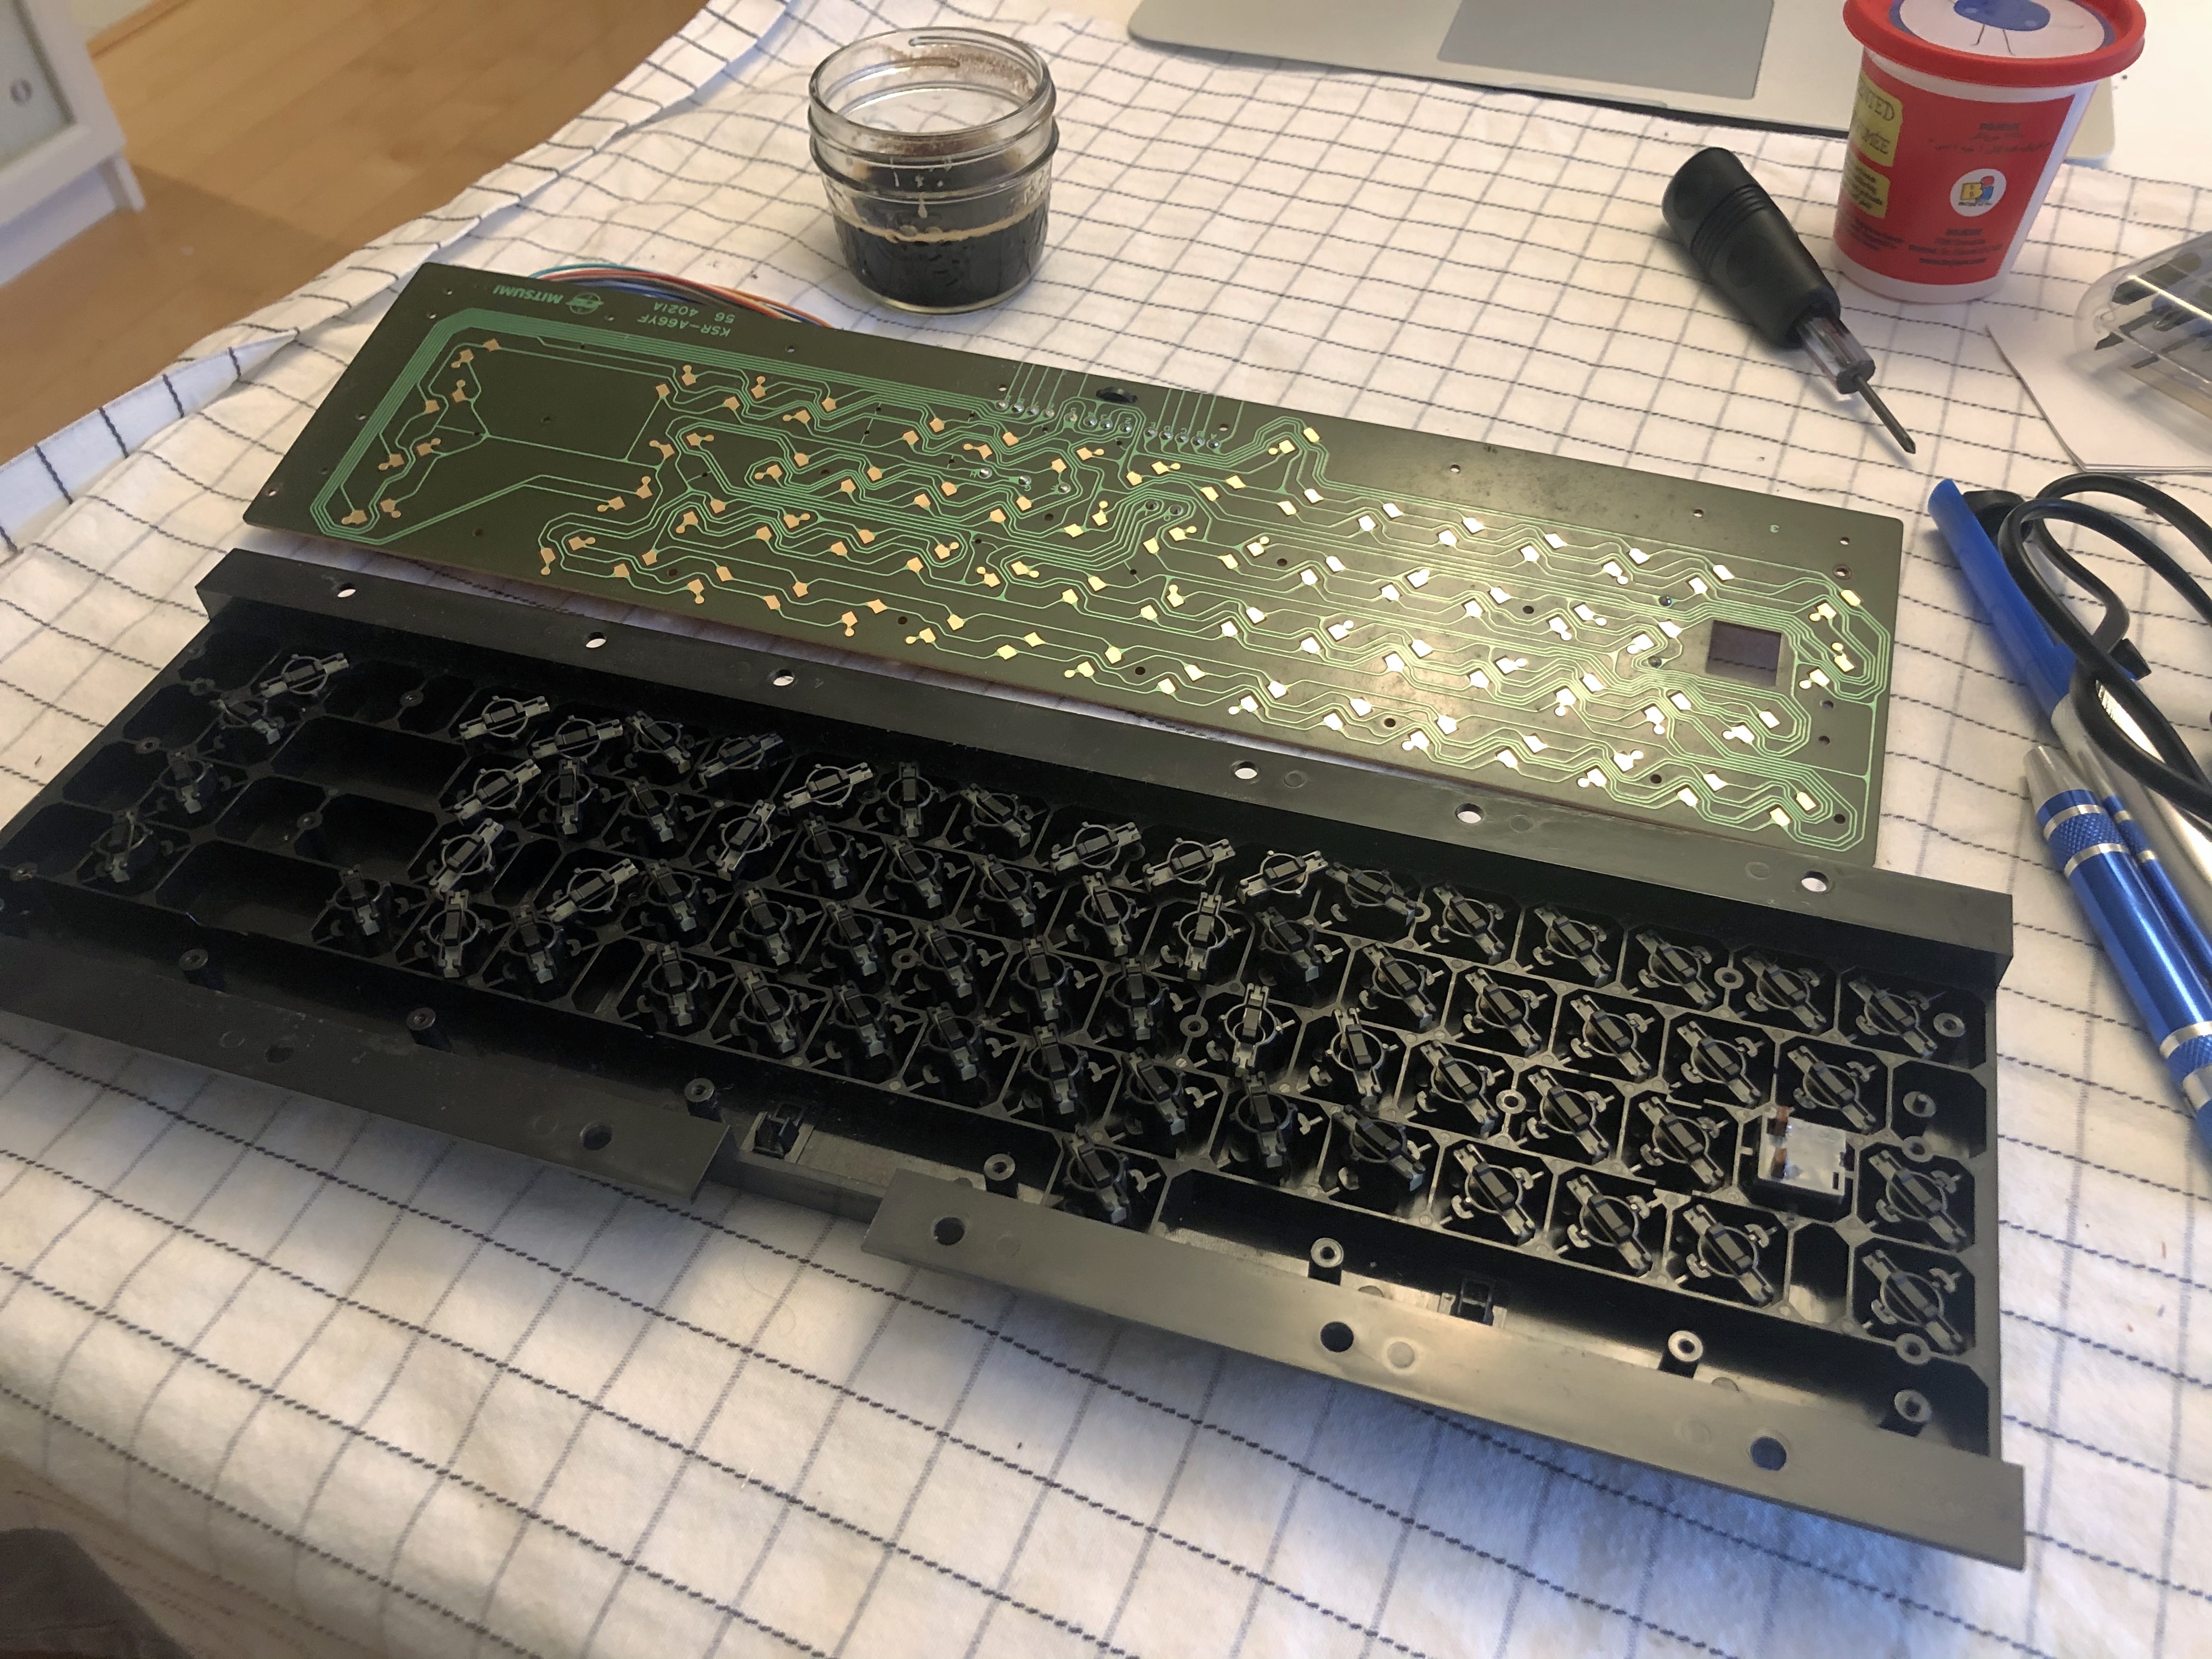
Once I’d removed the keyboard from the chassis, it was immediately obvious how dirty it was. Years of accumulated dust had stuck to the casing and no doubt worked its way under the keys to prevent them from making contact with the circuit board underneath.
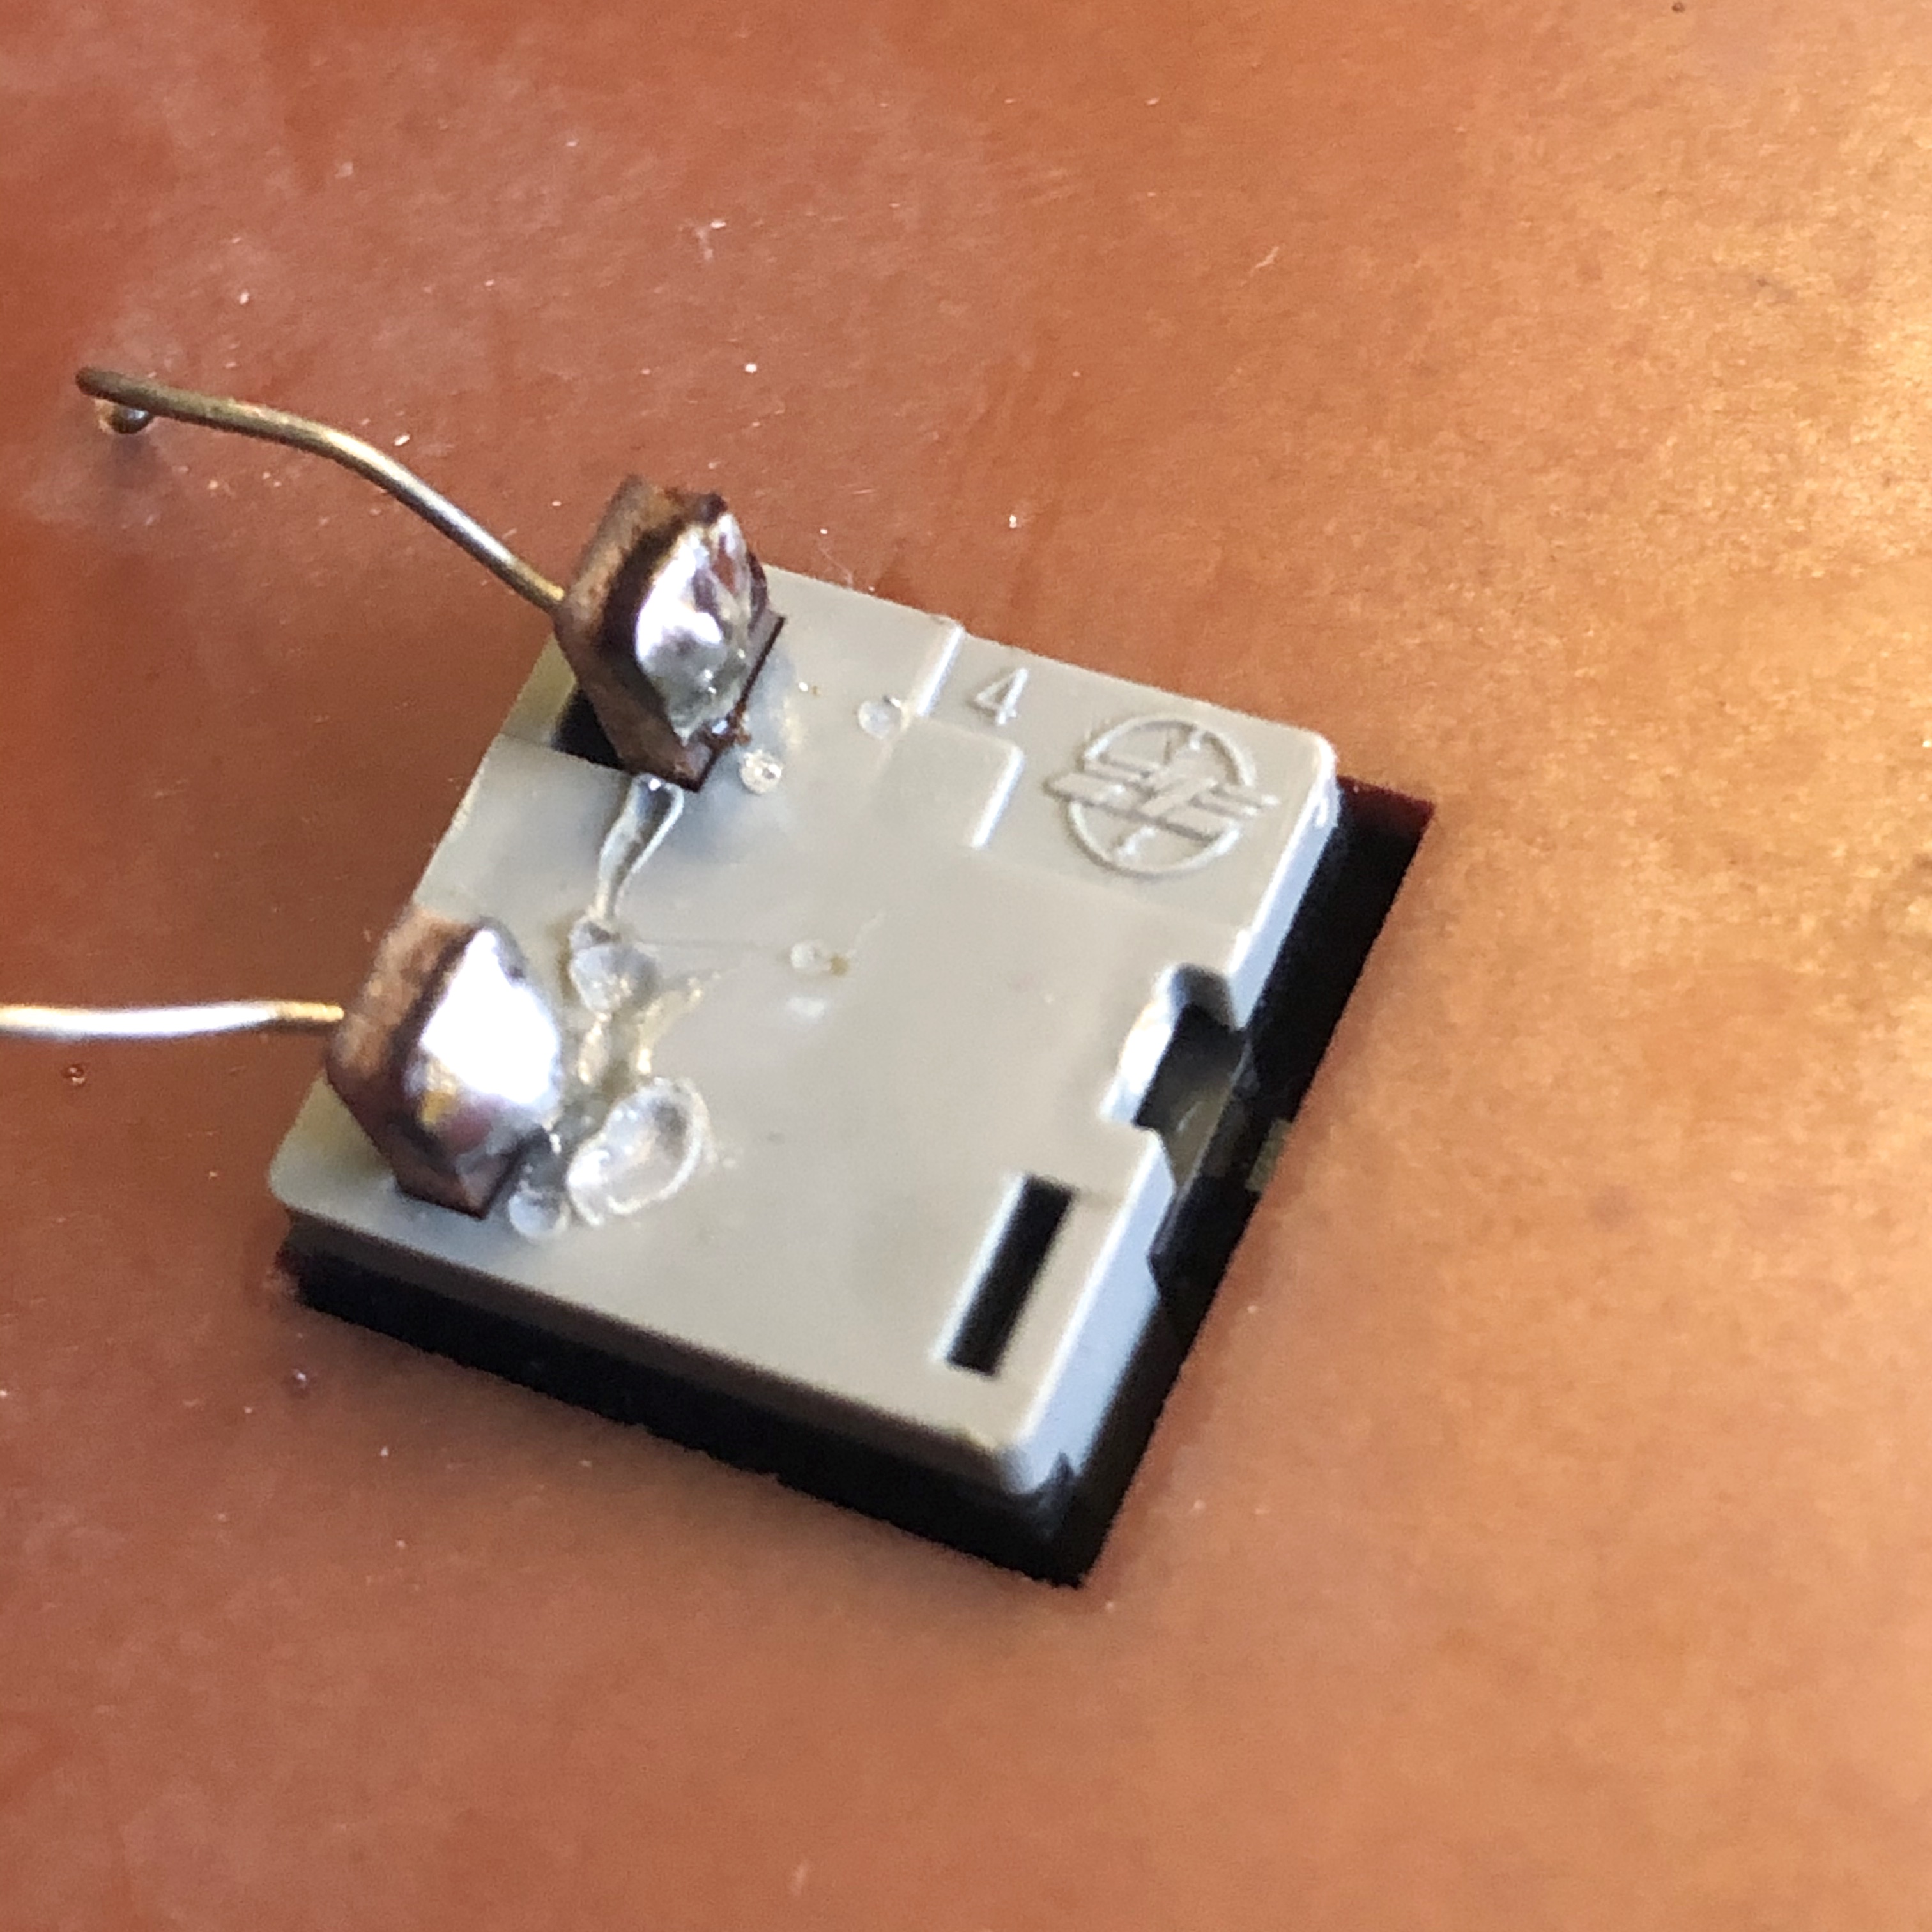
The trickiest part was de-soldering the shift-lock key. This particular key is different to the rest, in that it’s a switch which physically locks into place when you press it. Underneath, it’s soldered into place so in order to remove it we need to get the soldering iron out.
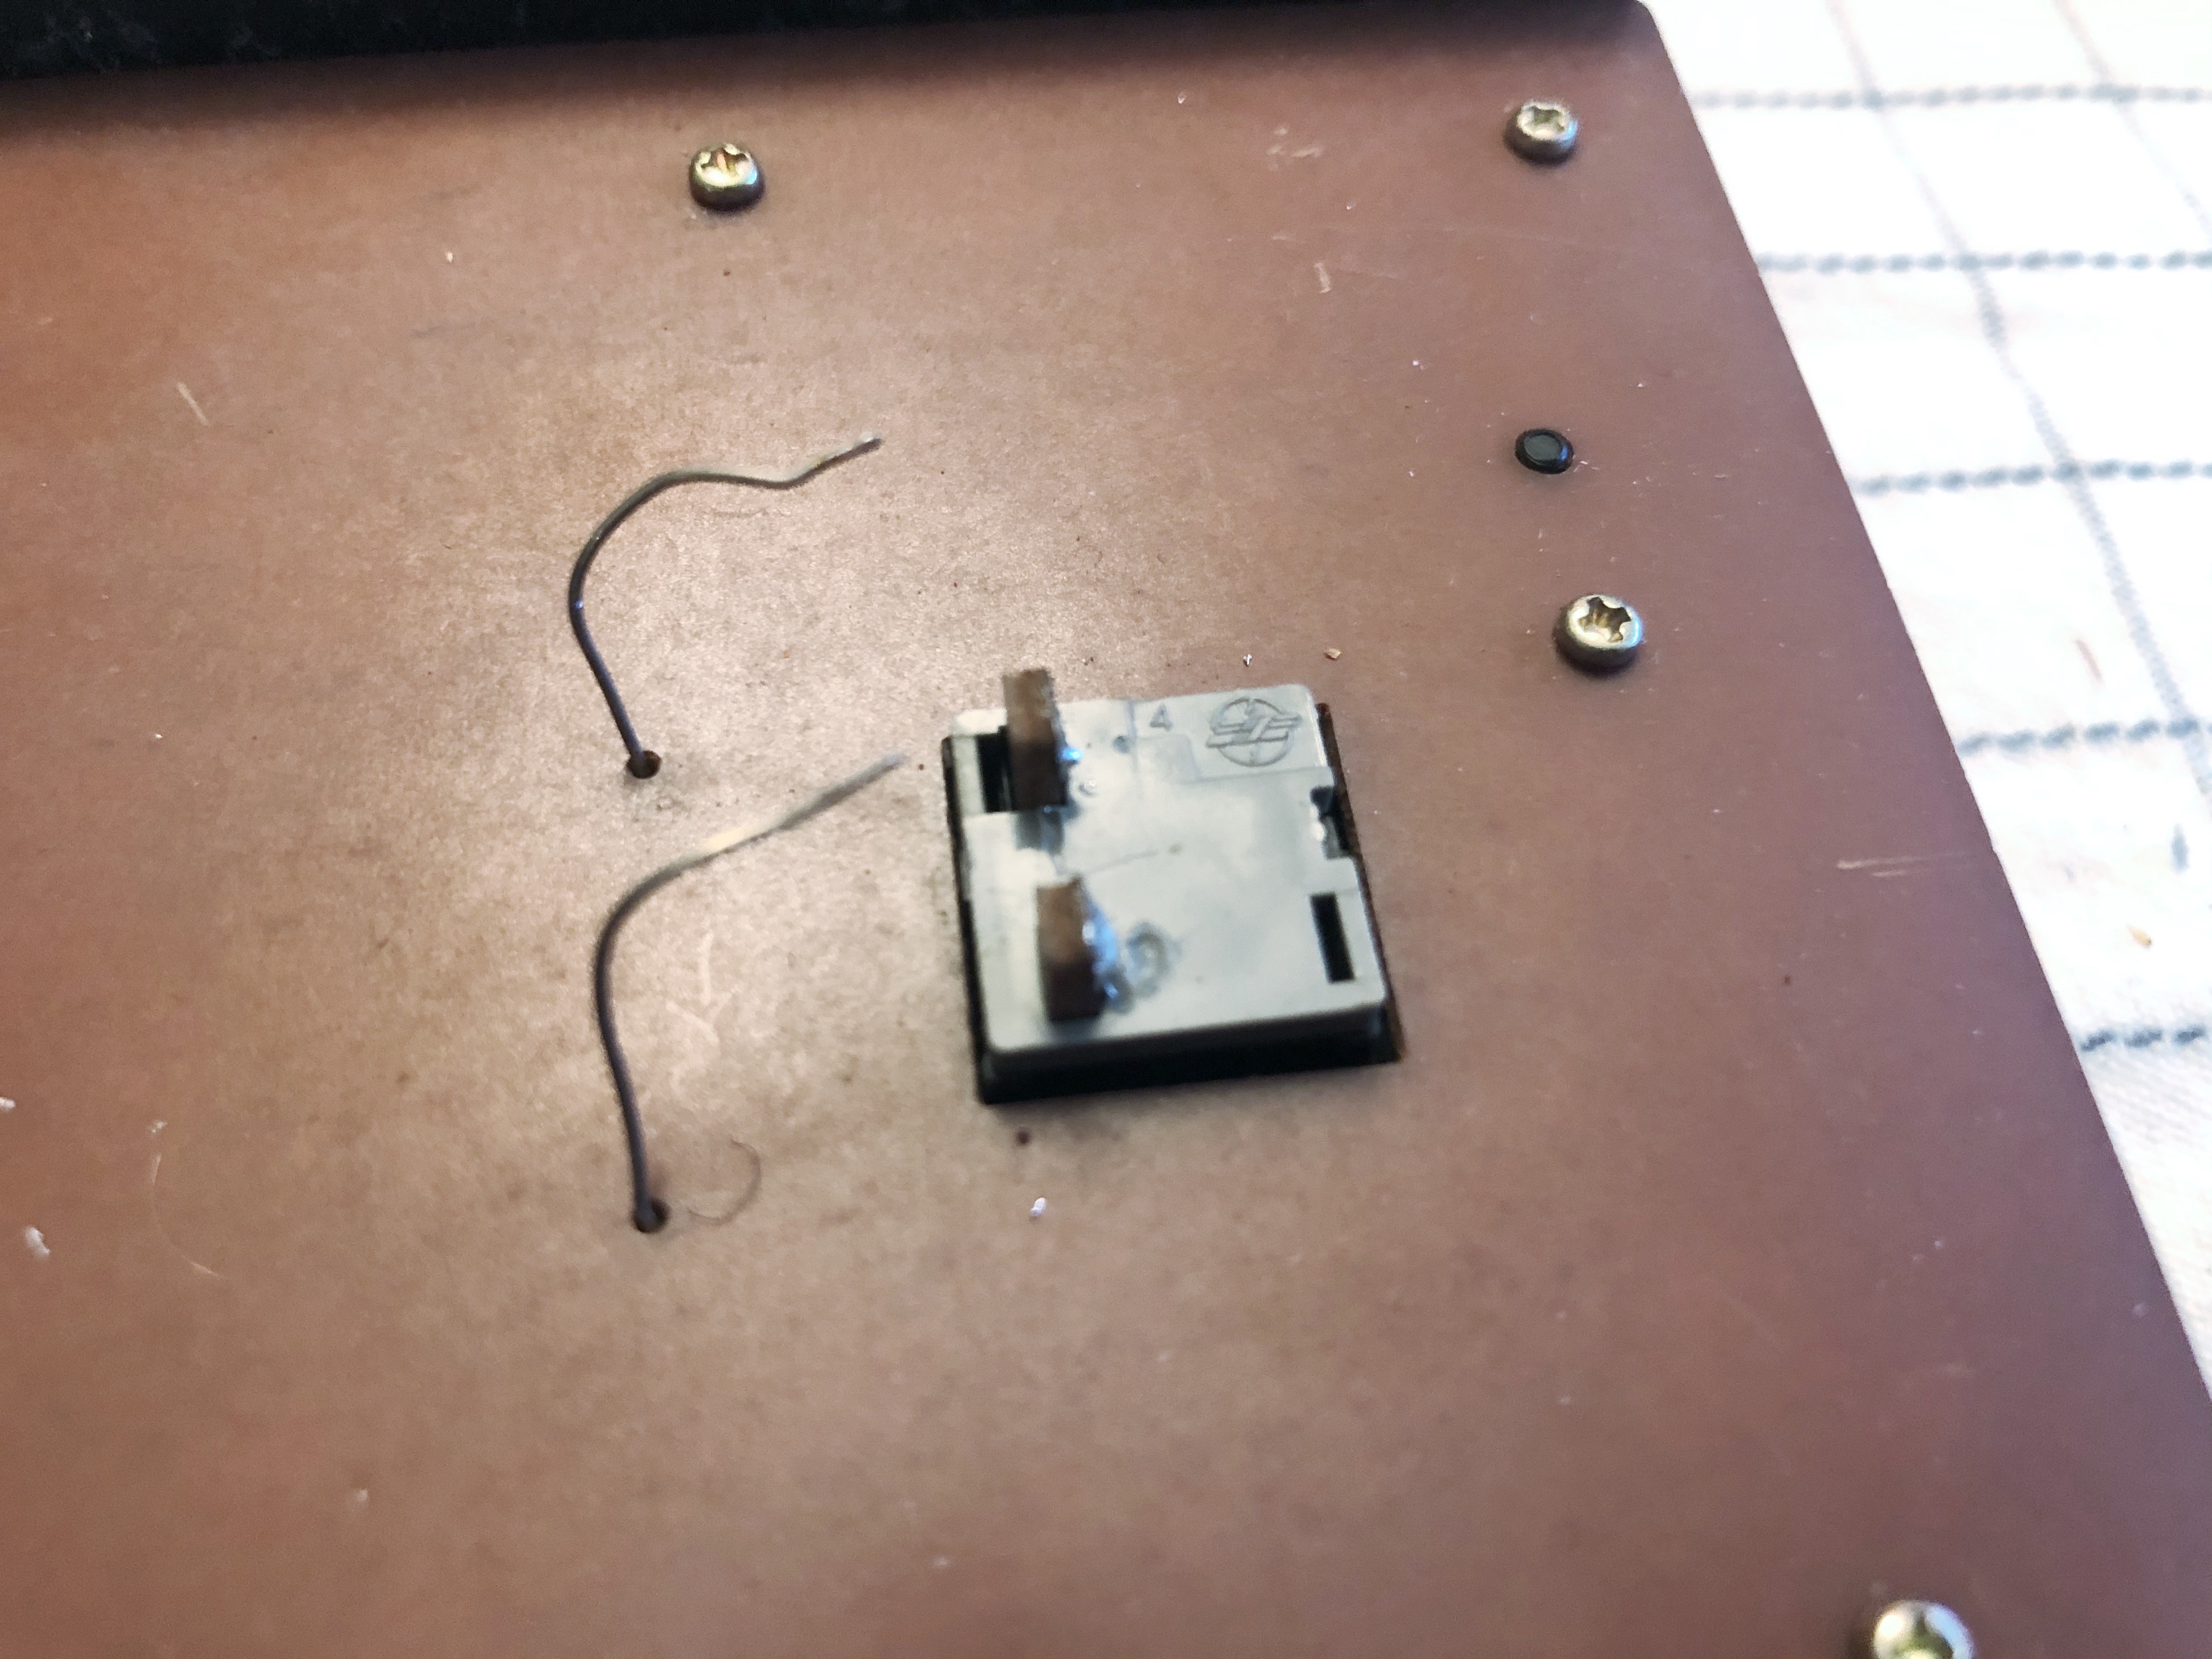
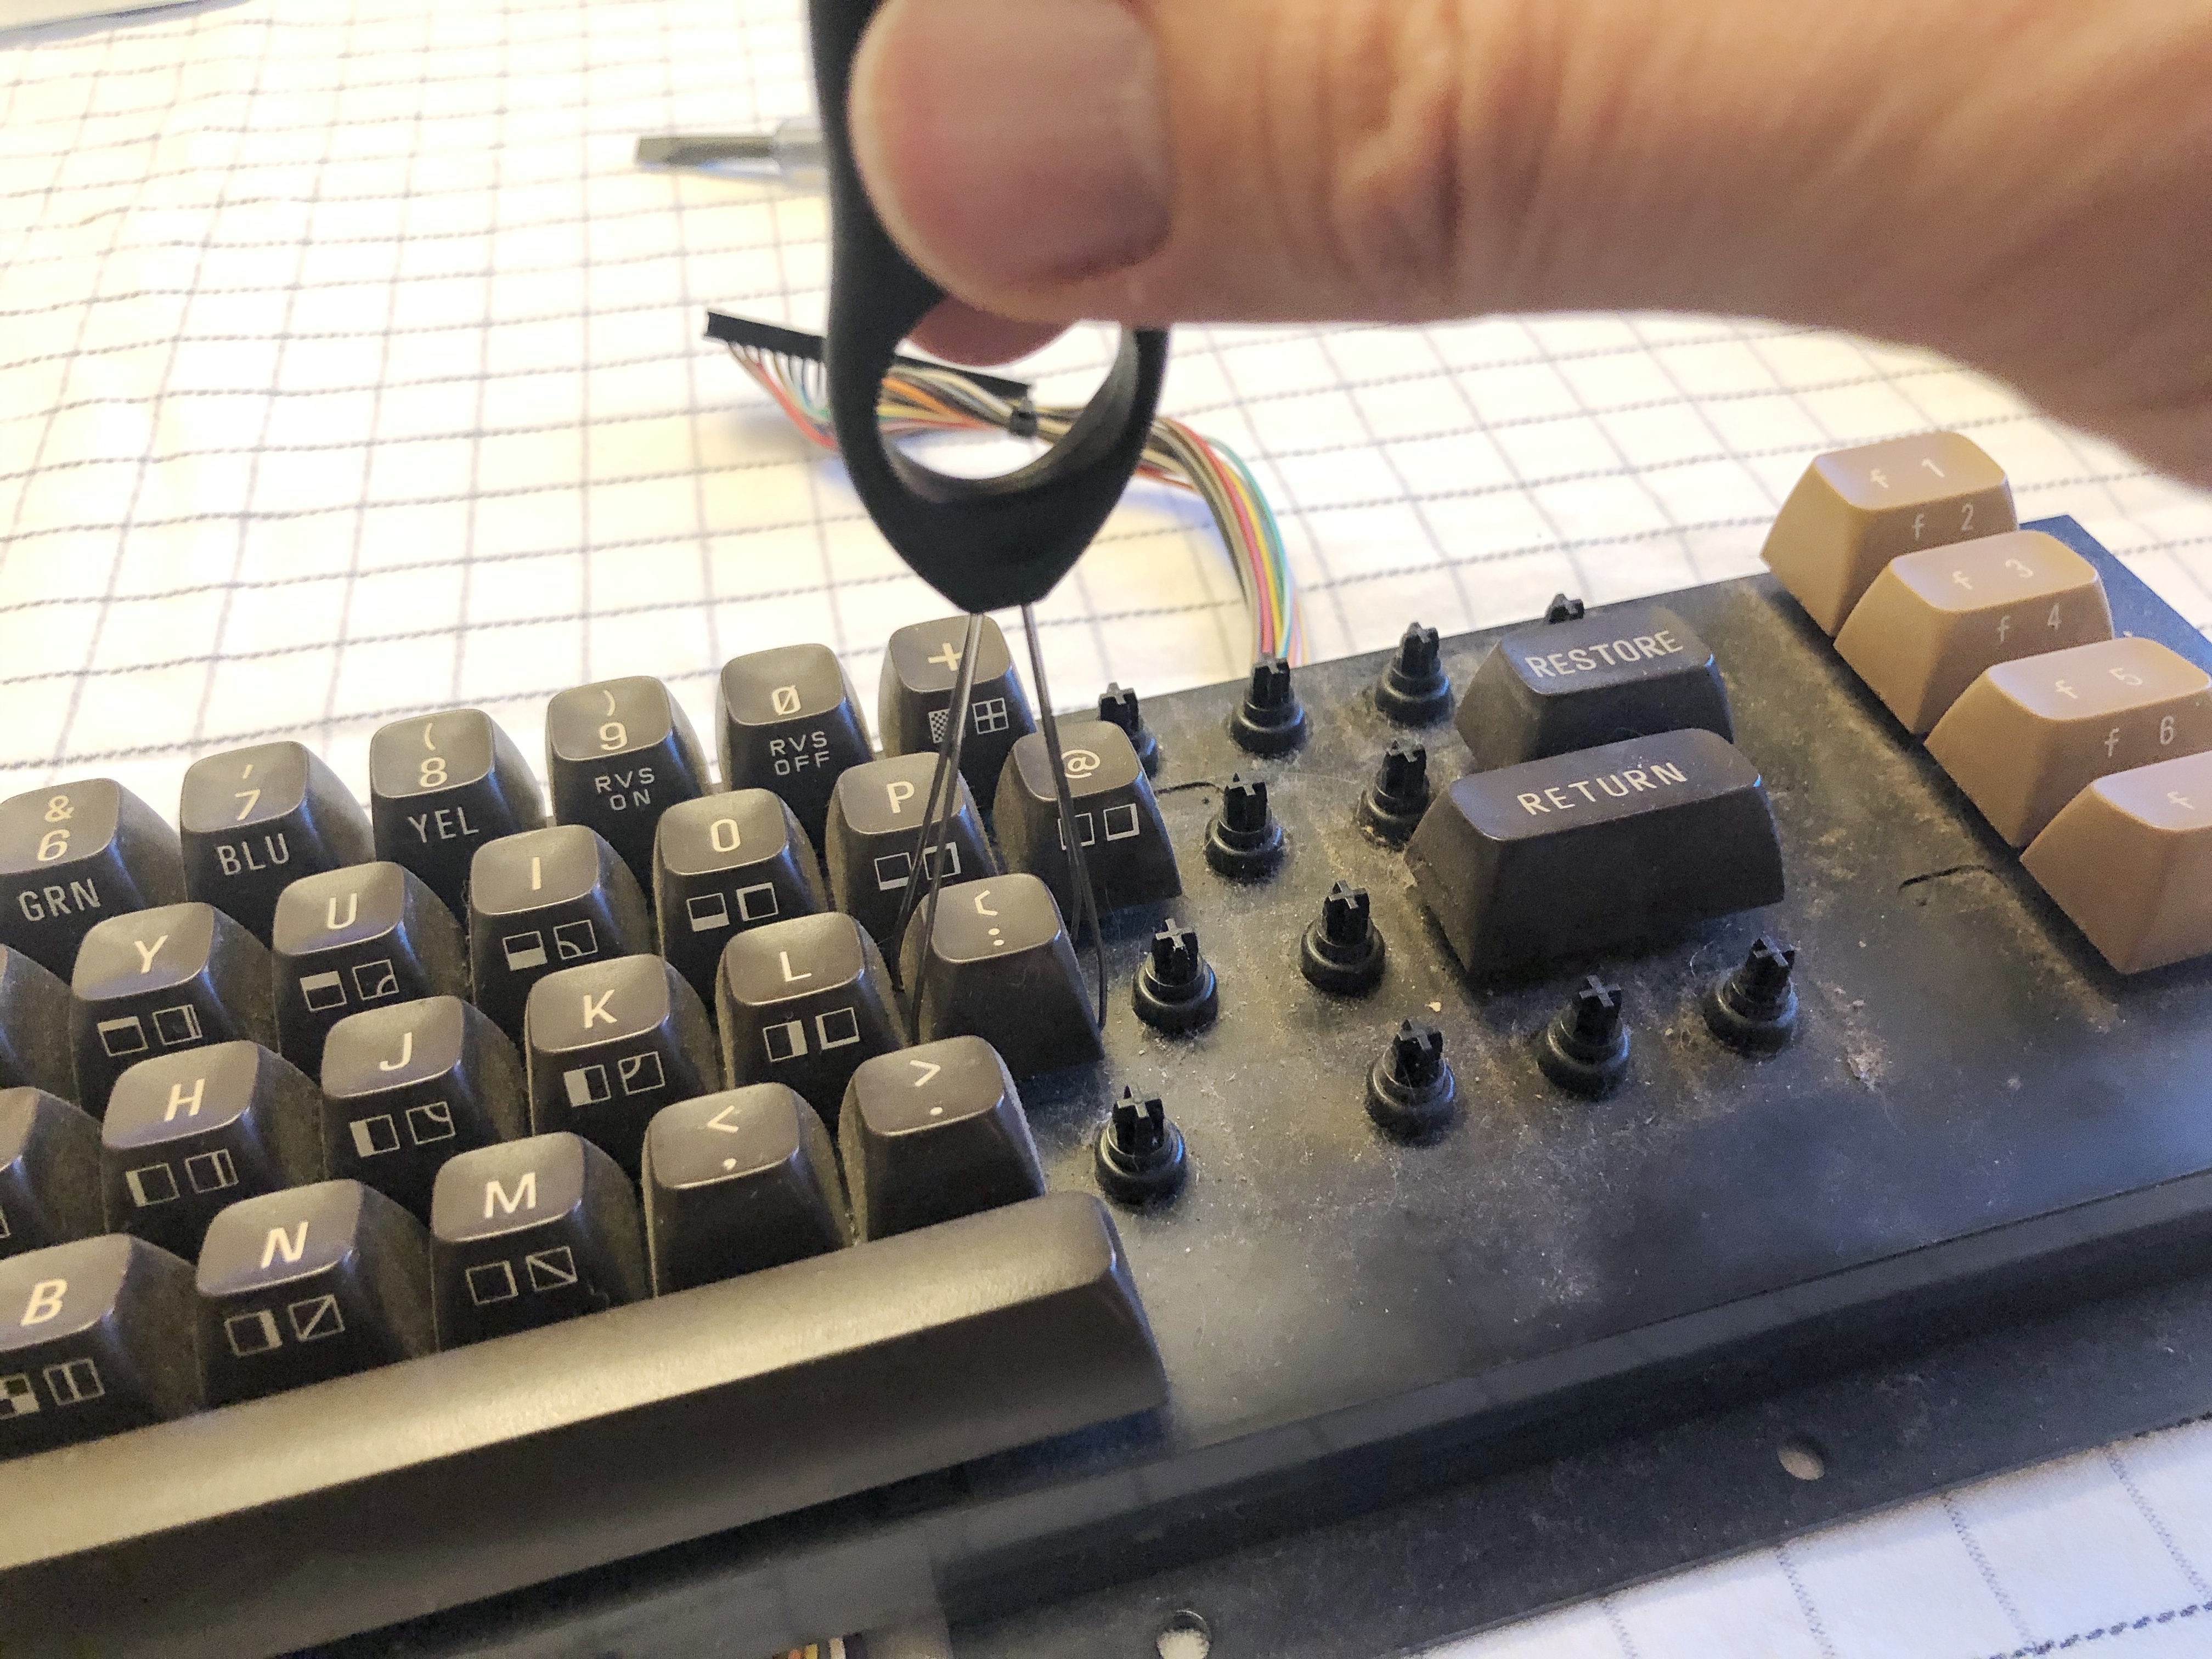
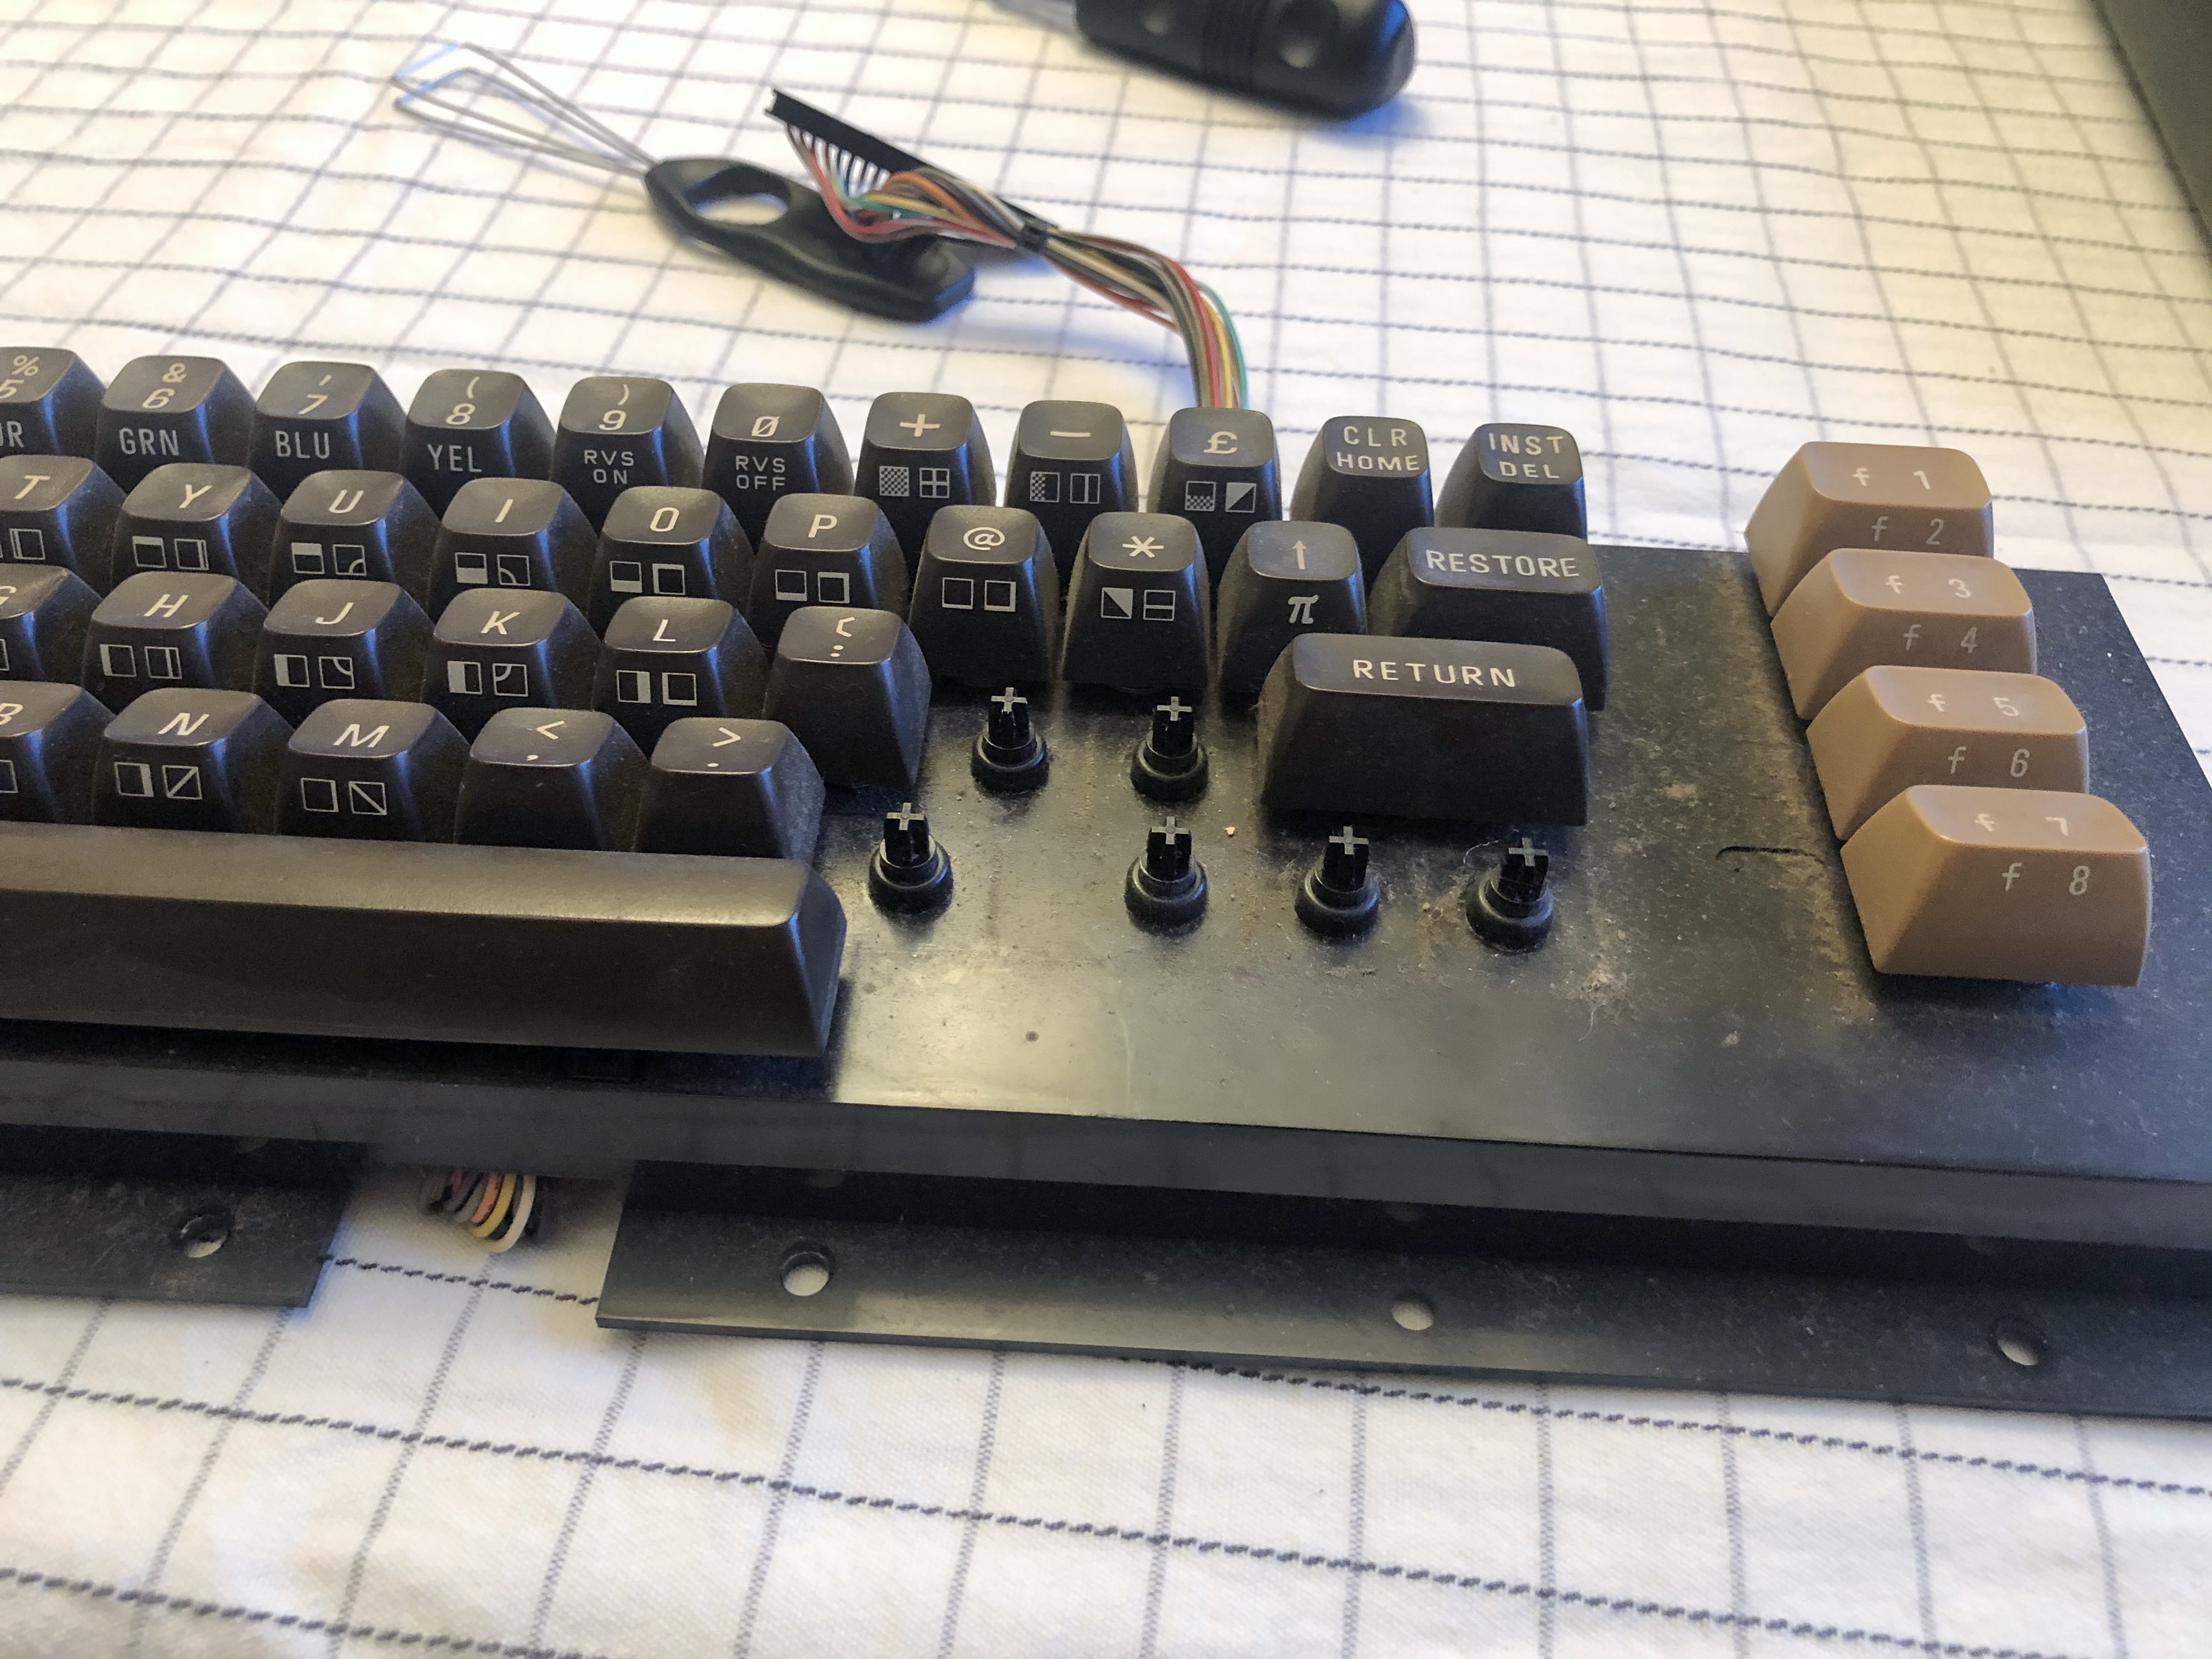
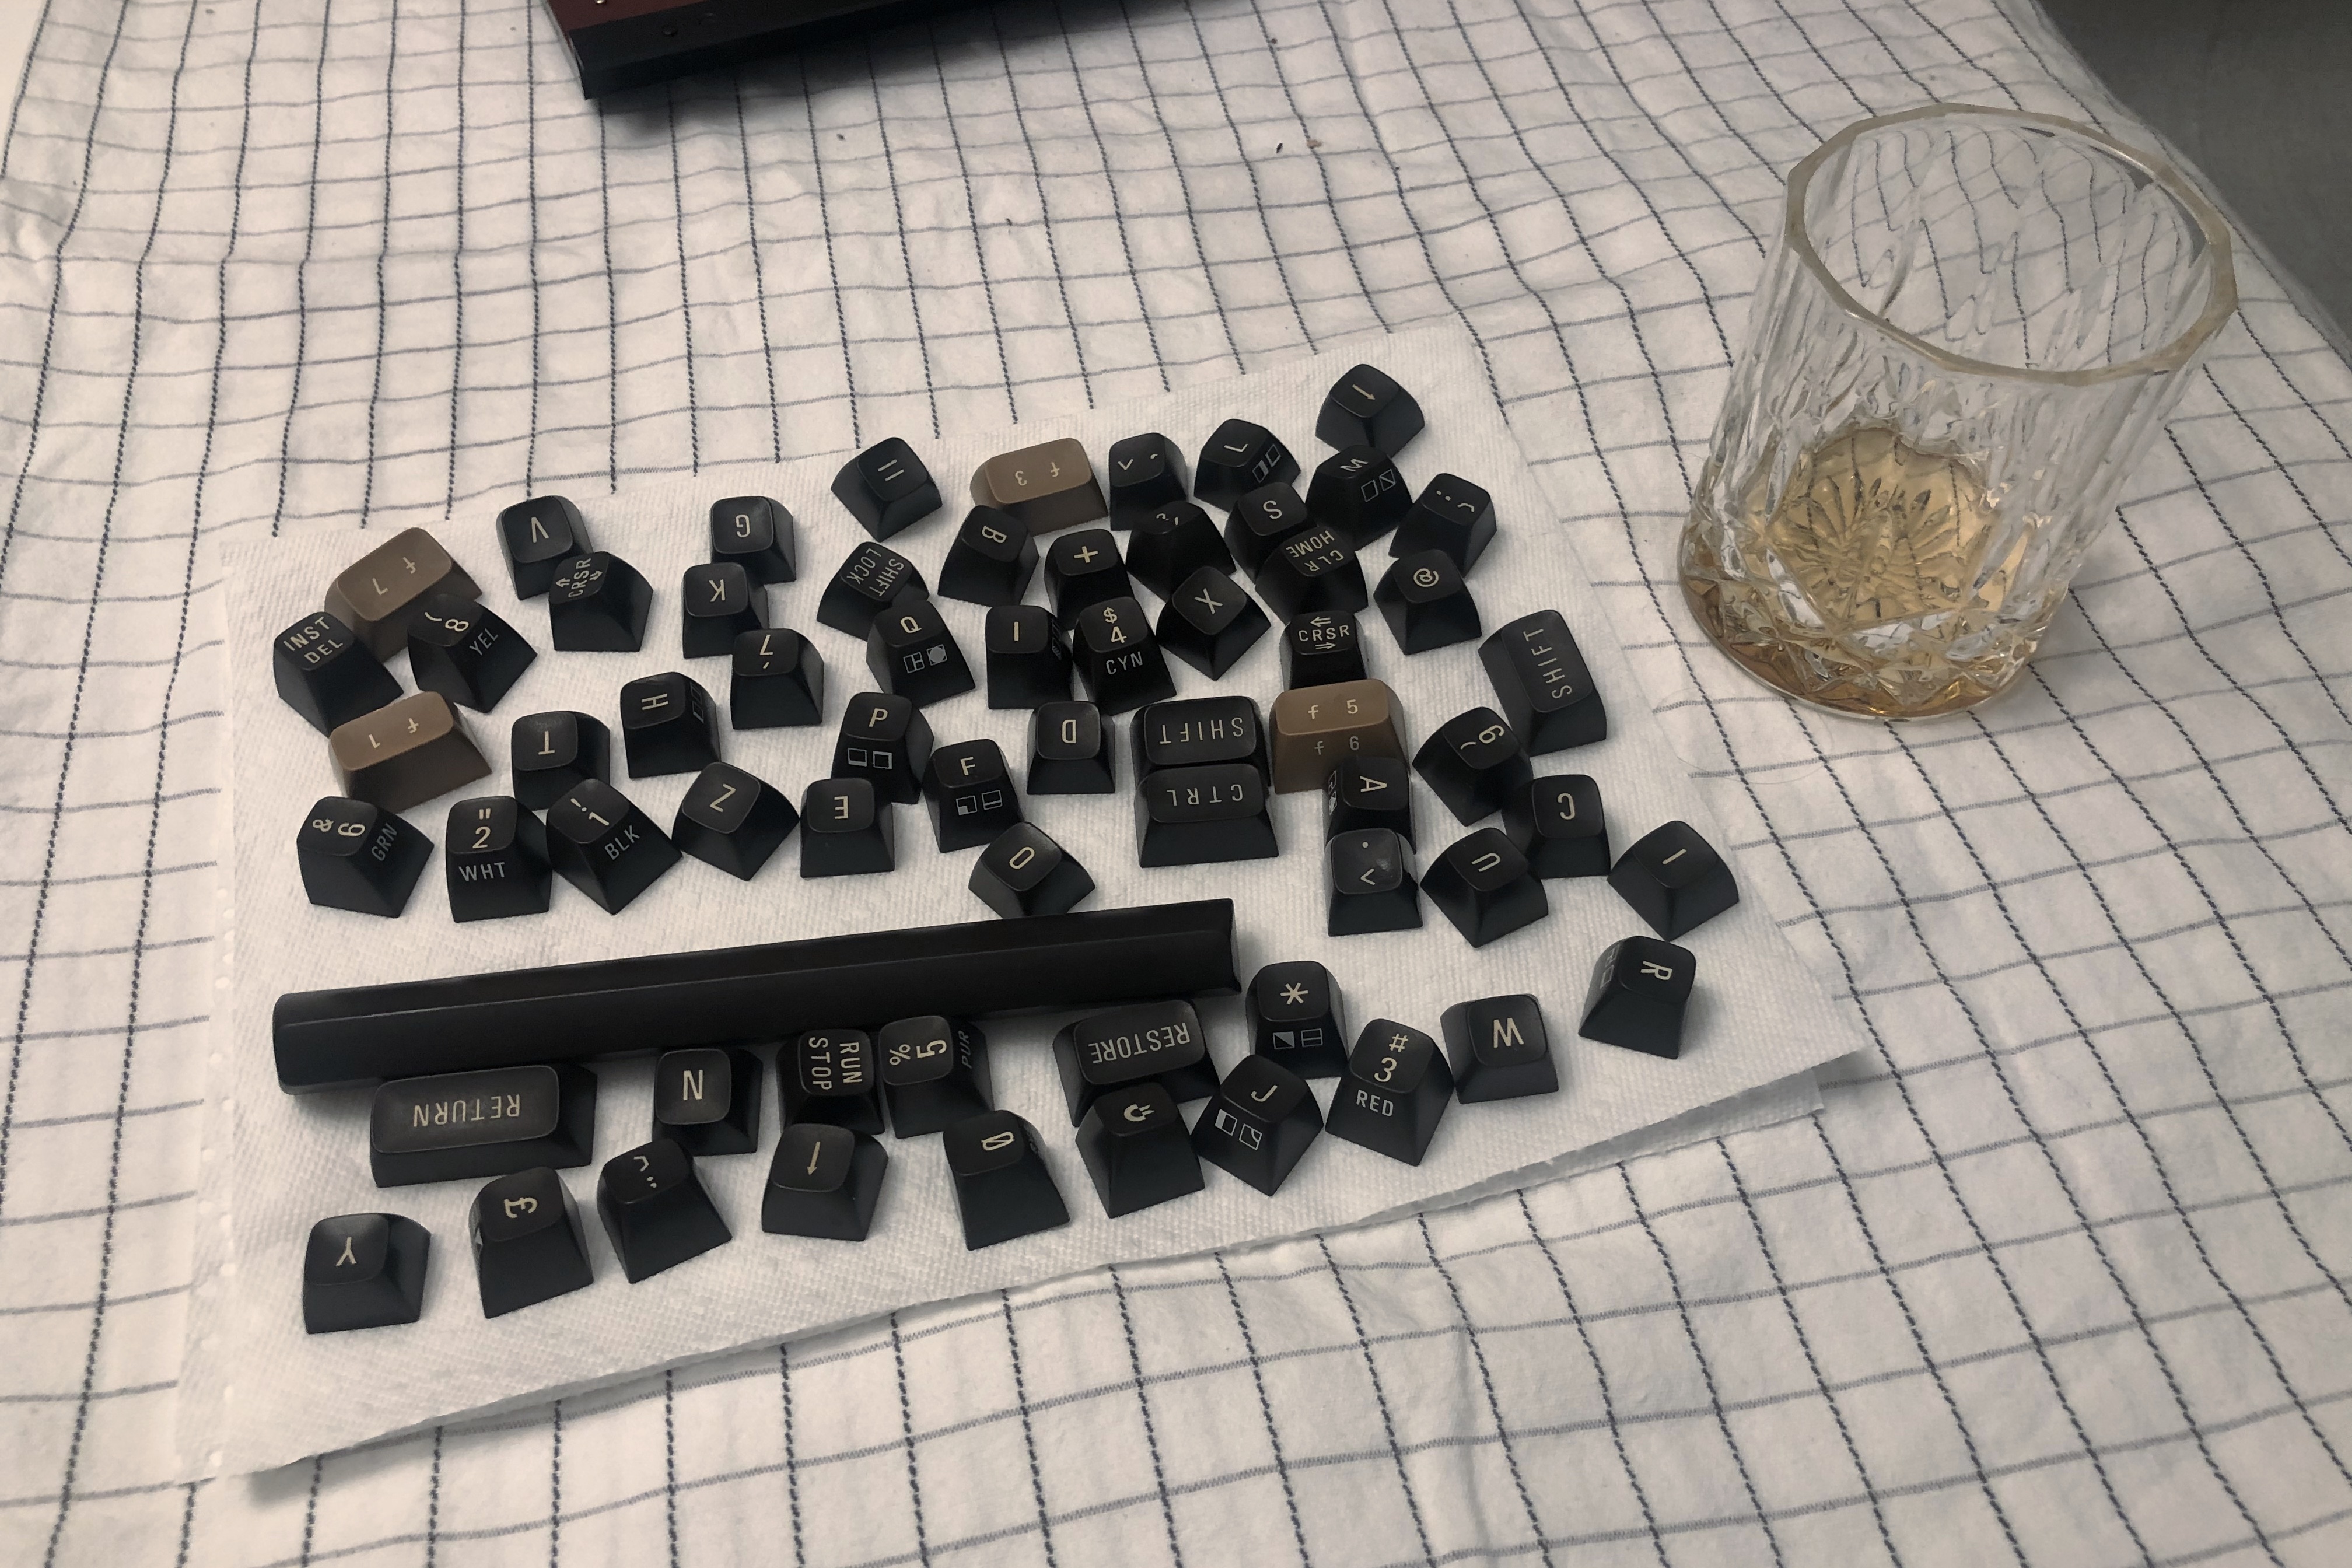
Once done I was able to remove the keys one by one using a keyboard puller, a really clever mechanism which latches underneath each key and allows you to yank it off without causing any damage. And so I got to work removing each key and chucking the removed keys in a box for washing later on.
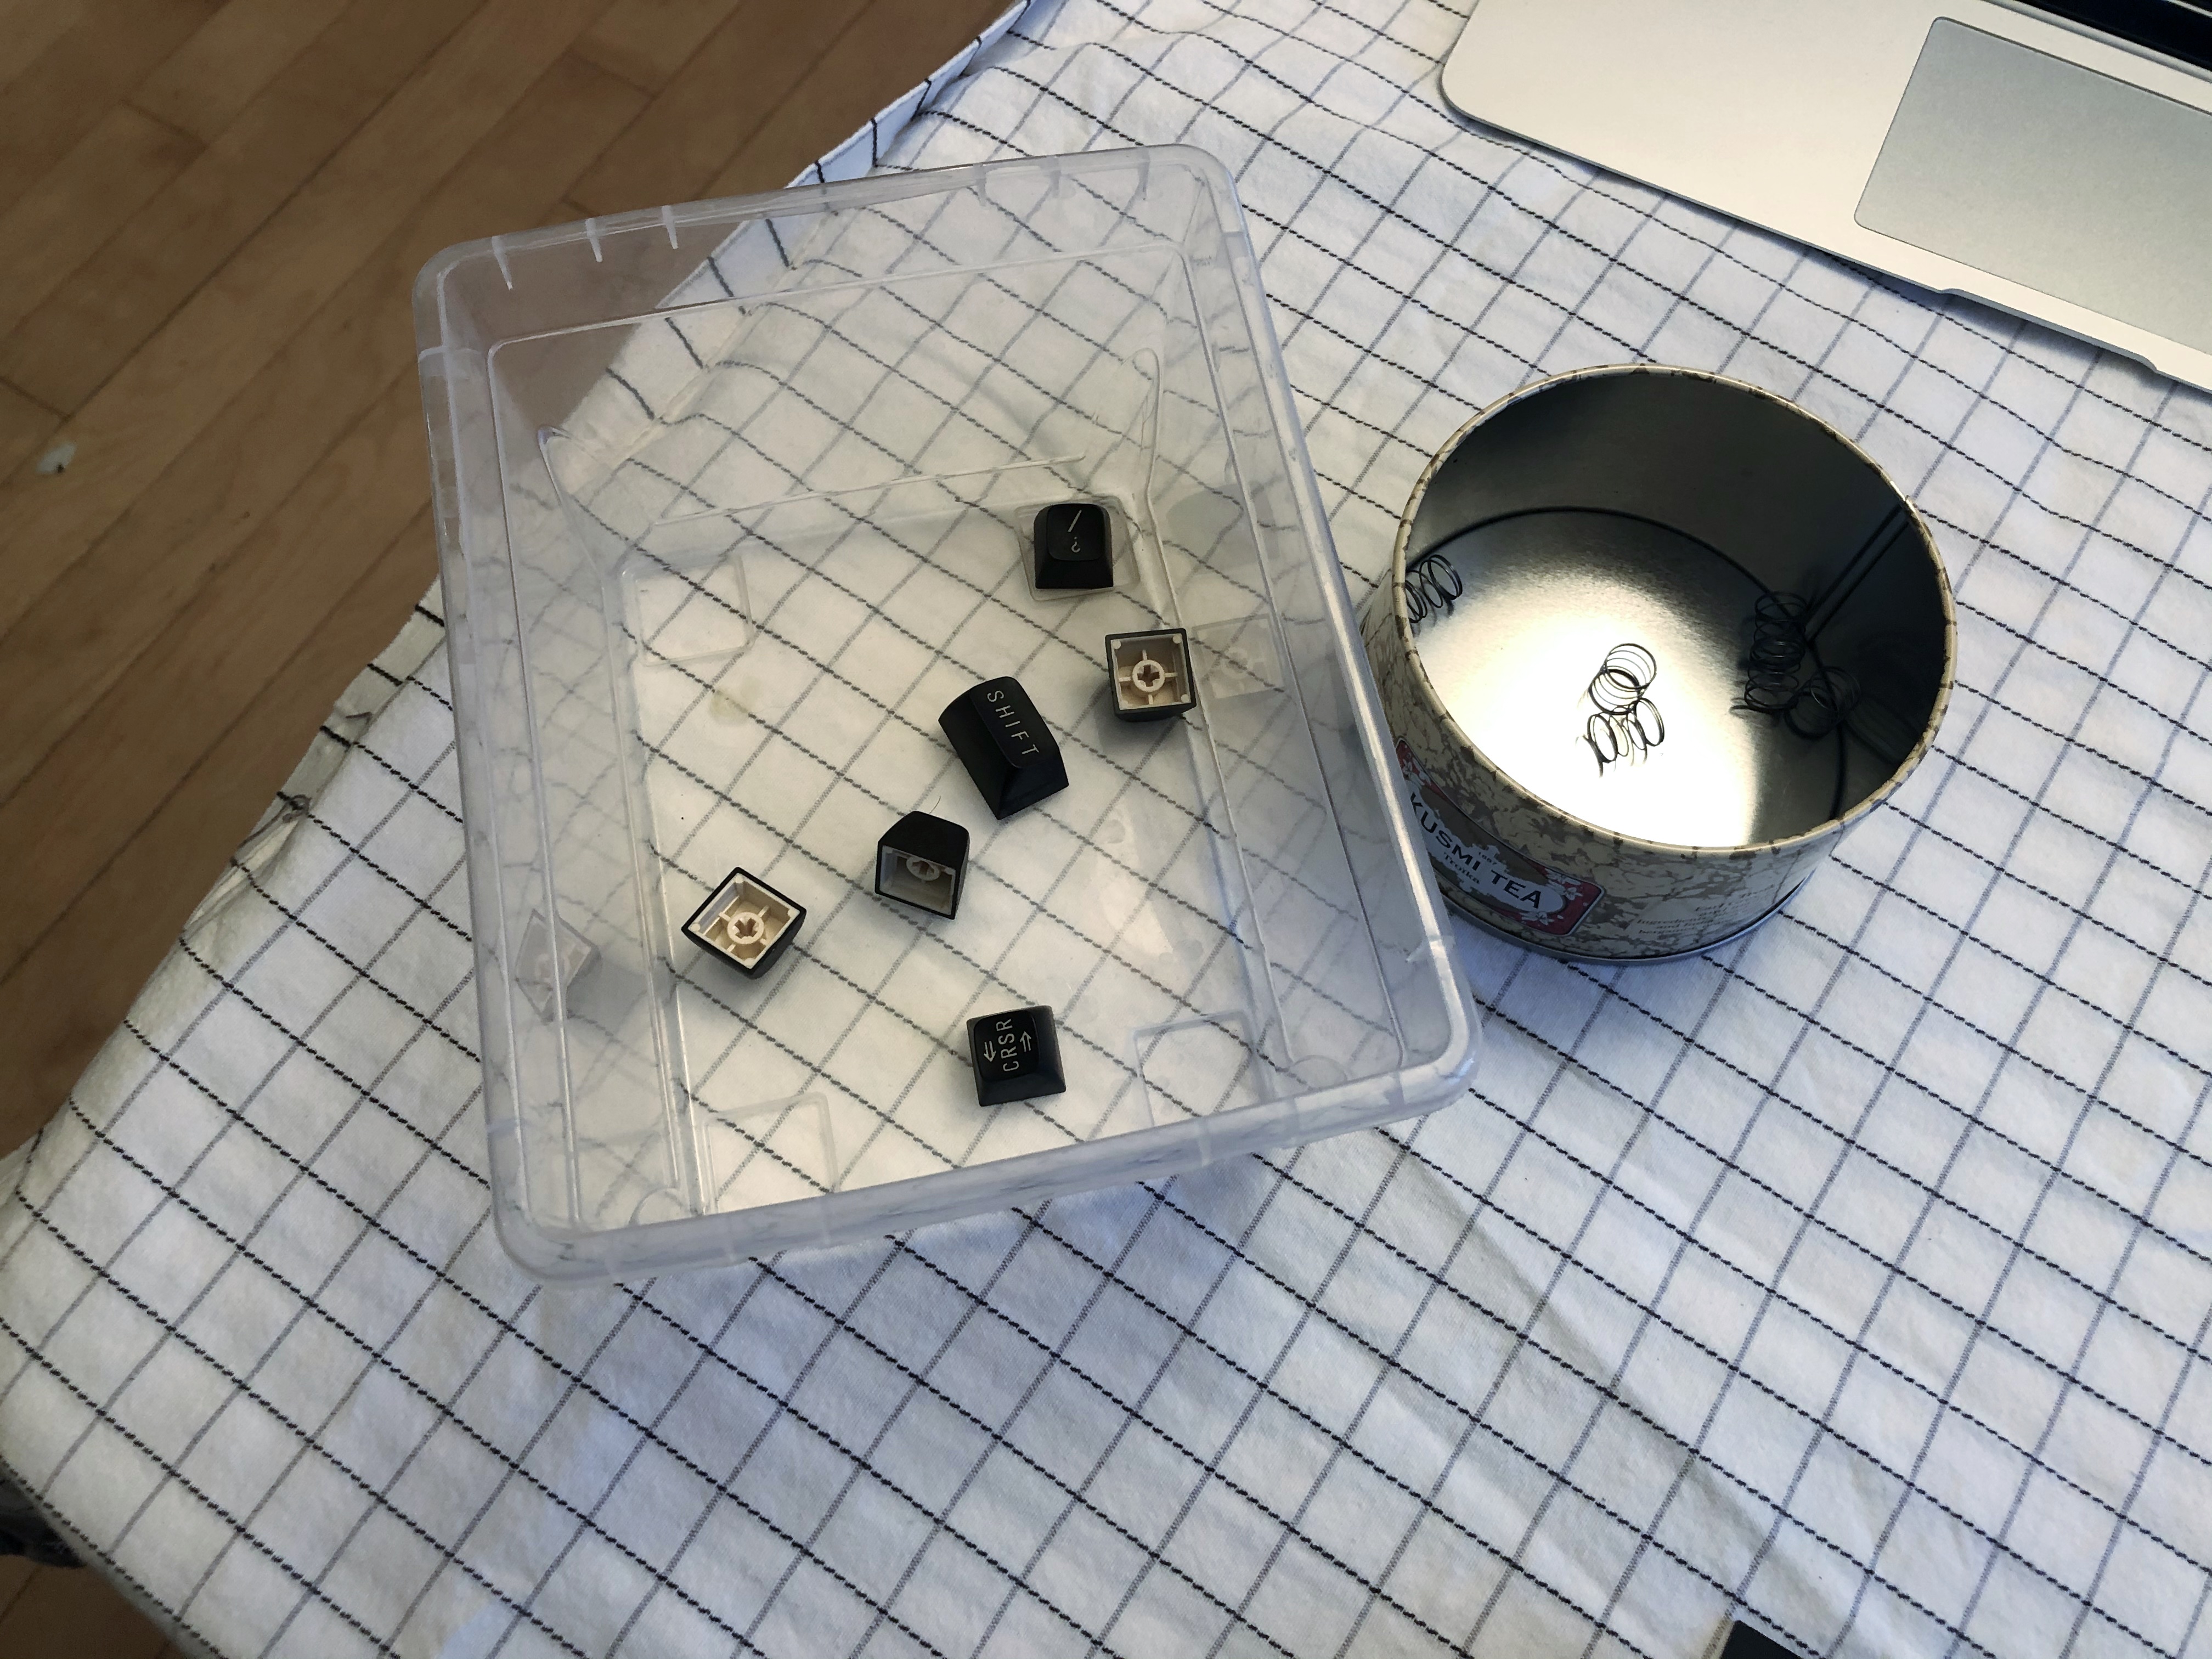
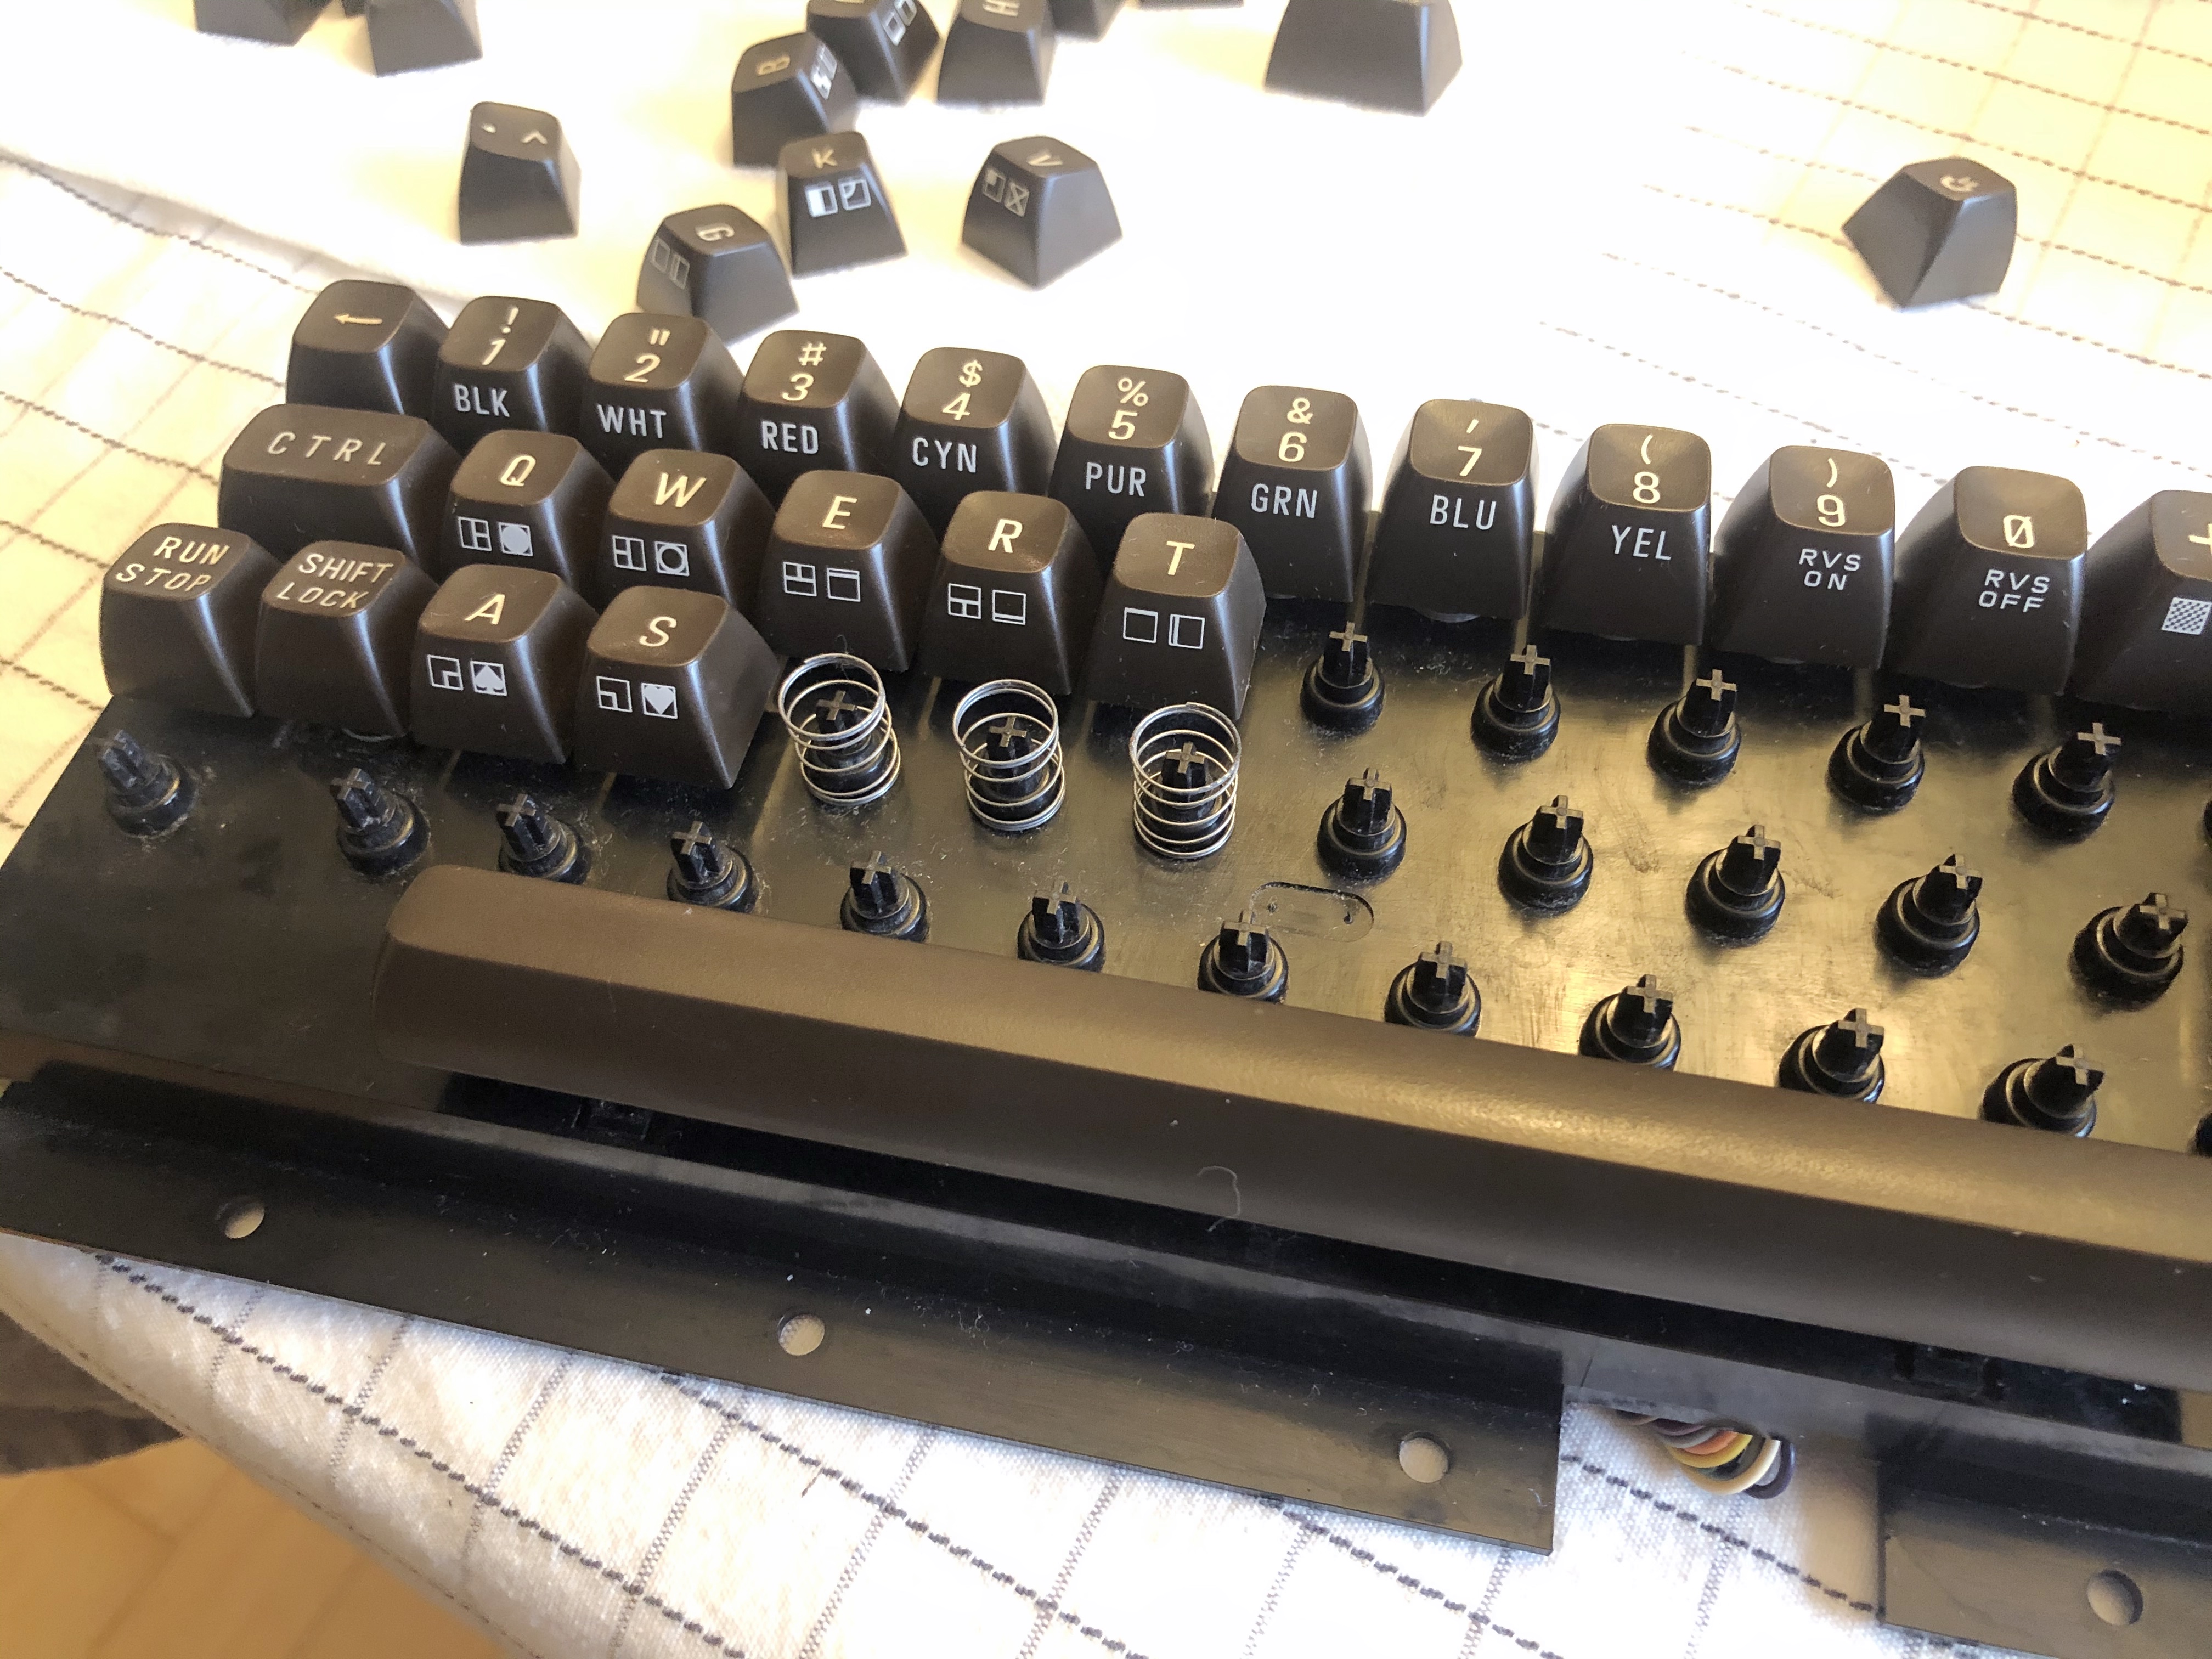
Under each key is a spring and the rubber mechanism which presses onto the circuit board underneath. Naturally on more than one occasion the spring would go flying as I removed the key, necessitating a search throughout the room to find it. Those springs can really soar!
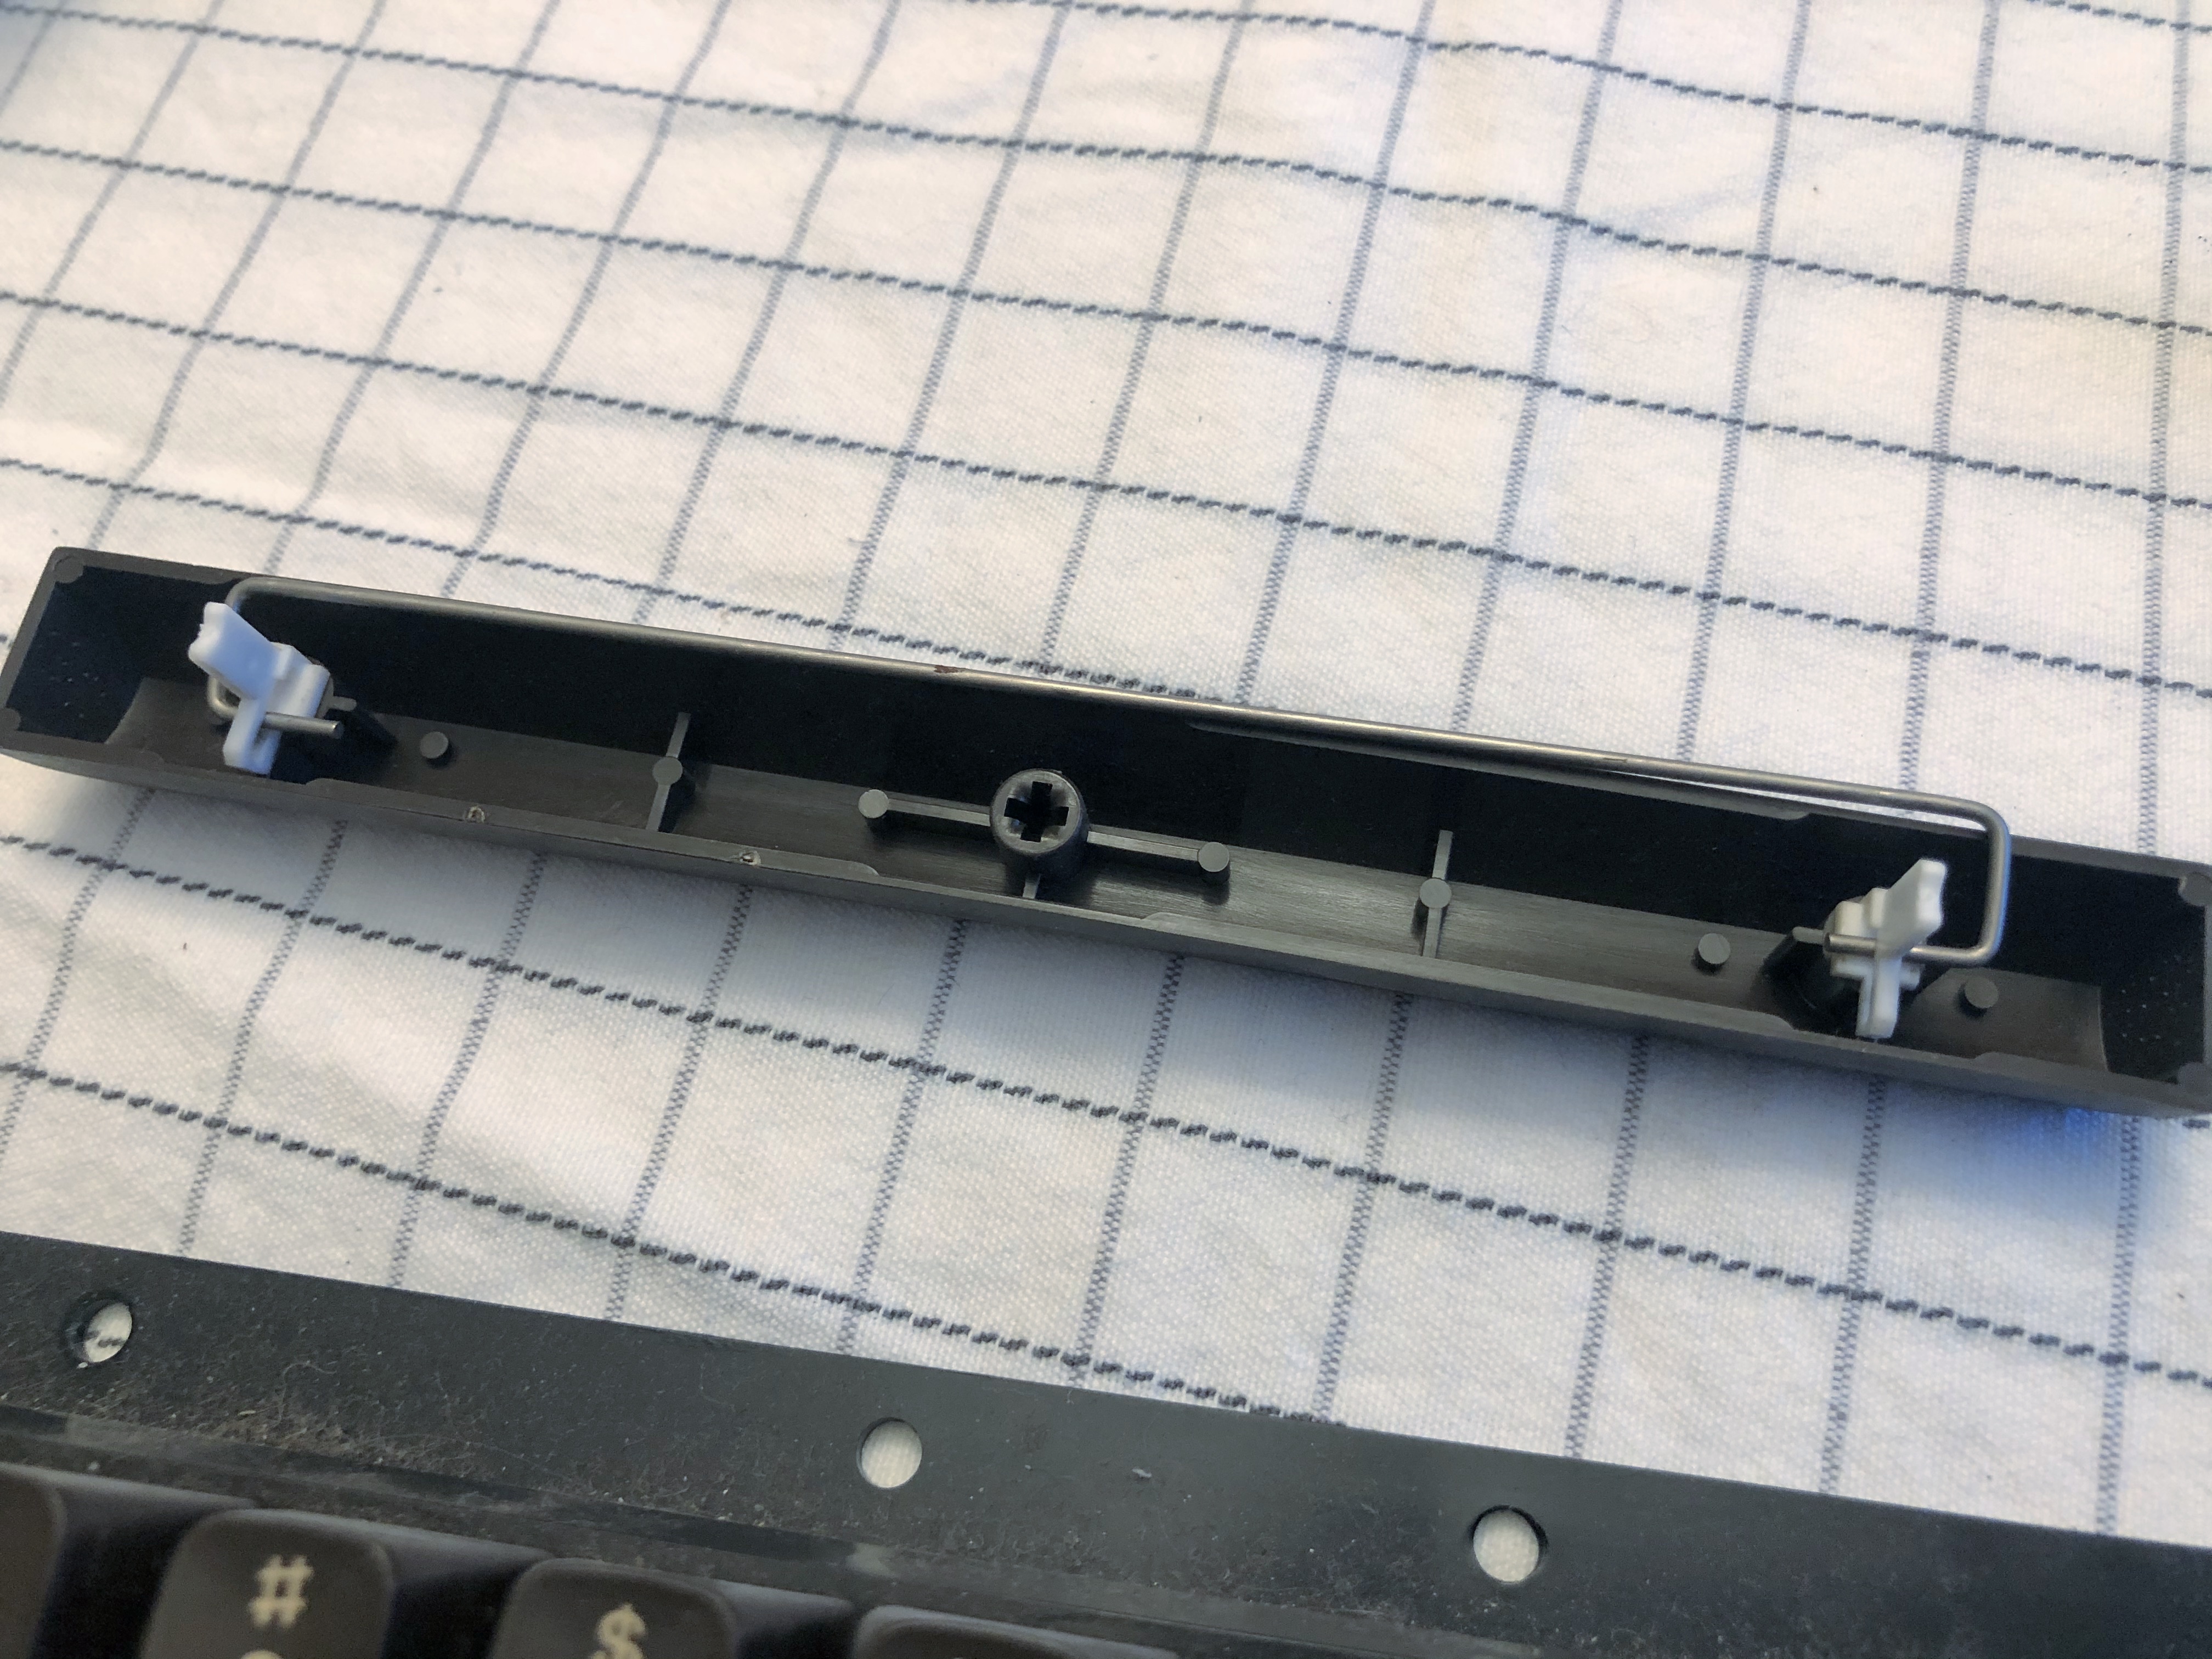
The other key which needs special treatment is the space bar, although unlike the shift-lock key it doesn’t require any soldering. It can be a little tricky to move due to the fact it has a spring on either end connected to a metal bar which runs the length of the key. It’s designed this way so you can press the space bar in any place and still get the same result. Very important for gaming!
With the keys removed and the keyboard now in its constituent pieces, it was time to do a deep clean.
How to Wash a Keyboard
Cleaning the keys themselves is just a case of chucking them in a small bucket and filling it with warm soapy water. Let them soak for a few hours, and then one-by-one give them a good clean using an old toothbrush.
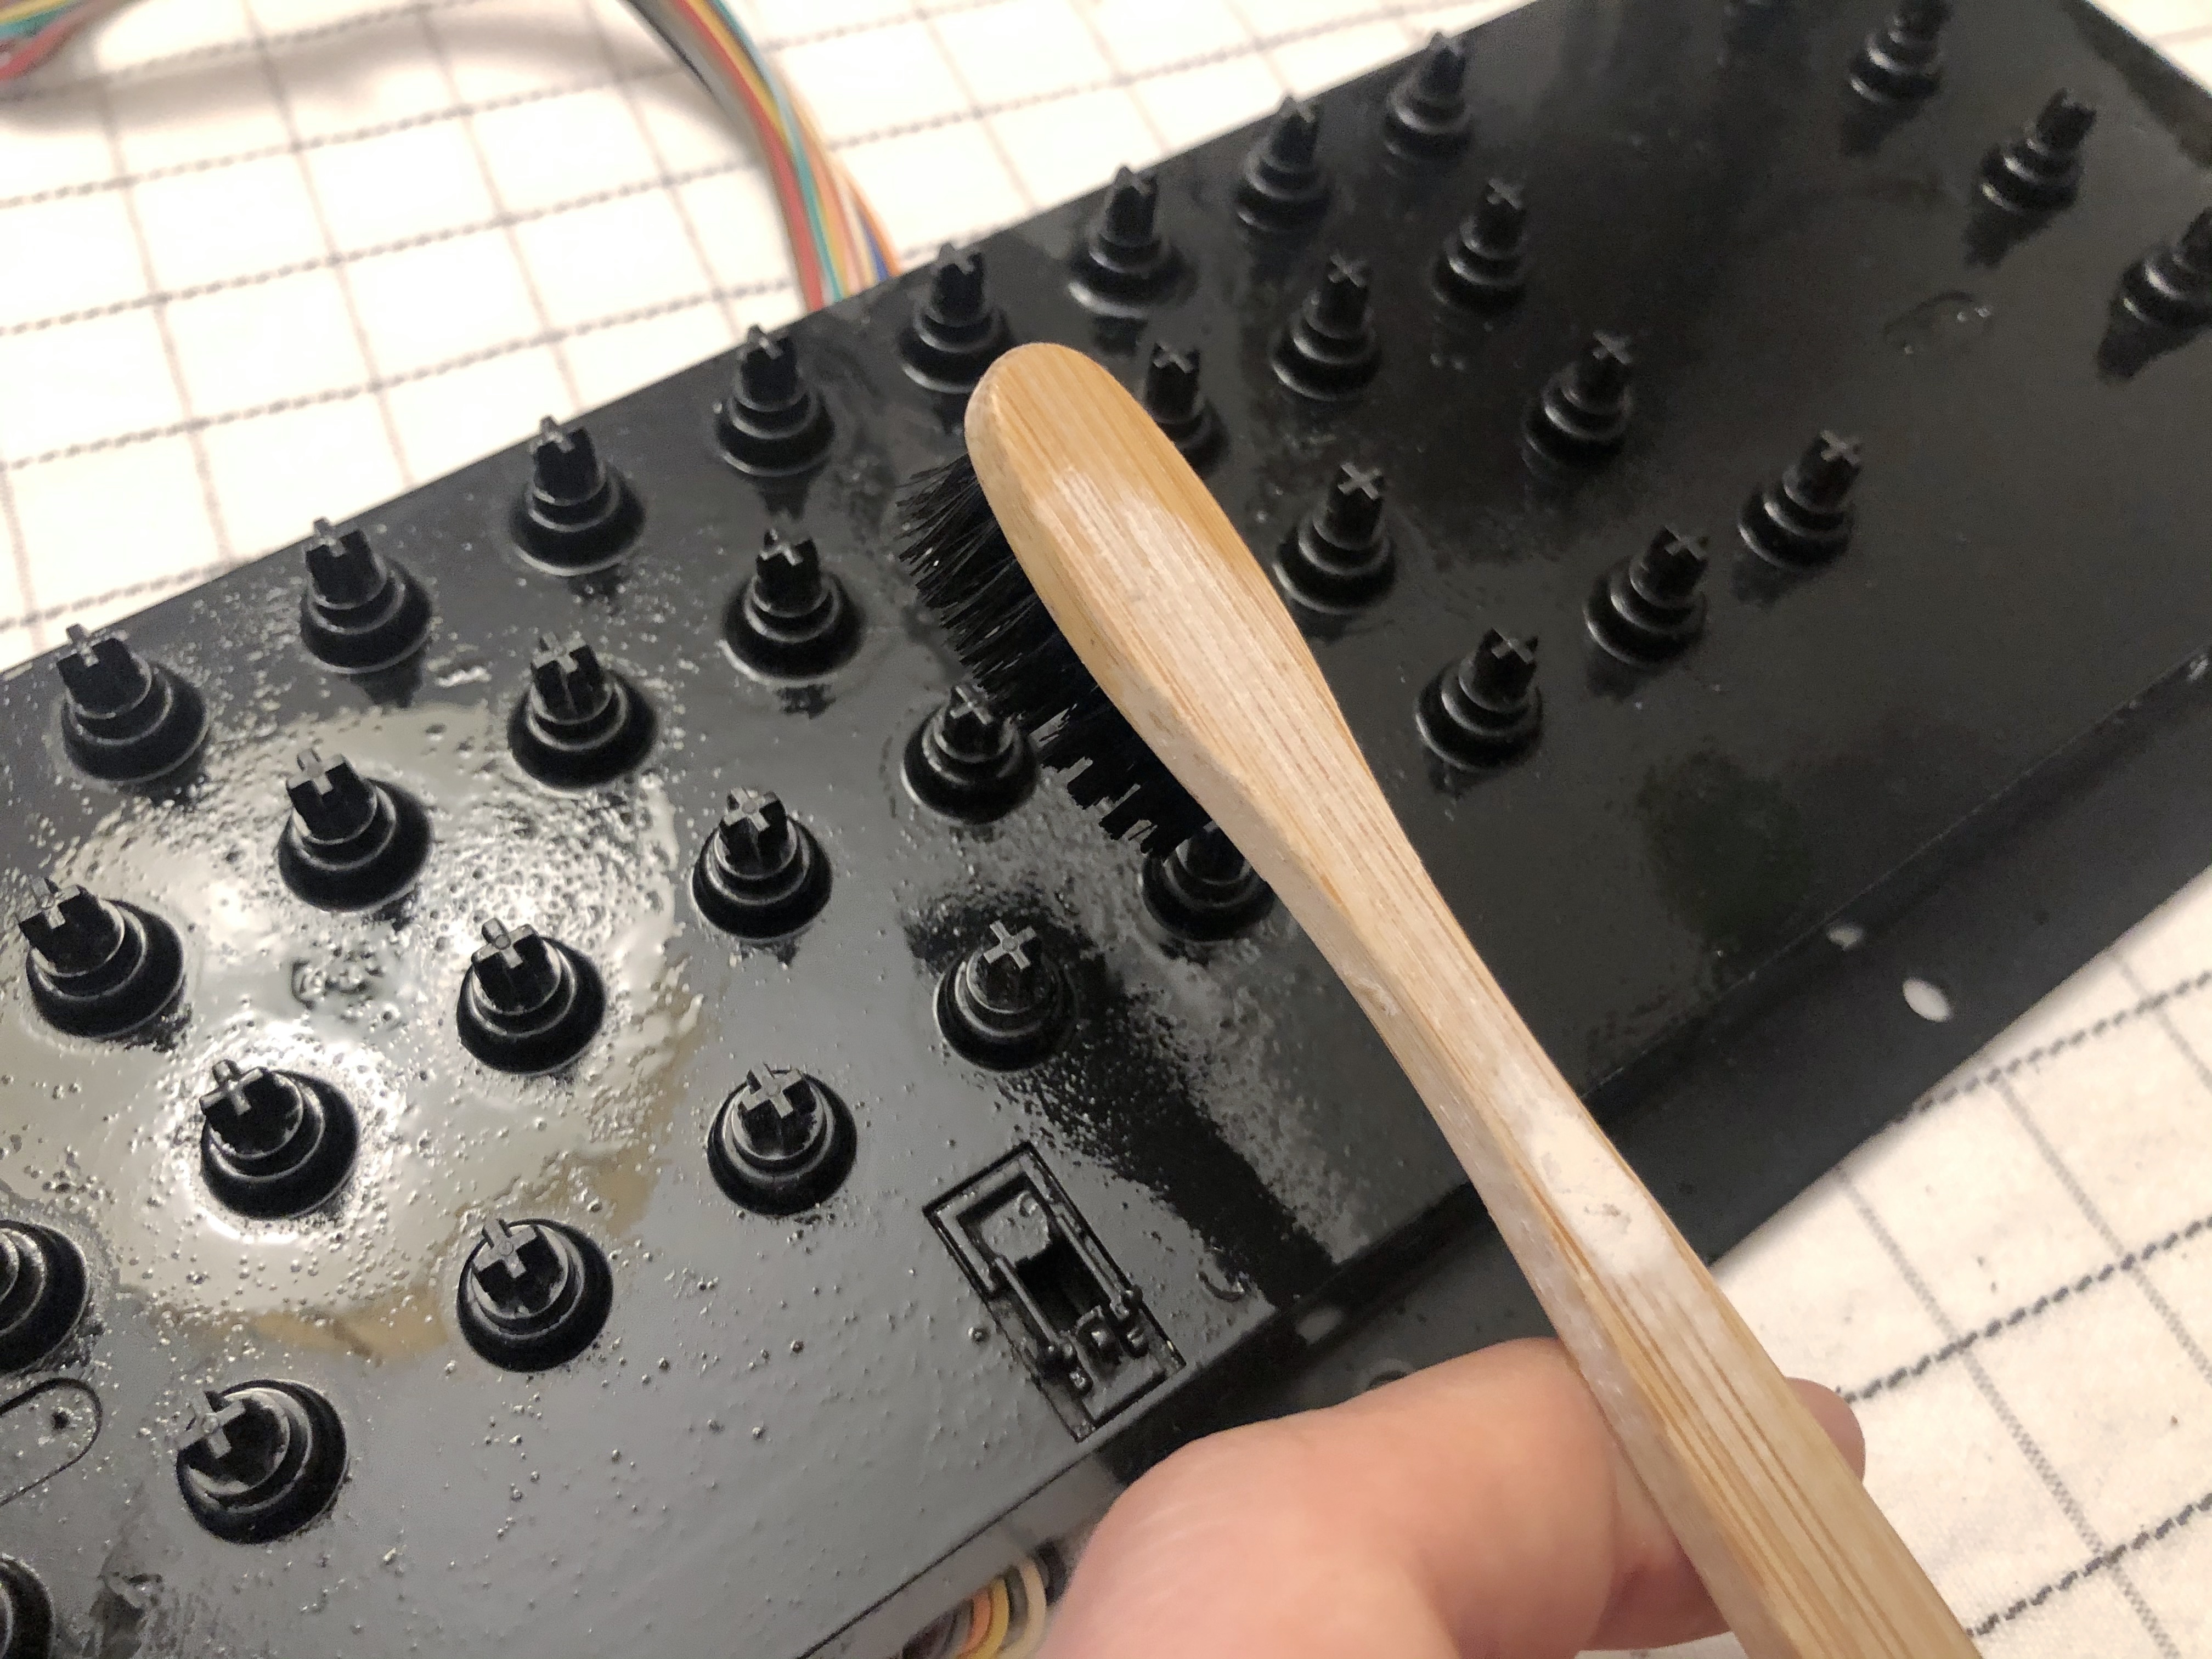
The base which sits under the keyboard needed a good scrub with an old toothbrush to really remove the decades of accumulated dirt.
The circuit board was a case of giving it a good spray with contact cleaner and then a decent rub-down.
After that, it was time to re-assemble the keyboard, re-solder the shift-lock and see if the cleaning had improved things.
Persistence is Going to Pay Off
If after going through all that there was one thing I didn’t want to happen, it was to find out the performance of the keyboard hadn’t improved at all as a result of all that effort. Yet this is exactly what happened.
Before I started to despair I took a deep breath and thought it though. I quickly realised I’d missed out one very crucial part of the process, which was to clean the contact points underneath each key. These components – made of rubber – close the circuit when pressed down onto the circuitboard.
I decided to park the work for the evening and come back to it another time because I lacked anything which could clean rubber effectively. I went onto Amazon, and ordered some rubber cleaner.
Cleaning Attempt #2
The rubber cleaner I’d ordered was apparently “geared toward the severe conditions of marine and RV environments”, so I was hopeful it could handle my Commodore. When it arived, I went through the same arduous process of de-soldering and disassembling the keyboard again. Once done, I sprayed each of the rubber contacts with the special cleaner and gave them a scrub. I could see the contacts were actually in good condition, but it wasn’t clear to me if doing this was going to make a massive difference.
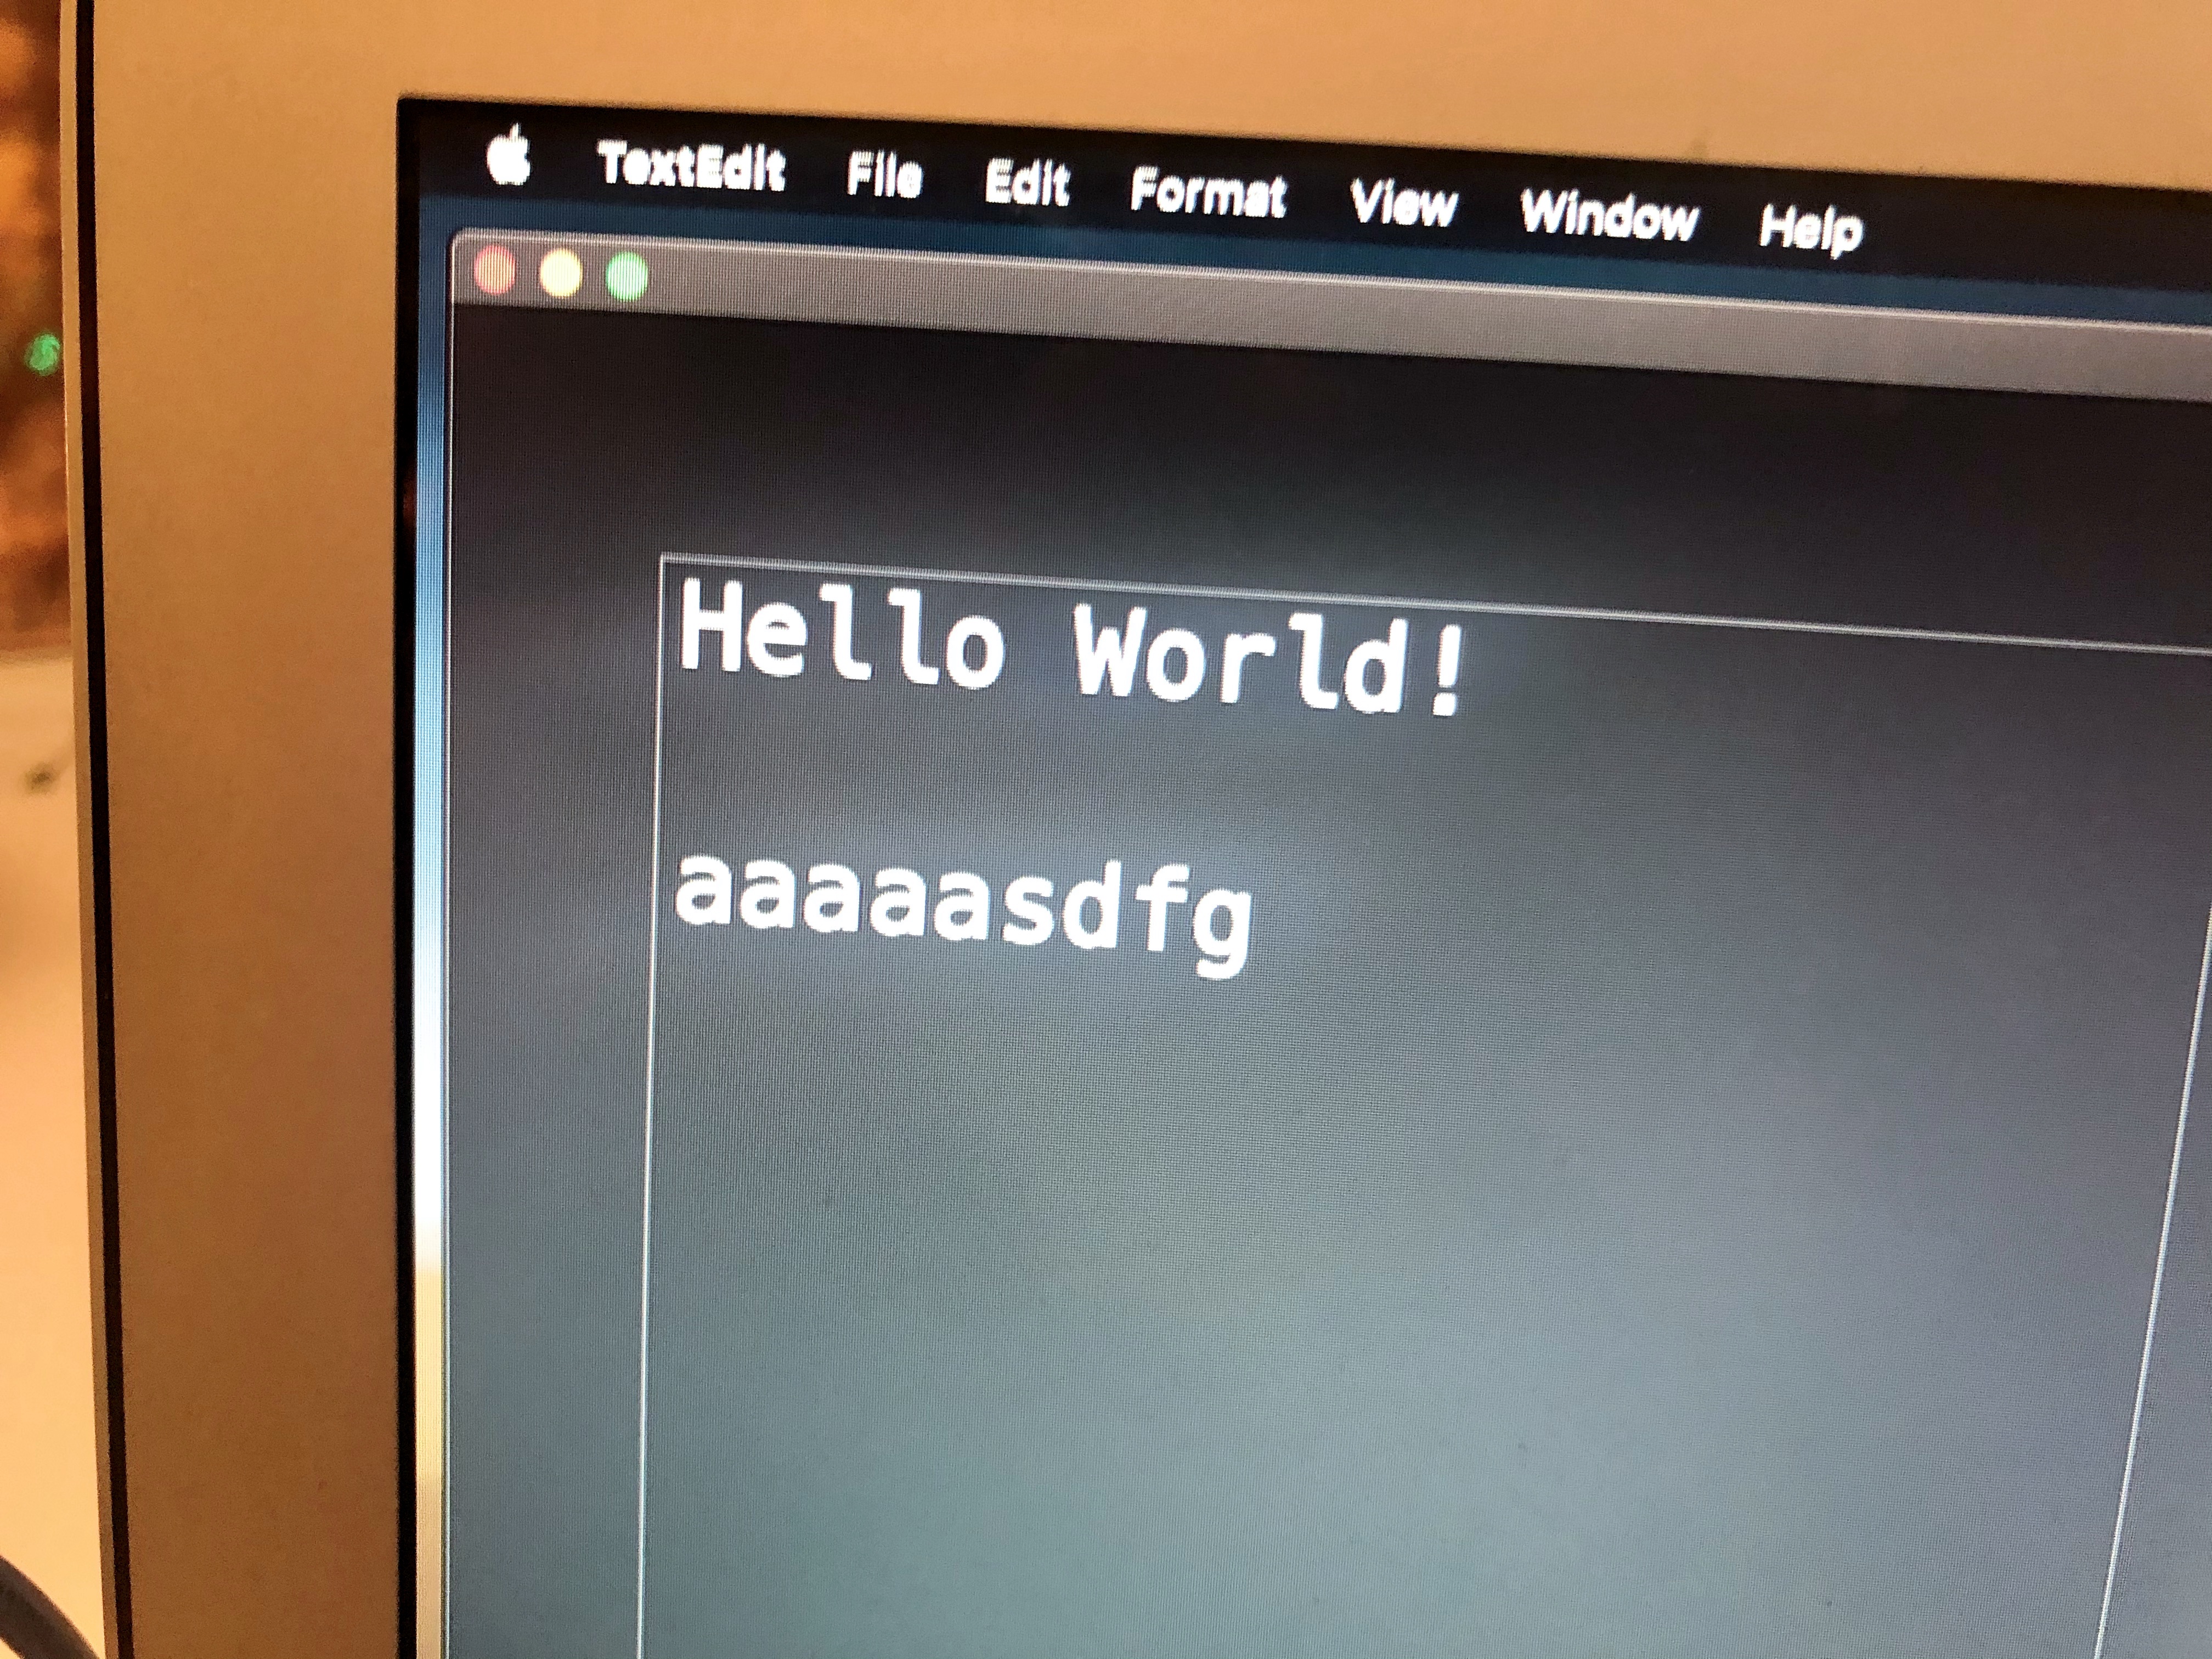
Upon re-assembling the keyboard for a second time, I gave it another test, and hey presto! Every key worked perfectly, and I had a fully functional Commodore 64 keyboard at last!
Next Time
Going into this phase of the project, my worry was I’d have discovered a dead keyboard and this piece of 80’s computing history would have ended up as simply a display piece, albeit a fine one to show off. It was also the first time I’d attempted something like this, and I wasn’t sure I’d have any success when I started.
But it worked out, and I was overjoyed to have this working. Partly because I’d now confirmed the C64 keyboard was a versatile and well engineered device which could survive well into the new millennium, but also because I now have so many more options for this project which would keep the experience authentic.
In the next chapter, we’re going to look at how this project finally comes together and how this authentic Commodore 64 chassis ended up as more than just a USB keyboard, but rather a fully functional device in its own right.
If you want to see more retro computer goodness, check out my feature on The Computers of London.